メインコンテンツにスキップ

Xbox Series X (Digital Edition) Back Panel Replacement

必要な工具と部品

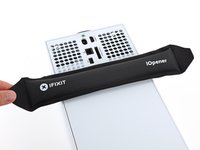
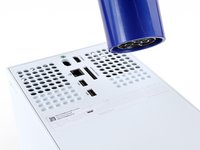
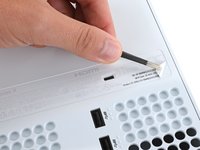
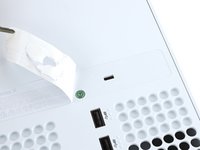
  1. Xbox Series X (Digital Edition) Back Panel Replacement, Uncover the back panel screws: 手順 1、 2の画像 1 Xbox Series X (Digital Edition) Back Panel Replacement, Uncover the back panel screws: 手順 1、 2の画像 2
    • Before you begin, completely power down and unplug all cables from your console.

    • Two stickers cover the back panel screws. You can remove the stickers without heating them, though it makes them much easier to remove cleanly.

    • Heat an iOpener and lay it on the smaller sticker near the bottom of the back panel for two minutes.

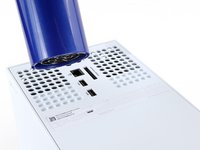
    • Alternatively, you can use a hair dryer to heat the sticker.

  2. Xbox Series X (Digital Edition) Back Panel Replacement: 手順 2、 3の画像 1 Xbox Series X (Digital Edition) Back Panel Replacement: 手順 2、 3の画像 2 Xbox Series X (Digital Edition) Back Panel Replacement: 手順 2、 3の画像 3
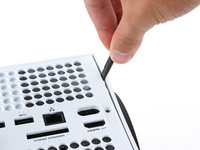
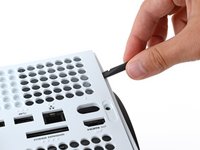
    • Use a pair of angled tweezers to remove the sticker hiding the first screw on the back panel, near the base.

  3. Xbox Series X (Digital Edition) Back Panel Replacement: 手順 3、 3の画像 1 Xbox Series X (Digital Edition) Back Panel Replacement: 手順 3、 3の画像 2 Xbox Series X (Digital Edition) Back Panel Replacement: 手順 3、 3の画像 3
    • Use an iOpener or hair dryer to heat the larger sticker near the center of the back panel.

  4. Xbox Series X (Digital Edition) Back Panel Replacement: 手順 4、 3の画像 1 Xbox Series X (Digital Edition) Back Panel Replacement: 手順 4、 3の画像 2 Xbox Series X (Digital Edition) Back Panel Replacement: 手順 4、 3の画像 3
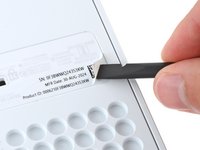
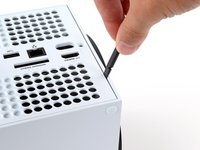
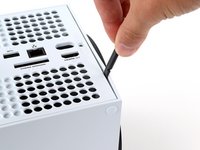
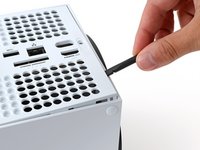
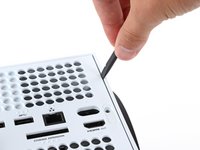
    • Use the flat end of a spudger to scrape up a corner of the larger sticker until you can grip it with a pair of blunt tweezers.

    • Use blunt tweezers to peel back the sticker to reveal the second screw.

    • You only need to peel this sticker to where you can access the hidden screw. You don't need to pull it completely off.

    • Technically, these are tamper-evident stickers, but don't worry—Microsoft can't legally void your warranty, as long as you don't damage anything. Have fun!

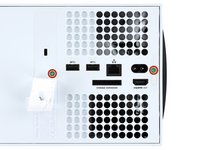
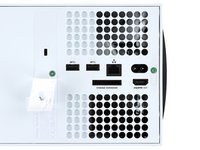
  5. Xbox Series X (Digital Edition) Back Panel Replacement, Remove the back panel screws: 手順 5、 2の画像 1 Xbox Series X (Digital Edition) Back Panel Replacement, Remove the back panel screws: 手順 5、 2の画像 2
    この手順で使用する道具:
    Magnetic Project Mat
    $19.95
    • Throughout this repair, keep track of each screw and make sure it goes back exactly where it came from to avoid damaging your console.

    • Use a T8 Torx driver to remove the two 7.4 mm‑long screws securing the back panel.

  6. Xbox Series X (Digital Edition) Back Panel Replacement, Unclip the back panel: 手順 6、 3の画像 1 Xbox Series X (Digital Edition) Back Panel Replacement, Unclip the back panel: 手順 6、 3の画像 2 Xbox Series X (Digital Edition) Back Panel Replacement, Unclip the back panel: 手順 6、 3の画像 3
    • Insert the flat end of a spudger into the gap between the back panel and the shell, near the left side of the base.

    • Pry up the back panel to release it from the locking clips.

  7. Xbox Series X (Digital Edition) Back Panel Replacement: 手順 7、 3の画像 1 Xbox Series X (Digital Edition) Back Panel Replacement: 手順 7、 3の画像 2 Xbox Series X (Digital Edition) Back Panel Replacement: 手順 7、 3の画像 3
    • Insert the flat end of a spudger into the gap between the back panel and the shell, near the right side of the base.

    • Pry up the back panel to release it from the locking clips.

  8. Xbox Series X (Digital Edition) Back Panel Replacement, Remove the back panel: 手順 8、 3の画像 1 Xbox Series X (Digital Edition) Back Panel Replacement, Remove the back panel: 手順 8、 3の画像 2 Xbox Series X (Digital Edition) Back Panel Replacement, Remove the back panel: 手順 8、 3の画像 3
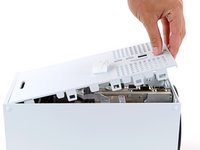
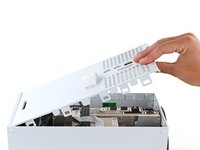
    • Grip the back panel at the opening you just created and pull it up and away from the shell to unclip the long edges.

    • During reassembly, press along the edges of the back panel to snap it into place.

  9. Xbox Series X (Digital Edition) Back Panel Replacement: 手順 9、 3の画像 1 Xbox Series X (Digital Edition) Back Panel Replacement: 手順 9、 3の画像 2 Xbox Series X (Digital Edition) Back Panel Replacement: 手順 9、 3の画像 3
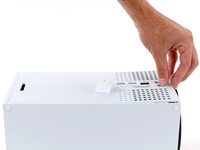
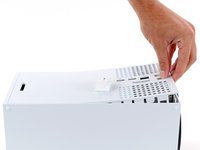
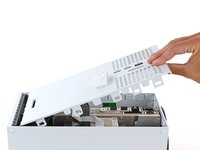
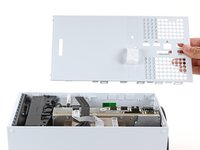
    • The back panel slots into a gap at the top of the shell.

    • Tilt the back panel up and pull it away from the top edge of the shell to release it from the gap.

    • Remove the back panel.

終わりに

To reassemble your device, follow these instructions in reverse order.

Repair didn’t go as planned? Try some basic troubleshooting, or ask our Answers community for help.

作成者

1人の作成者と共同作成されました。

Spencer Day

メンバー登録日: 09/14/22

95,787 ポイント

662のガイドは作成済み

チーム

iFixit iFixit人のメンバー

Staff

118 メンバー

19,605のガイドは作成済み

0 件のコメント

コメントを追加

統計データ:

過去 24時間: 2

過去 7 日: 8

過去 30 日: 64

今までの合計 207