メインコンテンツにスキップ

Whirlpool Refrigerator Drain Pan Replacement

必要な工具と部品

  1. Whirlpool Refrigerator Drain Pan Replacement, Safety precautions: 手順 1、 1の画像 1
    • Before you begin your repair, perform the following:

    • Turn off your main water supply

    • Unplug your device

  2. Whirlpool Refrigerator Drain Pan Replacement, Open the doors: 手順 2、 3の画像 1 Whirlpool Refrigerator Drain Pan Replacement, Open the doors: 手順 2、 3の画像 2 Whirlpool Refrigerator Drain Pan Replacement, Open the doors: 手順 2、 3の画像 3
    • Depending on your repair, open one or both doors.

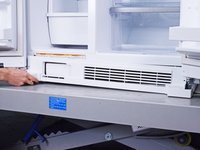
  3. Whirlpool Refrigerator Drain Pan Replacement, Unfasten the front panel: 手順 3、 3の画像 1 Whirlpool Refrigerator Drain Pan Replacement, Unfasten the front panel: 手順 3、 3の画像 2 Whirlpool Refrigerator Drain Pan Replacement, Unfasten the front panel: 手順 3、 3の画像 3
    • Remove the screw(s) securing the front panel.

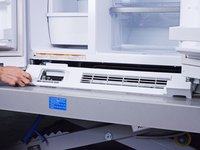
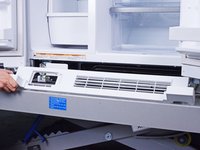
  4. Whirlpool Refrigerator Drain Pan Replacement, Remove the front panel: 手順 4、 3の画像 1 Whirlpool Refrigerator Drain Pan Replacement, Remove the front panel: 手順 4、 3の画像 2 Whirlpool Refrigerator Drain Pan Replacement, Remove the front panel: 手順 4、 3の画像 3
    • Pull the front panel straight off the chassis and remove it.

    • You may have to slightly open the water filter door to remove the front panel completely.

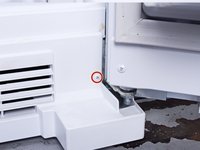
  5. Whirlpool Refrigerator Drain Pan Replacement, Unfasten the wiring harness: 手順 5、 1の画像 1
    • Use a 1/4 inch socket wrench to remove the 16.7 mm-long screw securing the wiring harness.

  6. Whirlpool Refrigerator Drain Pan Replacement, Reposition the wiring harness: 手順 6、 2の画像 1 Whirlpool Refrigerator Drain Pan Replacement, Reposition the wiring harness: 手順 6、 2の画像 2
    • Pull the wiring harness out of its slot in the chassis to access its connectors.

  7. Whirlpool Refrigerator Drain Pan Replacement, Disconnect the wiring harness: 手順 7、 3の画像 1 Whirlpool Refrigerator Drain Pan Replacement, Disconnect the wiring harness: 手順 7、 3の画像 2 Whirlpool Refrigerator Drain Pan Replacement, Disconnect the wiring harness: 手順 7、 3の画像 3
    • Disconnect the two connectors attached to the door wiring harness.

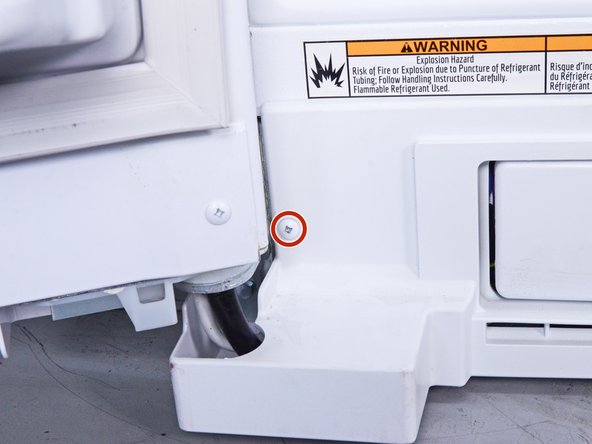
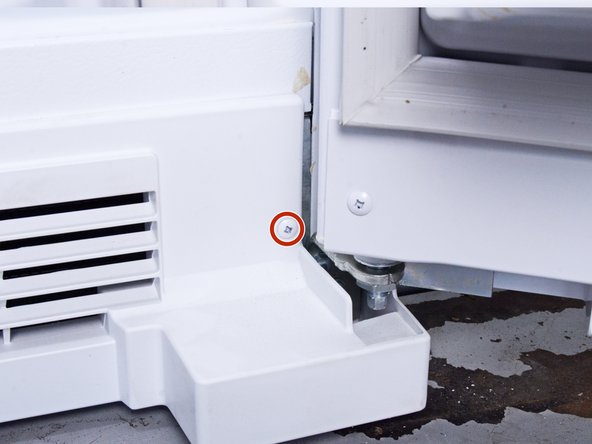
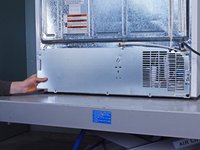
  8. Whirlpool Refrigerator Drain Pan Replacement, Unfasten the rear panel: 手順 8、 3の画像 1 Whirlpool Refrigerator Drain Pan Replacement, Unfasten the rear panel: 手順 8、 3の画像 2 Whirlpool Refrigerator Drain Pan Replacement, Unfasten the rear panel: 手順 8、 3の画像 3
    • Remove the screw(s) securing the rear panel.

    • Loosen the screw securing the water hose enough for the rear panel to freely move.

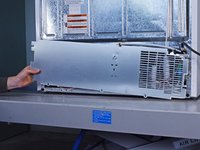
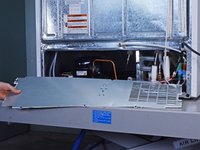
  9. Whirlpool Refrigerator Drain Pan Replacement, Remove the rear panel: 手順 9、 3の画像 1 Whirlpool Refrigerator Drain Pan Replacement, Remove the rear panel: 手順 9、 3の画像 2 Whirlpool Refrigerator Drain Pan Replacement, Remove the rear panel: 手順 9、 3の画像 3
    • Pull the rear panel off the chassis to remove it.

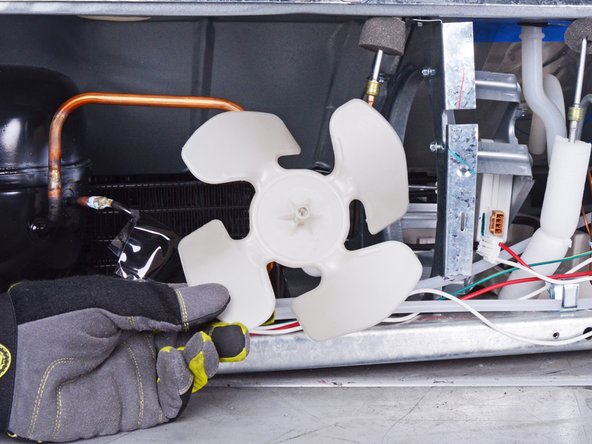
  10. Whirlpool Refrigerator Drain Pan Replacement, Remove the condenser fan: 手順 10、 3の画像 1 Whirlpool Refrigerator Drain Pan Replacement, Remove the condenser fan: 手順 10、 3の画像 2 Whirlpool Refrigerator Drain Pan Replacement, Remove the condenser fan: 手順 10、 3の画像 3
    • Put on gloves before continuing, as the sheet metal and the condenser fan itself are sharp.

    • Pull the condenser fan straight off its peg to remove it.

  11. Whirlpool Refrigerator Drain Pan Replacement, Unclip the drain pan: 手順 11、 2の画像 1 Whirlpool Refrigerator Drain Pan Replacement, Unclip the drain pan: 手順 11、 2の画像 2
    • Use a flathead screwdriver, or a similar tool, to pry up the metal clip from the back of the drain pan.

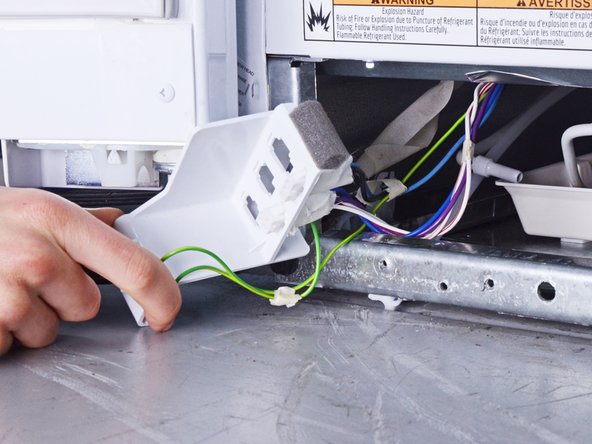
  12. Whirlpool Refrigerator Drain Pan Replacement, Reposition the wiring harness: 手順 12、 3の画像 1 Whirlpool Refrigerator Drain Pan Replacement, Reposition the wiring harness: 手順 12、 3の画像 2 Whirlpool Refrigerator Drain Pan Replacement, Reposition the wiring harness: 手順 12、 3の画像 3
    • Pull the wiring harness straight out of the chassis until you can access the drain pan.

  13. Whirlpool Refrigerator Drain Pan Replacement, Peel the tape: 手順 13、 3の画像 1 Whirlpool Refrigerator Drain Pan Replacement, Peel the tape: 手順 13、 3の画像 2 Whirlpool Refrigerator Drain Pan Replacement, Peel the tape: 手順 13、 3の画像 3
    • Peel the tape off the front metal clip attached to the drain pan.

  14. Whirlpool Refrigerator Drain Pan Replacement, Unclip the drain pan: 手順 14、 3の画像 1 Whirlpool Refrigerator Drain Pan Replacement, Unclip the drain pan: 手順 14、 3の画像 2 Whirlpool Refrigerator Drain Pan Replacement, Unclip the drain pan: 手順 14、 3の画像 3
    • Use your fingers to release the metal clip on the front of the drain pan.

    • Fold the metal clip so that it lays flat on the floor of the chassis.

  15. Whirlpool Refrigerator Drain Pan Replacement, Remove the drain pan: 手順 15、 3の画像 1 Whirlpool Refrigerator Drain Pan Replacement, Remove the drain pan: 手順 15、 3の画像 2 Whirlpool Refrigerator Drain Pan Replacement, Remove the drain pan: 手順 15、 3の画像 3
    • Pull the drain pan toward the front of the chassis to release any remaining clips.

    • Remove the drain pan.

終わりに

To reassemble your device, follow these instructions in reverse order.

Take your e-waste to an R2 or e-Stewards certified recycler.

Repair didn’t go as planned? Ask our Answers community for help.

作成者

1人の作成者と共同作成されました。

nicO

メンバー登録日: 04/14/15

15,927 ポイント

88のガイドは作成済み

チーム

Global Fixers Global Fixers人のメンバー

Community

35 メンバー

603のガイドは作成済み

0 件のコメント

コメントを追加

統計データ:

過去 24時間: 17

過去 7 日: 131

過去 30 日: 544

今までの合計 4,779