メインコンテンツにスキップ
リペアコミュニティに参加 - アカウントの作成

Vtech Kidizoom Smart Watch DX Buttons Replacement

必要な工具と部品

  1. Vtech Kidizoom Smart Watch DX Buttons Replacement, Master Switch: 手順 1、 1の画像 1
    • Make sure the master switch is "OFF" before disassembly, to avoid an electric shock.

    • Flip the watch over with the back facing up.

    FixBotに聞いてみる
  2. Vtech Kidizoom Smart Watch DX Buttons Replacement: 手順 2、 1の画像 1
    • Remove the four 6.0 mm screws on the back plate with the Phillips #00 screwdriver.

    FixBotに聞いてみる
  3. Vtech Kidizoom Smart Watch DX Buttons Replacement: 手順 3、 1の画像 1
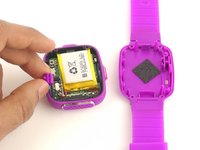
    • Gently pull the back plate from the watch casing.

    FixBotに聞いてみる
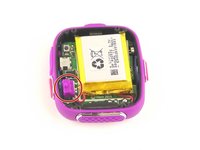
  4. Vtech Kidizoom Smart Watch DX Buttons Replacement: 手順 4、 2の画像 1 Vtech Kidizoom Smart Watch DX Buttons Replacement: 手順 4、 2の画像 2
    • Lift the master switch from the circuit board.

    FixBotに聞いてみる
  5. Vtech Kidizoom Smart Watch DX Buttons Replacement, Circuit Board: 手順 5、 2の画像 1 Vtech Kidizoom Smart Watch DX Buttons Replacement, Circuit Board: 手順 5、 2の画像 2
    • The speaker wires are fragile. They may break if excessive force is used to remove the circuit board.

    • Removal of the circuit board requires soldering.

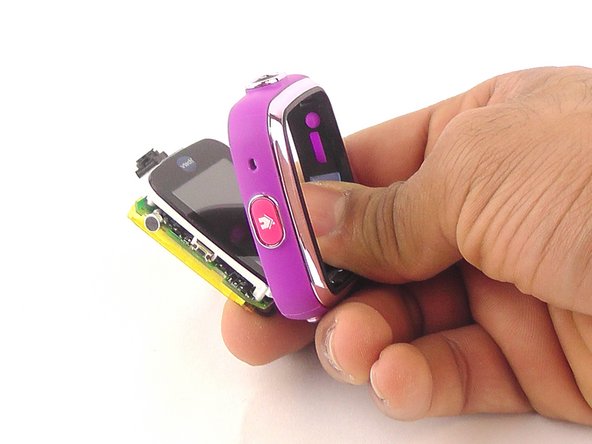
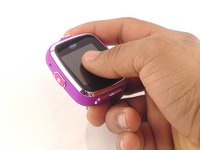
    • Gently push on the display from the front, near the camera. The circuit board and display will pop out through the back.

    FixBotに聞いてみる
  6. Vtech Kidizoom Smart Watch DX Buttons Replacement: 手順 6、 1の画像 1
    • Lift the circuit board carefully from the casing, without breaking or detaching the speaker wires at the bottom of the circuit board.

    FixBotに聞いてみる
  7. Vtech Kidizoom Smart Watch DX Buttons Replacement: 手順 7、 1の画像 1
    • Note which wire is connected to which lead before continuing. There are no markers on the circuit board to indicate where each wire belongs.

    • De-solder the black speaker wire from the circuit board.

    FixBotに聞いてみる
  8. Vtech Kidizoom Smart Watch DX Buttons Replacement: 手順 8、 1の画像 1
    • De-solder the red speaker wire, as in the previous step.

    FixBotに聞いてみる
  9. Vtech Kidizoom Smart Watch DX Buttons Replacement: 手順 9、 1の画像 1
    • Wait for the solder to cool down and solidify, then remove the circuit board from the casing.

    FixBotに聞いてみる
  10. Vtech Kidizoom Smart Watch DX Buttons Replacement, Buttons: 手順 10、 1の画像 1
    この手順で使用する道具:
    Tweezers
    $4.99
    • Use the the tweezers to pull off the blue rubber cover behind the button.

    • The blue cover is adhesive, so you can stick it back onto the back of the buttons after replacement.

    FixBotに聞いてみる
  11. Vtech Kidizoom Smart Watch DX Buttons Replacement: 手順 11、 1の画像 1
    • Use tweezers to separate the backside tab from the front side of the button.

    FixBotに聞いてみる
  12. Vtech Kidizoom Smart Watch DX Buttons Replacement: 手順 12、 1の画像 1
    • Push the other half of the button out of the casing.

    • Repeat steps 11 and 12 for all buttons.

    FixBotに聞いてみる
終わりに

To reassemble your device, follow these instructions in reverse order.

2 の人々がこのガイドを完成させました。

作成者

3人の作成者と共同で作成されました。

Mohammed Alyaarubi

メンバー登録日: 01/20/16

365 ポイント

1ガイドが承認済み

チーム

USF Tampa, Team 10-6, Remmell Spring 2016 USF Tampa, Team 10-6, Remmell Spring 2016人のメンバー

USFT-REMMELL-S16S10G6

4 メンバー

12のガイドは作成済み

1件のガイドコメント

Where can you buy the replacement cover?

Katrina Nullatamby - 返信 共有

コメントを追加

統計データ:

過去 24時間: 0

過去 7 日: 6

過去 30 日: 70

今までの合計 6,408