メインコンテンツにスキップ

Vtech Innotab 3 Microphone Replacement

必要な工具と部品

  1. Vtech Innotab 3 Microphone Replacement, Rear Panel: 手順 1、 3の画像 1 Vtech Innotab 3 Microphone Replacement, Rear Panel: 手順 1、 3の画像 2 Vtech Innotab 3 Microphone Replacement, Rear Panel: 手順 1、 3の画像 3
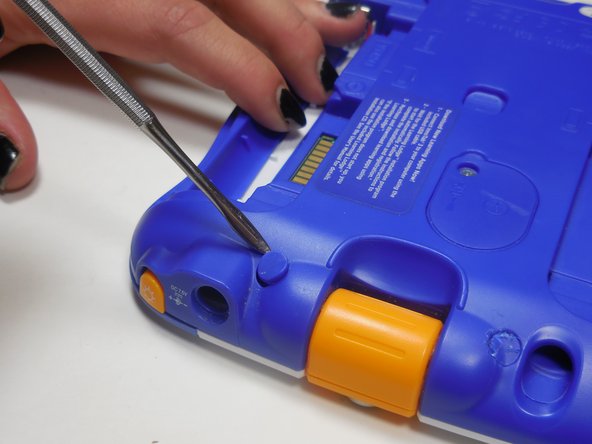
    • Slide the battery compartment door lock down.

    • While still holding the battery compartment lock down, slide the two battery doors outwards on either side of the device.

    • Carefully remove the batteries from the battery compartment.

    • The standard option for the InnoTab 3 is four AA batteries. Vtech also offers a rechargeable battery online, but both battery options are removed from the device the same way.

  2. Vtech Innotab 3 Microphone Replacement: 手順 2、 1の画像 1
    • Remove the six 7.6mm screws found in the battery compartment using a PH00 screwdriver.

  3. Vtech Innotab 3 Microphone Replacement: 手順 3、 3の画像 1 Vtech Innotab 3 Microphone Replacement: 手順 3、 3の画像 2 Vtech Innotab 3 Microphone Replacement: 手順 3、 3の画像 3
    • There are three hidden screws on the back of the device, two at the top and one near the bottom.

    • Using a nylon or metal spudger, remove the three caps that hide the screws.

    • Remove the 5mm screw near the bottom and the two 7.6mm at the top using a PH00 screwdriver.

  4. Vtech Innotab 3 Microphone Replacement: 手順 4、 1の画像 1
    • Carefully separate the back panel from the front panel revealing the motherboard connected to the front panel.

  5. Vtech Innotab 3 Microphone Replacement, Microphone: 手順 5、 3の画像 1 Vtech Innotab 3 Microphone Replacement, Microphone: 手順 5、 3の画像 2 Vtech Innotab 3 Microphone Replacement, Microphone: 手順 5、 3の画像 3
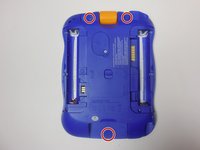
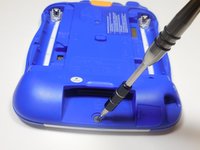
    • Remove the four 7.6 mm screws using a PH00 screwdriver.

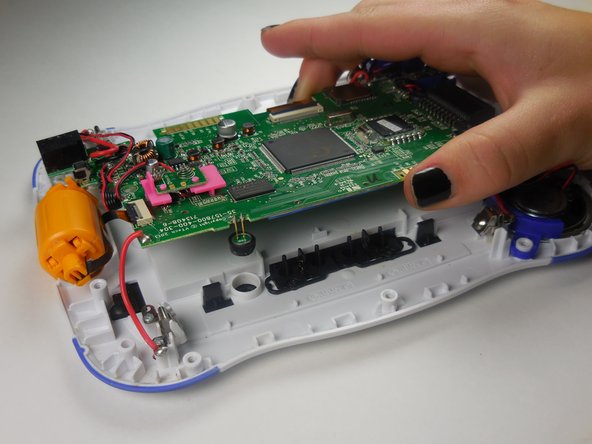
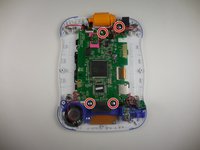
    • Lift up the circuit board from the device.

  6. Vtech Innotab 3 Microphone Replacement: 手順 6、 3の画像 1 Vtech Innotab 3 Microphone Replacement: 手順 6、 3の画像 2 Vtech Innotab 3 Microphone Replacement: 手順 6、 3の画像 3
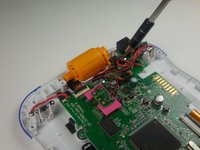
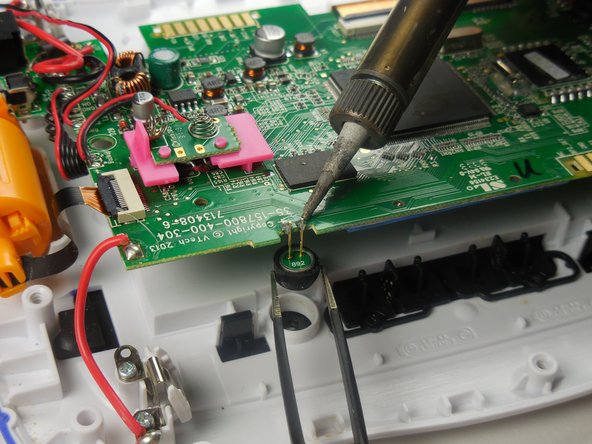
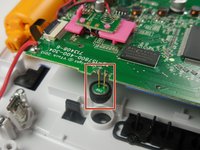
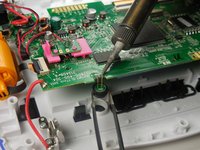
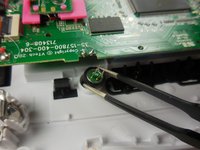
    • To replace the microphone, desolder the two connections that connect the speaker to the device.

    • Use tweezers to keep the microphone steady as you desolder the connections.

    • This is a tricky step. Refer to this guide to learn how to solder: How To Solder and Desolder Connections

終わりに

To reassemble your device, follow these instructions in reverse order.

作成者

2人の作成者と共同で作成されました。

Zach Diviney

メンバー登録日: 03/11/15

419 ポイント

4のガイドは作成済み

チーム

Colorado Springs, Team 5-4, Panko Spring 2015 Colorado Springs, Team 5-4, Panko Spring 2015人のメンバー

UCCS-PANKO-S15S5G4

3 メンバー

10のガイドは作成済み

0 件のコメント

コメントを追加

統計データ:

過去 24時間: 0

過去 7 日: 1

過去 30 日: 1

今までの合計 332