はじめに
This guide will show you how to replace the LCD display if the screen breaks. Soldering and de-soldering will be necessary.
必要な工具と部品
-
-
Unscrew the two 4.0mm Phillips head screws found near the ports at the bottom of the device using a PH #00 screwdriver.
-
-
-
-
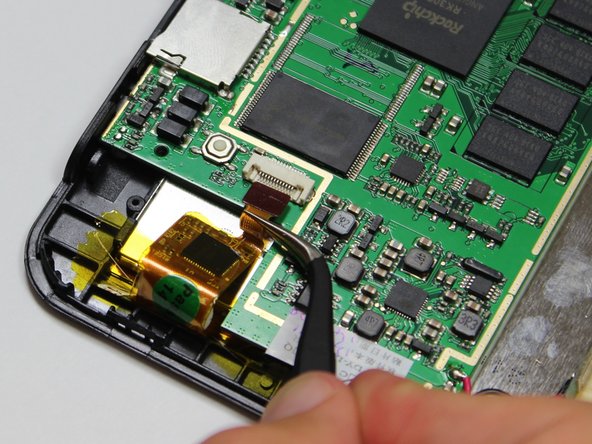
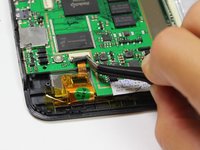
Remove the three 4.0mm screws holding down the circuit board with the Phillips #00 screwdriver.
-
-
-
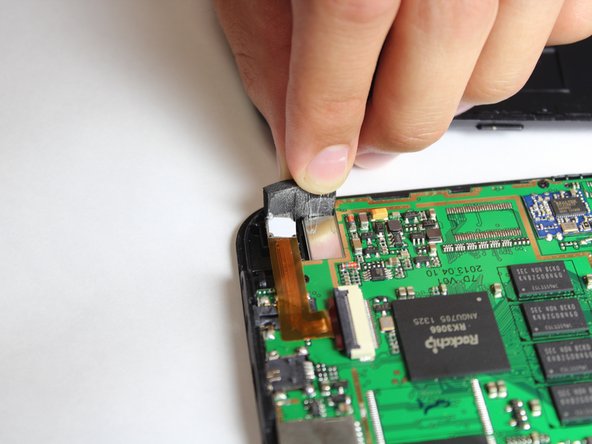
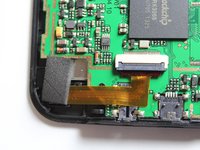
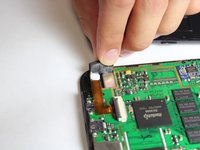
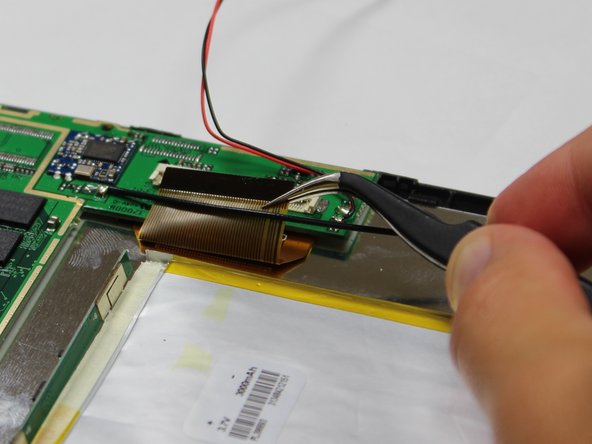
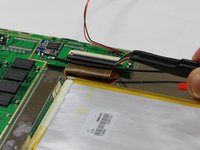
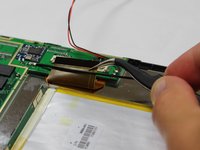
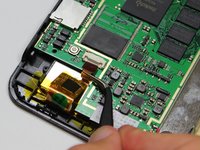
Desolder the black wire from the LCD.
-
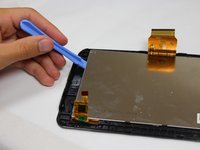
For soldering information, see our guide: はんだ付けとはんだ除去の作業ガイド.
-


To reassemble your device, follow these instructions in reverse order.
ある他の人がこのガイドを完成しました。
チーム

Cal Poly, Team 10-41, Amido Fall 2014 Cal Poly, Team 10-41, Amido Fall 2014人のメンバー
CPSU-AMIDO-F14S10G41
4 メンバー
12のガイドは作成済み