メインコンテンツにスキップ

VTech VM3254 Monitor Circuit Board and Screen Replacement

必要な工具と部品

  1. VTech VM3254 Monitor Circuit Board and Screen Replacement, Battery: 手順 1、 2の画像 1 VTech VM3254 Monitor Circuit Board and Screen Replacement, Battery: 手順 1、 2の画像 2
    • Turn the monitor on its back, and remove the two 8 mm Phillips #0 case screws.

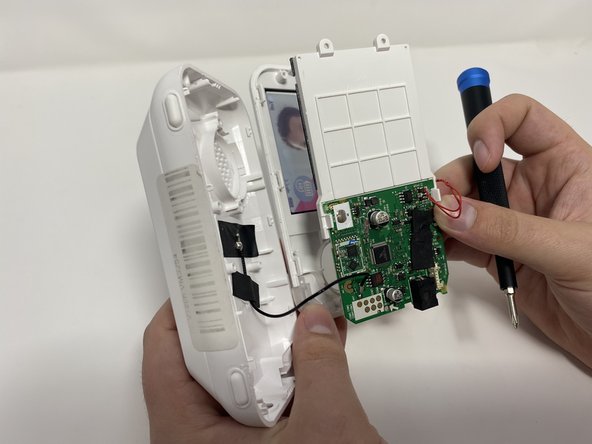
  2. VTech VM3254 Monitor Circuit Board and Screen Replacement: 手順 2、 3の画像 1 VTech VM3254 Monitor Circuit Board and Screen Replacement: 手順 2、 3の画像 2 VTech VM3254 Monitor Circuit Board and Screen Replacement: 手順 2、 3の画像 3
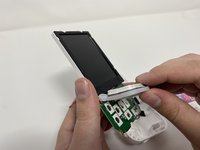
    • Use the iFixit Jimmy tool to begin removing the face of the monitor.

    • You may need to use an opening pick to hold the screen open as you move the Jimmy tool around all the edges of the device.

    • Once the screen has been separated, lift it from the case.

    • Be gentle while removing the screen. There are wires connected to the two pieces that may be damaged.

  3. VTech VM3254 Monitor Circuit Board and Screen Replacement: 手順 3、 2の画像 1 VTech VM3254 Monitor Circuit Board and Screen Replacement: 手順 3、 2の画像 2
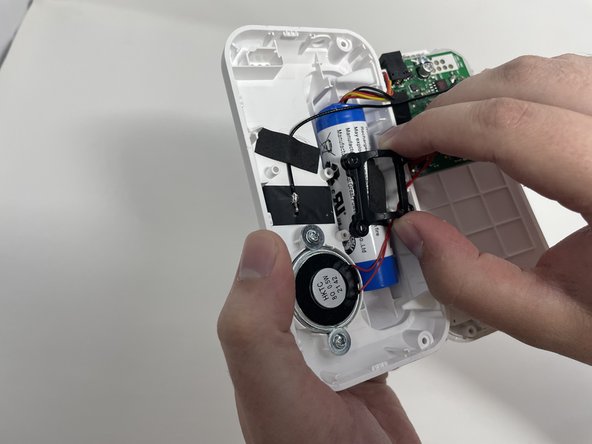
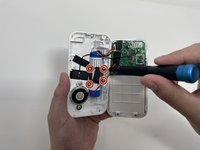
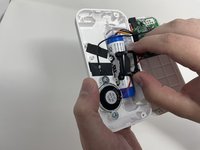
    • Remove the four 8 mm Phillips #00 screws from the bracket that secures the battery.

    • Remove the bracket.

  4. VTech VM3254 Monitor Circuit Board and Screen Replacement: 手順 4、 3の画像 1 VTech VM3254 Monitor Circuit Board and Screen Replacement: 手順 4、 3の画像 2 VTech VM3254 Monitor Circuit Board and Screen Replacement: 手順 4、 3の画像 3
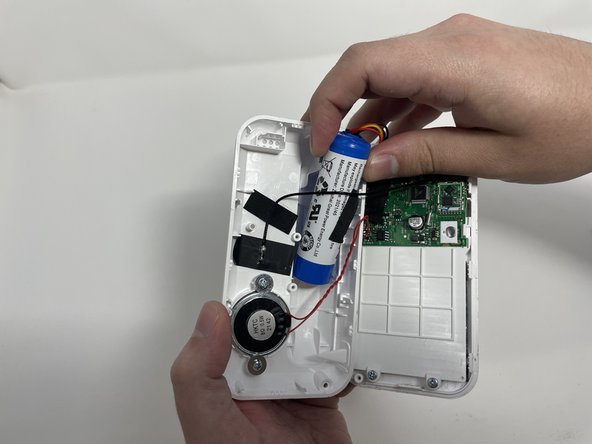
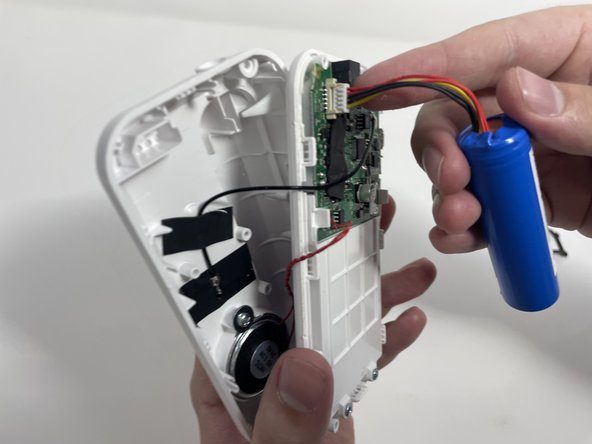
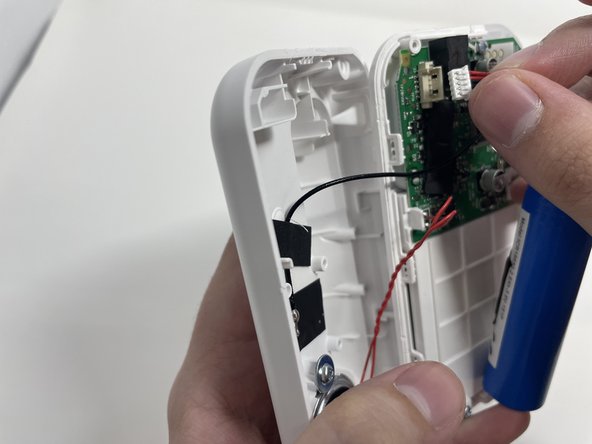
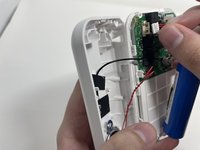
    • Gently remove the battery from its location.

    • Carefully disconnect the bundled cable connector from the circuit board.

  5. VTech VM3254 Monitor Circuit Board and Screen Replacement, Monitor Speaker: 手順 5、 2の画像 1 VTech VM3254 Monitor Circuit Board and Screen Replacement, Monitor Speaker: 手順 5、 2の画像 2
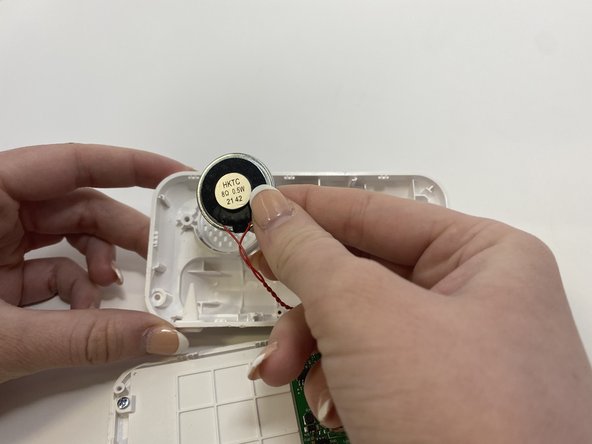
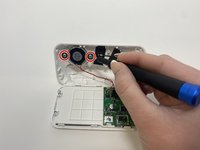
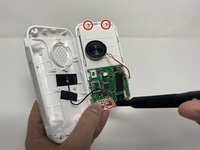
    • Remove the two 7 mm Phillips #00 screws from the speaker.

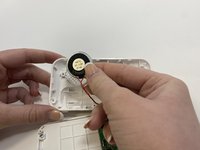
    • Carefully remove the speaker and its cords from the motherboard.

    • Handle gently to not break the motherboard or any other parts.

  6. VTech VM3254 Monitor Circuit Board and Screen Replacement: 手順 6、 1の画像 1
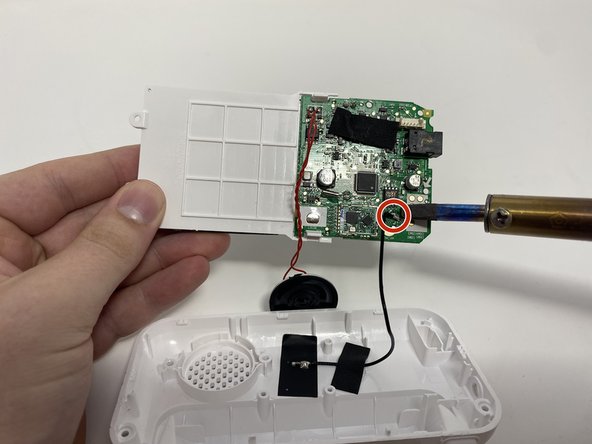
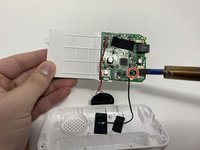
    • Desolder the wire connecting the speaker to the board.

  7. VTech VM3254 Monitor Circuit Board and Screen Replacement, Monitor Circuit Board and Screen: 手順 7、 2の画像 1 VTech VM3254 Monitor Circuit Board and Screen Replacement, Monitor Circuit Board and Screen: 手順 7、 2の画像 2
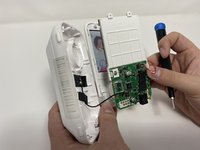
    • Remove the three 8 mm Phillips #00 screws.

    • Gently remove the screen and circuit board from the case.

  8. VTech VM3254 Monitor Circuit Board and Screen Replacement: 手順 8、 2の画像 1 VTech VM3254 Monitor Circuit Board and Screen Replacement: 手順 8、 2の画像 2
    • Remove the button assembly from the front of the screen unit.

    • Flip the screen unit back over and desolder the wire holding it to the case.

終わりに

To reassemble your device, follow these instructions in reverse order.

作成者

3人の作成者と共同で作成されました。

Christina Block

メンバー登録日: 02/09/23

375 ポイント

4のガイドは作成済み

チーム

Utah Tech University, Team 1-2, McMurrin Spring 2023 Utah Tech University, Team 1-2, McMurrin Spring 2023人のメンバー

UTAHTECH-MCMURRIN-S23S1G2

4 メンバー

6のガイドは作成済み

0 件のコメント

コメントを追加

統計データ:

過去 24時間: 1

過去 7 日: 8

過去 30 日: 40

今までの合計 701