はじめに
The keyboard is the part of the computer that lets you enter data into it. If the keyboard is sticking or not functioning properly it will be hard to enter data. Below are a few steps on how to remove the keyboard.
必要な工具と部品


To reassemble your device, follow these instructions in reverse order.
To reassemble your device, follow these instructions in reverse order.
ある他の人がこのガイドを完成しました。
チーム

USF Tampa, Team S20-G3, Passmore Spring 2018 USF Tampa, Team S20-G3, Passmore Spring 2018人のメンバー
USFT-PASSMORE-S18S20G3
4 メンバー
7のガイドは作成済み
コメント 1 件
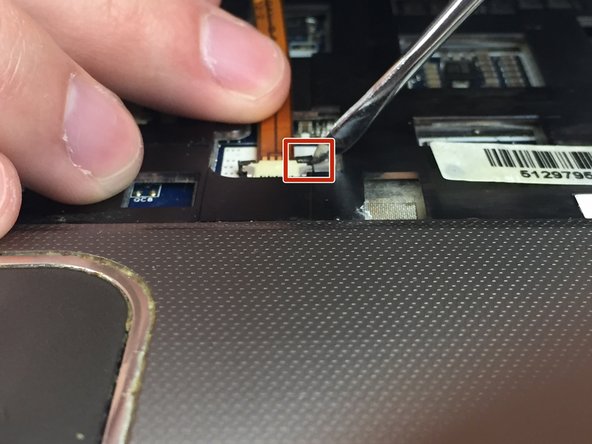
Proceeding this way you will get to break all seals that join that “cover“ to the rest of the keyboard assembly, rendering it unusable if you were not replacing it (in the “step 2“ photos you get to see all the broken pins where the joined parts used to be). In fact, you have to proceed from the other side and remove the cover from under the computer, there you’ll find some small tabs towards the touchpad end of things, you gently pry each tab while loosening that side of the keyboard and it rises up. Be careful not to break the flex circuit that joins it to the mainboard in the process.