メインコンテンツにスキップ

Toshiba Satellite A665-S5170 RAM Replacement

必要な工具と部品

  1. Toshiba Satellite A665-S5170 RAM Replacement, RAM: 手順 1、 1の画像 1
    • Turn your computer upside down so that the bottom of your laptop is facing up.

    • Position your laptop so that you are able to read the words printed on the labels on the bottom of the computer from left to right.

    • Using a Phillips head 0 screw driver, remove the 2mm Phillips head screw at the bottom edge of the RAM panel (located in the center of the bottom of the laptop) by rotating the screw counterclockwise.

  2. Toshiba Satellite A665-S5170 RAM Replacement: 手順 2、 2の画像 1 Toshiba Satellite A665-S5170 RAM Replacement: 手順 2、 2の画像 2
    • Insert something thin, such as your fingernail or a credit card, into the slot at the bottom edge of the RAM panel.

    • Pull up with your hand until the cover of the RAM panel pops out of place and can be removed completely.

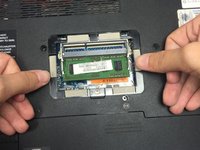
  3. Toshiba Satellite A665-S5170 RAM Replacement: 手順 3、 2の画像 1 Toshiba Satellite A665-S5170 RAM Replacement: 手順 3、 2の画像 2
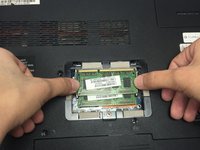
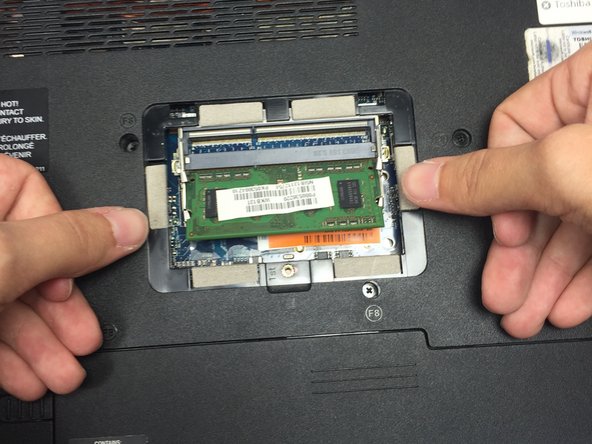
    • With your thumbs, press down on the small silver clamps on the left and right edges of the upper green RAM chip until the clamps release the chip.

    • When the chip is released, it will pop up and stick out at a 45 degree angle from the computer.

  4. Toshiba Satellite A665-S5170 RAM Replacement: 手順 4、 1の画像 1
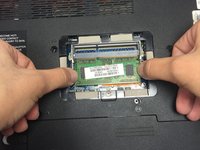
    • Remove the upper RAM chip from its socket by gently gripping the left and right edges with your fingers and pulling the chip towards your body until it slides completely free of the computer.

  5. Toshiba Satellite A665-S5170 RAM Replacement: 手順 5、 2の画像 1 Toshiba Satellite A665-S5170 RAM Replacement: 手順 5、 2の画像 2
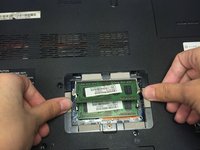
    • With your thumbs, press down on the small silver clamps on the left and right edges of the lower green RAM chip until the clamps release the chip.

    • When the chip is released, it will pop up and stick out at a 45 degree angle from the computer.

  6. Toshiba Satellite A665-S5170 RAM Replacement: 手順 6、 1の画像 1
    • Remove the lower RAM chip from its socket by gently gripping the left and right edges with your fingers and pulling the chip towards your body until it slides completely free of the computer.

終わりに

To reassemble your device, follow these instructions in reverse order.

ある他の人がこのガイドを完成しました。

作成者

2人の作成者と共同で作成されました。

Will Peterson

メンバー登録日: 10/31/16

121 ポイント

1ガイドが承認済み

チーム

Baylor, Team 4-5, Williams Fall 2016 Baylor, Team 4-5, Williams Fall 2016人のメンバー

BU-WILLIAMS-F16S4G5

3 メンバー

12のガイドは作成済み

0 件のコメント

コメントを追加

統計データ:

過去 24時間: 0

過去 7 日: 1

過去 30 日: 6

今までの合計 791