はじめに
After years of use, the little plastic parts on the front panel buttons break from their support, making them hard to use, sometimes pushing on the wrong button. It's possible to glue them back in place.
必要な工具と部品
-
-
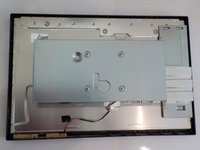
With a PH2 screwdriver, remove the 4 screws (.3" 7.7mm black), and remove the stand.
-
-
-
Locate the 2 scews and their cover at the bottom of the back cover.
-
With a sharp object like a spudger, remove the 2 screw caps
-
With a PH2 screwdriver, remove the 2 screws (.38" 9.7mm black).
-
-
-
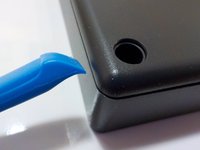
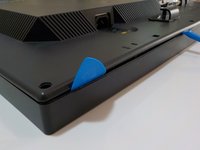
Use the opening tool and pick to undo all the clips around the case, by pulling the border outward.
-
-
-
-
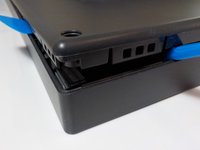
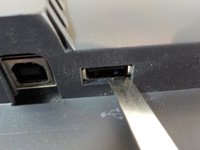
Before removing the back panel completely you might have to push the bottom USB connector shell inside gently to free the case.
-
-
-
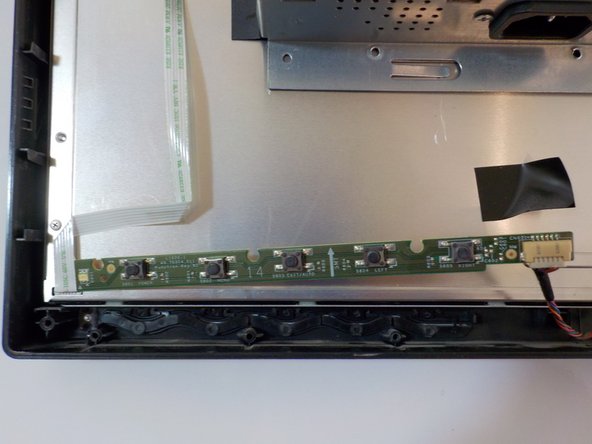
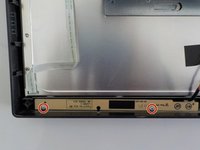
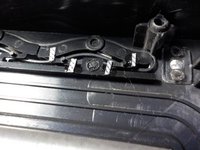
Using a PH1 screwdriver, remove the two screws (0.3" 7.6mm silver) holding the front panel PCB.
-
-
-
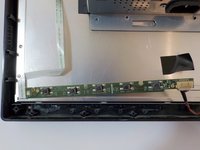
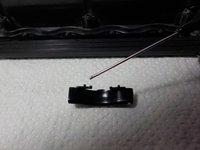
Carefully flip the panel assembly on the back.
-
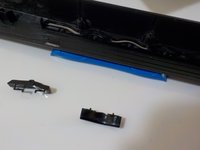
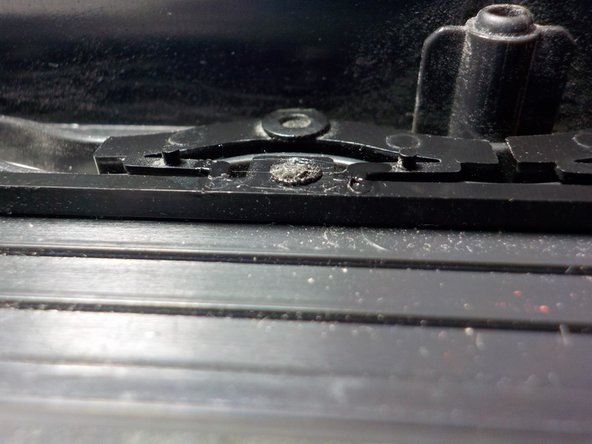
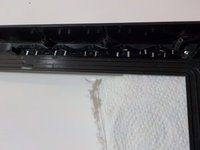
You should be able to remove the front bezel easily to work on it. Some button caps might actually fall off of it if they are broken.
-
-
-
Remove all broken button caps. You might want to completely break those with a partially broken stem using an sharp blade.
-
Clean the button caps, and the parts which will have to be glued back using isopropyl alcohol.
-
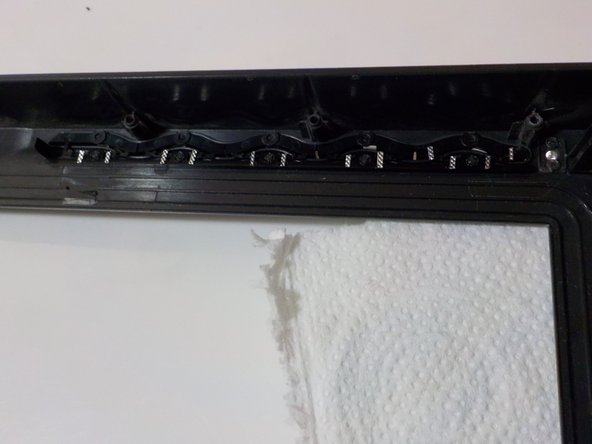
Find something to put under the front bezel so the buttons caps won't be pressed back up when gluing them.
-
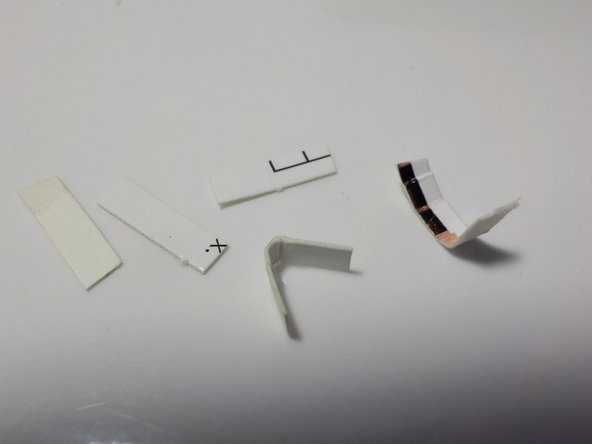
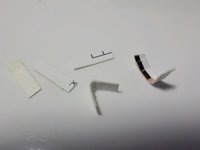
Cut 5 pieces from a light cardboard box, 5mm x 15mm, and fold them in a U shape. These will help holding the button caps and keep them centered in place.
-
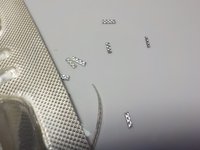
Cut a dozen pieces about 1mm x 4mm from a pill blister or some other PVC blister. These will be used to reinforce the part we glue back.
-
-
-
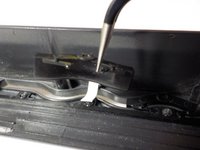
Put some acetone based glue (like UHU Plast), one drop on each broken stem.
-
Place one of the U-shaped cardboard piece in the button cap hole, and push the cap inside until it is correctly held in place.
-
Make sure each stem is correctly back in place both horizontally and vertically.
-
Repeat for each button cap.
-
Let the glue dry (up to 24 hours).
-
-
-
Place a drop of the same glue over each place that was glued back, and put one of the blister pieces we cut. If you used the aluminum coated part of the blister, make sure the aluminum is on the outside, not facing the glue.
-
You may need to also do this on the other end of the stems for some buttons if you notice they show sign of wear.
-
Repeat for each button cap.
-
Let it dry (up to 24 hours).
-
Put it all back in reverse order.
-
Remove the cardboard pieces holding the button caps.
-


To reassemble your device, follow these instructions in reverse order.
If one of the two back panel screw covers doesn't fit flush, remove it, loosen the screw and re-tighten it while holding the back cover in alignment with the front bezel so the screw is centered, and retry putting the cover back.

1件のガイドコメント
I'm starting to have issues with a LT2323p where the Brightness menu keeps popping up and I guess being stuck randomly at times for over 15 seconds locking the menu as another popup OSD'd. When I first got the monitor, second hand, the power button wasn't performing always to power on. So guessing time to disassemble and see if cleaning alone with resolve? What are your thoughts?