はじめに
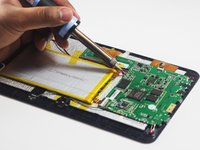
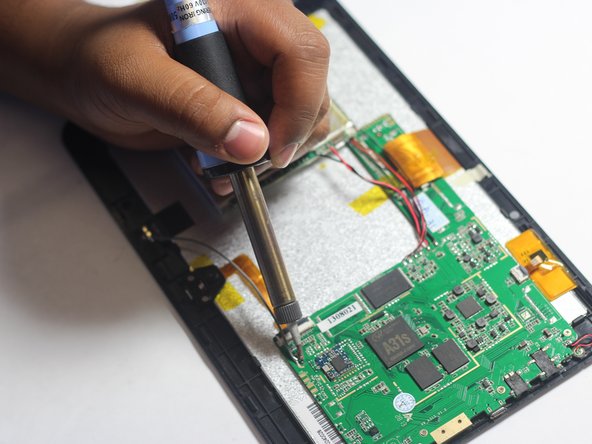
In this guide you will remove the back cover of the device and partially remove the motherboard. Disconnect the screen from the motherboard using a soldering iron and replace it with a new screen.
Because this task requires the use of a soldering iron, prior experience with soldering/desoldering will be beneficial.
必要な工具と部品
-
-
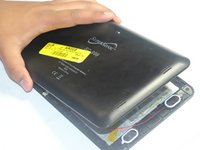
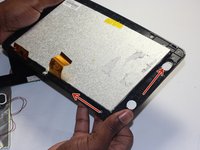
Wedge the plastic opening tool between the back cover of the device and the front panel.
-
You will hear a snapping sound as the cover is separated from the body of the device.
-
-
-
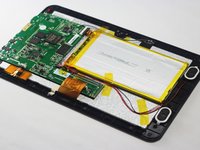
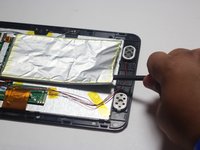
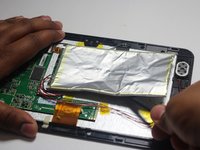
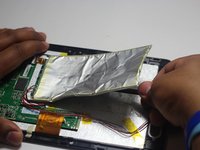
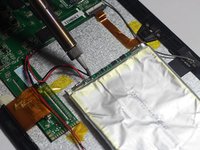
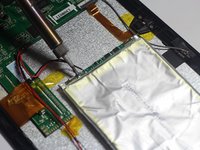
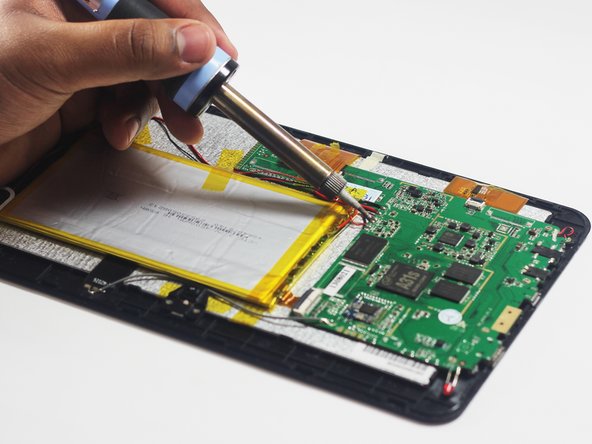
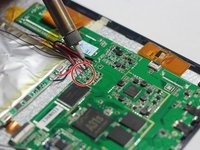
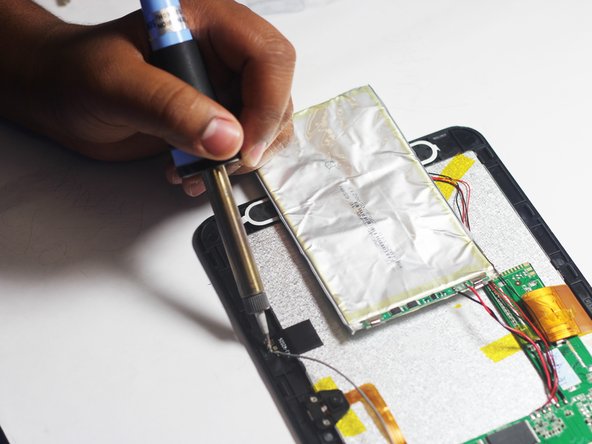
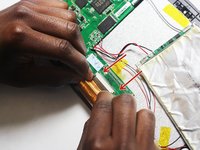
Remove the Battery
-
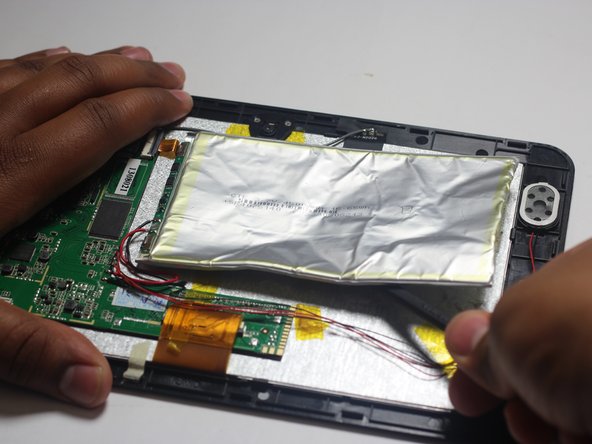
The battery is secured to the back panel with tape and glue.
-
Peel back the tape around the battery and discard it.
-
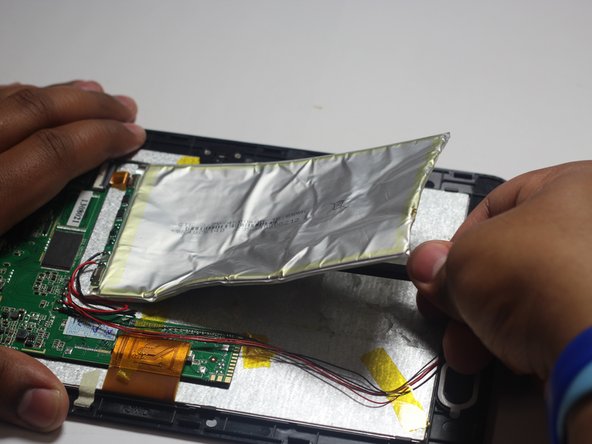
Tear through the adhesive holding the battery by using the spudger tool.
-
-
-
この手順で使用する道具:Tweezers$4.99
-
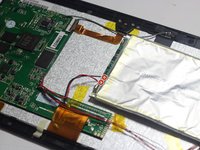
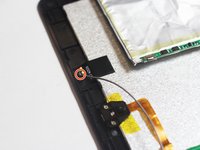
Remove the Speakers
-
Use the tweezers to remove the speakers from their compartments.
-
-
-
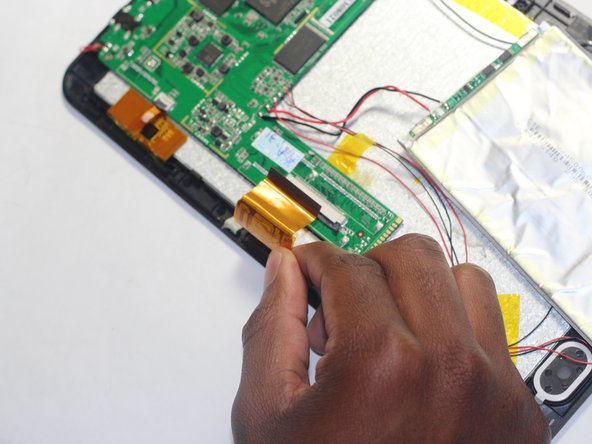
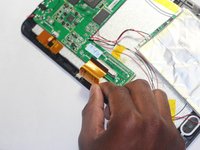
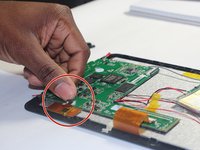
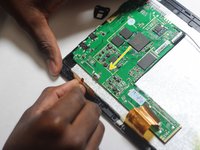
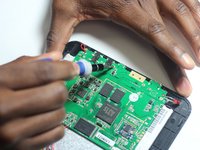
Remove the large ribbon cable from the socket that attaches it to the motherboard.
-
Pull down on the dark grey sliders located on both sides of the ribbon cable to release it.
-


To reassemble your device, follow these instructions in reverse order.
4 の人々がこのガイドを完成させました。
チーム

1件のガイドコメント
what is the part number & where can I get a replacement screen for the SC-8809
impaired27 - 返信