この翻訳は、ソースガイドの最新の更新を反映していない可能性があります。 翻訳の更新に協力してください。 または ソースガイドを参照してください。
はじめに
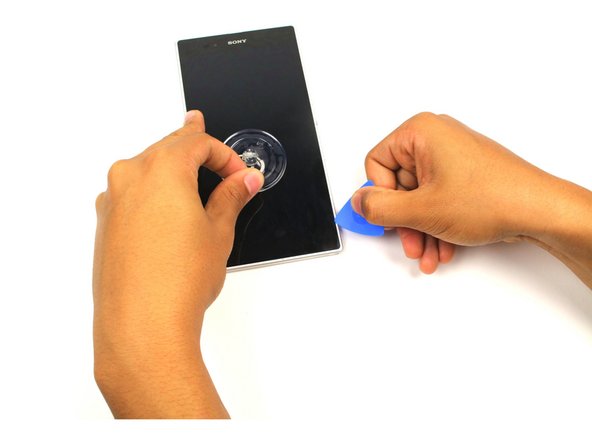
Sony Xperia Z Ultra アンドロイドスマートフォンは2013年に発売されました。スリムなデザインにはスクリーンに問題を生じます。このガイドは、スクリーンの取り外しを伴います。
必要な工具と部品


このデバイスを再組み立てするには、インストラクションを逆の順番に従って作業を進めてください。
このデバイスを再組み立てするには、インストラクションを逆の順番に従って作業を進めてください。
31 の人々がこのガイドを完成させました。
以下の翻訳者の皆さんにお礼を申し上げます:
88%

Midori Doiさんは世界中で修理する私たちを助けてくれています! あなたも貢献してみませんか?
翻訳を始める ›
チーム

Cal Poly, Team 4-6, Maness Fall 2015 Cal Poly, Team 4-6, Maness Fall 2015人のメンバー
CPSU-MANESS-F15S4G6
4 メンバー
10のガイドは作成済み
14 件のコメント
The directions are wrong. The steps are not in order. The ribbon cable will rip on you when you remove the battery. Do not attempt.
Ribbon cable will not be ripped when removing battery, check to make sure you have carefully broken the adhesive seal between the battery and phone housing.
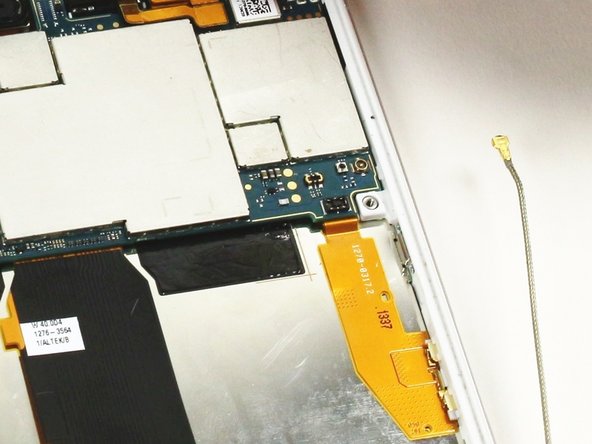
There is absolutely no reason to take out anything other than the battery and the small parts at the bottom of the phone if you are replacing the display assembly on this device. Taking out anything at the top is a waste of time, and a risk to the motherboard. The metal shield at the bottom is really the only thing you need to remove to get to the digitizer connector. Taking anything else out results in wasted time and additional risk to damage of other components.
A hundred times this. The button flex cables on Sony phones are very easy to damage, and there is absolutely no reason to remove them just to replace the display. Unless your display assembly came with a complete frame. Then you have bigger worries, and this guide is incomplete.
Great instructions thanks and it would be even greater if you mentioned that you didnt have to remove flex cables for volume keys or even motherboard