はじめに
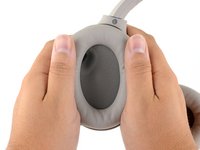
このガイドに従って、Sony WH-1000XM4 ワイヤレスヘッドフォンのイヤーパッドを交換してください。
'注意: このモデルの左右のイヤーパッドは異なります。
必要な工具と部品
-
-
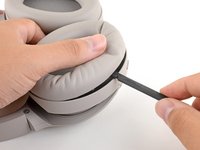
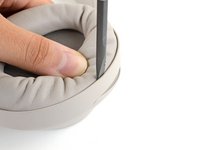
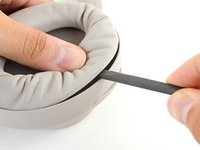
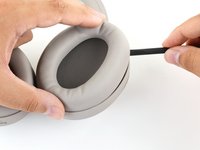
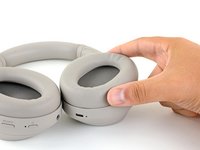
スパッジャーの平面側先端を、クッションとフレーム端の間に差し込みます。
-
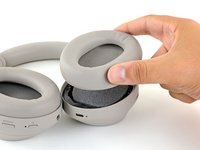
スパッジャーを差し込み、テコの原理のように押し込みながら、イヤーパッド端のクリップを外します。
-
-
-
-
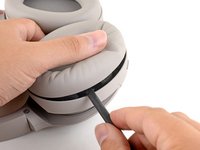
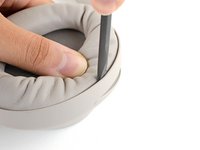
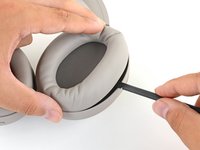
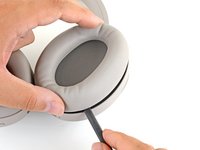
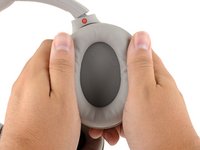
スパッジャーの平面側先端を、クッションとフレーム端の間に差し込みます。
-
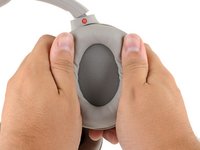
スパッジャーを差し込み、テコの原理のように押し込みながら、イヤーパッド端のクリップを外します。
-


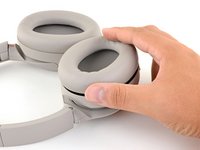


交換用のパーツとオリジナルのパーツを見比べてください。残りのコンポーネントを移植する必要があるか、パーツを取り付ける前に接着剤のライナーを取る必要があります。
デバイスを再組み立てする際は、これらの手順を逆の順番に従って作業を進めてください。
修理がうまく進みませんか?ベーシックなトラブルシューティングを試してみるか、このモデルのアンサーコミュニティを参照してください。
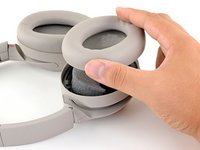
交換用のパーツとオリジナルのパーツを見比べてください。残りのコンポーネントを移植する必要があるか、パーツを取り付ける前に接着剤のライナーを取る必要があります。
デバイスを再組み立てする際は、これらの手順を逆の順番に従って作業を進めてください。
修理がうまく進みませんか?ベーシックなトラブルシューティングを試してみるか、このモデルのアンサーコミュニティを参照してください。
30 の人々がこのガイドを完成させました。
以下の翻訳者の皆さんにお礼を申し上げます:
100%

Midori Doiさんは世界中で修理する私たちを助けてくれています! あなたも貢献してみませんか?
翻訳を始める ›


16 件のコメント
This is a great guide!
it is also the solution to the ticking problem on the left ear cup!
there is a small cable linking the microphone to the headset that is beneath the earcup. it has a small holder that should prevent it from moving.
if it’s not attached properly, the noise canceling will start ticking every few seconds in a very annoying way.
removing the earcup and cleaning there is the best solution I found!
Thanks a lot for the amazing guide!!
I was having a similar issue where the right ear cup was making an annoying scratching sound. Turned out to be a hair that was stuck in and brushing against the speaker. Fixed by opening and removing with tweezers!
spencer -
Very comprehensible instructions, thank you! I have rather the problem that the original ear pads are not available anywhere and are not shipped to Germany by Sony. Does anyone have a tip on how to get the replacement pads or any idea which third-party pads can be recommendet?
Where can I buy official replacement earpads?
i also need to know that, i found some OEM on amazon, but i don't trust any of them