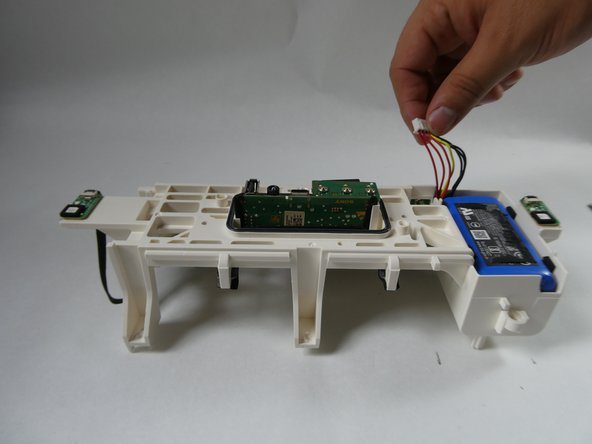
メインコンテンツにスキップ

Sony SRS-XB43 Battery Replacement

必要な工具と部品

  1. Sony SRS-XB43 Battery Replacement, Faceplate: 手順 1、 2の画像 1 Sony SRS-XB43 Battery Replacement, Faceplate: 手順 1、 2の画像 2
    • Insert the metal spudger into the mesh's seam/opening located at the bottom of the speaker.

    • Begin applying pressure, prying along the run of the seam until the mesh cover begins to come loose.

    • Fully open the hinged mesh cover and pry it off the unit.

  2. Sony SRS-XB43 Battery Replacement: 手順 2、 1の画像 1
    • Turn the speaker so the back is facing you.

    • Remove the factory tamper seal below the speaker volume toggle to reveal a single screw.

    • Remove the single screw using a T8 Torx.

  3. Sony SRS-XB43 Battery Replacement: 手順 3、 1の画像 1
    • Remove all ten screws using a Phillips #1 screwdriver.

  4. Sony SRS-XB43 Battery Replacement: 手順 4、 2の画像 1 Sony SRS-XB43 Battery Replacement: 手順 4、 2の画像 2
    • Slowly lift the speaker face off of the housing unit.

    • Unplug the six wires connecting the faceplate to the motherboard.

  5. Sony SRS-XB43 Battery Replacement, Battery: 手順 5、 2の画像 1 Sony SRS-XB43 Battery Replacement, Battery: 手順 5、 2の画像 2
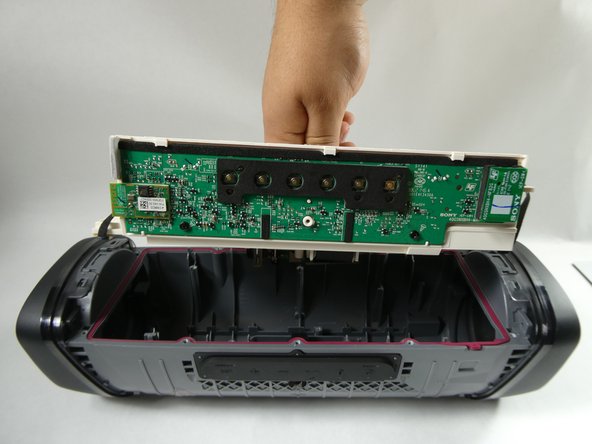
    • Orient the speaker's backplate so that the plastic chassis and internal electronics are facing upwards.

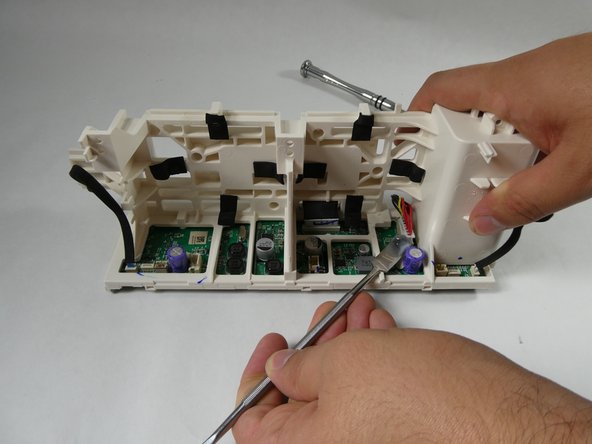
    • Remove the eight 10 mm screws securing the motherboard chassis to the backplate using a Phillips #1 screwdriver.

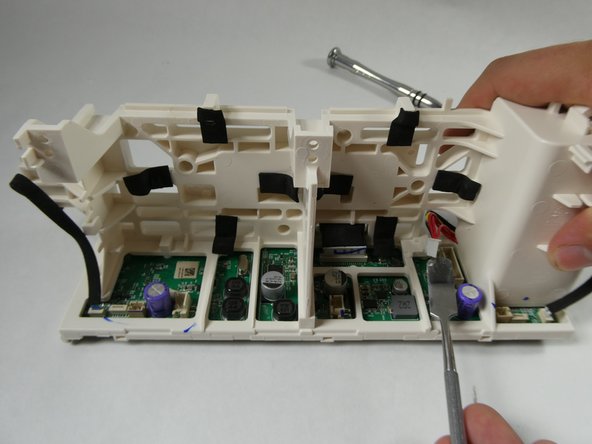
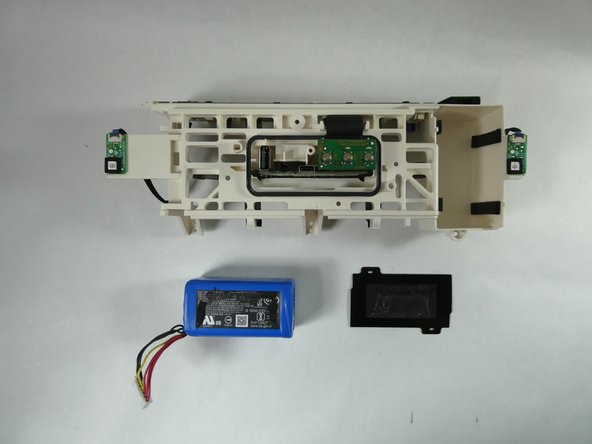
    • Grab the motherboard chassis and gently remove it from the backplate of the speaker.

  6. Sony SRS-XB43 Battery Replacement: 手順 6、 3の画像 1 Sony SRS-XB43 Battery Replacement: 手順 6、 3の画像 2 Sony SRS-XB43 Battery Replacement: 手順 6、 3の画像 3
    • Orient the motherboard chassis so that the side with the six buttons is facedown on the table and the opposite side is visible to you.

    • Disconnect the seven-prong cable (the one with red, yellow, and black wires) plugged into the motherboard by prying on its edge/extruding lip with a spudger.

  7. Sony SRS-XB43 Battery Replacement: 手順 7、 2の画像 1 Sony SRS-XB43 Battery Replacement: 手順 7、 2の画像 2
    • Orient the plastic chassis so that the port housing PCB is facing upward.

    • Remove the plastic black film covering the battery, leaving the blue battery exposed.

  8. Sony SRS-XB43 Battery Replacement: 手順 8、 2の画像 1 Sony SRS-XB43 Battery Replacement: 手順 8、 2の画像 2
    • Lightly pull the seven-prong cable upwards until the battery is angled in such a way that you can get a proper grip on both sides with your fingers.

    • Using your fingers, pull upwards until the battery is removed from its enclosure.

    • Do not use a spudger or other flat tools to pry in between the seam of the battery and the battery compartment, as it is possible to damage the battery.

終わりに

To reassemble your device, follow these instructions in reverse order.

2 の人々がこのガイドを完成させました。

作成者

3人の作成者と共同で作成されました。

Luke Escobar

メンバー登録日: 10/28/22

159 ポイント

1ガイドが承認済み

チーム

UMass Dartmouth, Team 3-5, Botvin Fall 2022 UMass Dartmouth, Team 3-5, Botvin Fall 2022人のメンバー

UMASSD-BOTVIN-F22S3G5

4 メンバー

5のガイドは作成済み

コメント 1 件

So, where can we buy a new battery to use these instructions for replacing it ?

Doubletap - 返信

コメントを追加

統計データ:

過去 24時間: 3

過去 7 日: 18

過去 30 日: 125

今までの合計 1,968