はじめに
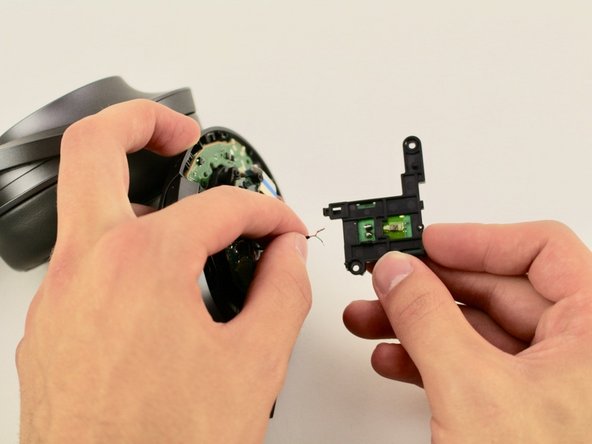
The Bluetooth Transceiver, also called the NFC chip is a small green chip that manages bluetooth capabilities. It is located in the left ear cup and requires soldering and desoldering to replace.
必要な工具と部品
-
-
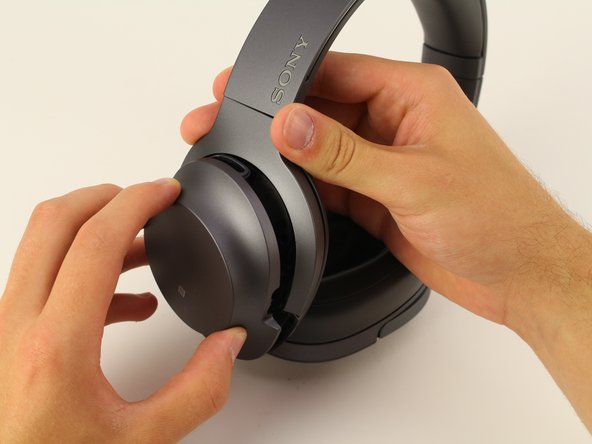
Start by inserting the iFixit plastic opening tool in the crease between the hard plastic and the ear cup, and then gently apply pressure until it separates. You may need to repeat the process on back until it is completely separate.
-
-
-
-
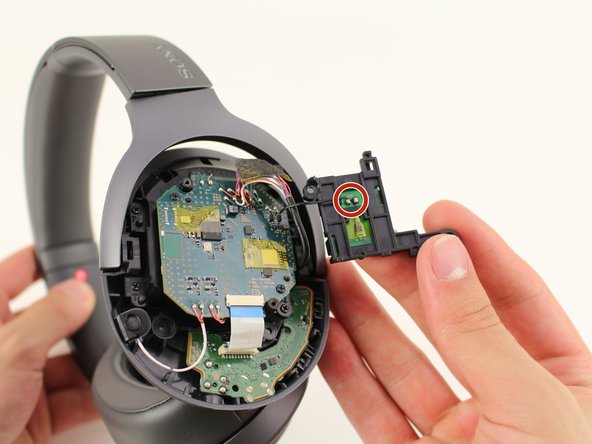
Use the JIS #00 Screwdriver to remove the five 6.4 mm screws holding the back plastic cover in place.
-
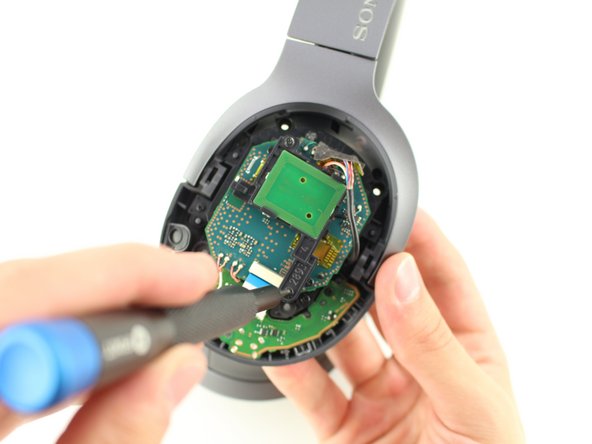
Then, turn the ear cup over and carefully lift the plastic cover off to reveal the internal components of the right ear cup.
-


To reassemble your device, follow these instructions in reverse order.
To reassemble your device, follow these instructions in reverse order.
チーム

Cal Poly, Team S9-G11, Maness Spring 2019 Cal Poly, Team S9-G11, Maness Spring 2019人のメンバー
CPSU-MANESS-S19S9G11
5 メンバー
16のガイドは作成済み