メインコンテンツにスキップ

Sony Cyber-shot DSC-W510 LCD Screen Replacement

必要な工具と部品

  1. Sony Cyber-shot DSC-W510 LCD Screen Replacement, LCD Screen: 手順 1、 1の画像 1
    • Place the Sony Cyber-shot DSC-W510 on the magnetic project mat. This will help keep the small screws organized.

  2. Sony Cyber-shot DSC-W510 LCD Screen Replacement, Unscrew: 手順 2、 2の画像 1 Sony Cyber-shot DSC-W510 LCD Screen Replacement, Unscrew: 手順 2、 2の画像 2
    • Using the Phillips #00 screwdriver, unscrew the outside screws from the frame of the camera.

    • There are five screws on the bottom of the camera and two on the side.

    • If the screws are stripped, visit the Removing a Stripped Screw Guide.

  3. Sony Cyber-shot DSC-W510 LCD Screen Replacement: 手順 3、 2の画像 1 Sony Cyber-shot DSC-W510 LCD Screen Replacement: 手順 3、 2の画像 2
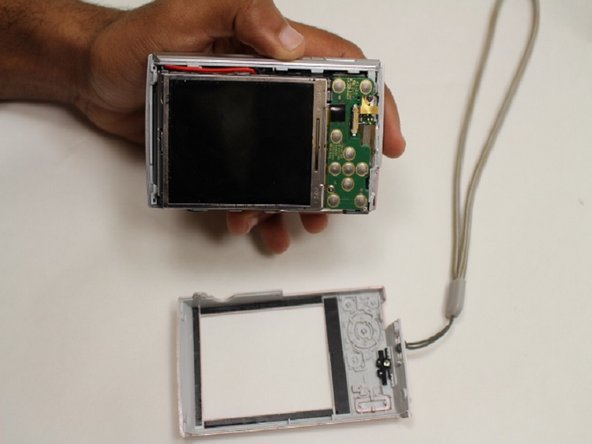
    • Pry open the screen frame using a plastic opening tool.

    • It may be necessary to start by prying at one end of the screen and moving around the edge of the screen frame, until it pops out.

  4. Sony Cyber-shot DSC-W510 LCD Screen Replacement: 手順 4、 2の画像 1 Sony Cyber-shot DSC-W510 LCD Screen Replacement: 手順 4、 2の画像 2
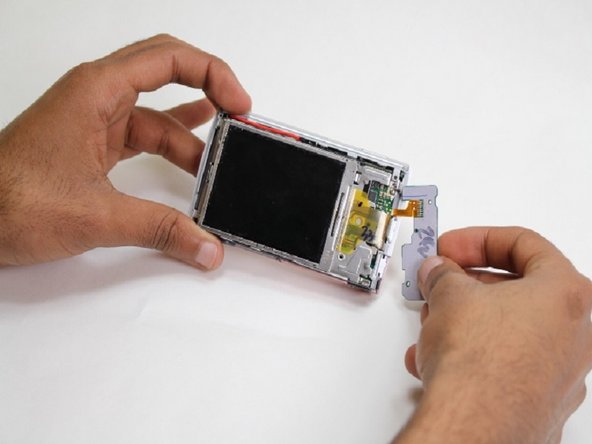
    • Using the screw driver, unscrew the one screw on the control panel board.

  5. Sony Cyber-shot DSC-W510 LCD Screen Replacement: 手順 5、 1の画像 1
    • Gently unplug the control panel from the motherboard outlet.

  6. Sony Cyber-shot DSC-W510 LCD Screen Replacement: 手順 6、 2の画像 1 Sony Cyber-shot DSC-W510 LCD Screen Replacement: 手順 6、 2の画像 2
    • Using your hands, pry open the LCD screen from the metal board.

    • Gently unplug the LCD screen from the motherboard.

終わりに

To reassemble your device, follow these instructions in reverse order.

3 の人々がこのガイドを完成させました。

作成者

3人の作成者と共同で作成されました。

kyle

メンバー登録日: 02/05/15

424 ポイント

3のガイドは作成済み

0 件のコメント

コメントを追加

統計データ:

過去 24時間: 0

過去 7 日: 4

過去 30 日: 10

今までの合計 1,457