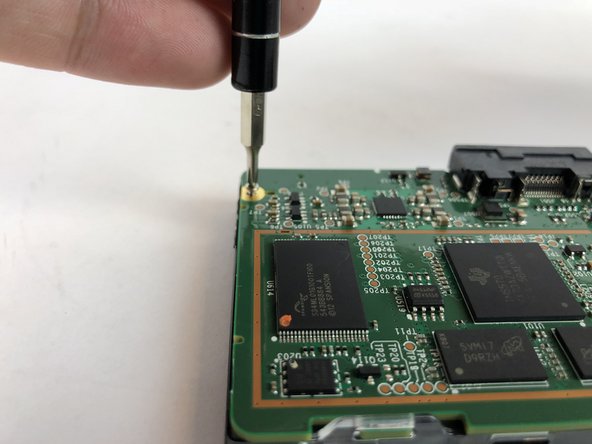
メインコンテンツにスキップ

SiriusXM Onyx Plus Motherboard Replacement

必要な工具と部品

  1. SiriusXM Onyx Plus Motherboard Replacement, Case: 手順 1、 1の画像 1
    • Wedge a plastic opening tool in between the case.

  2. SiriusXM Onyx Plus Motherboard Replacement: 手順 2、 3の画像 1 SiriusXM Onyx Plus Motherboard Replacement: 手順 2、 3の画像 2 SiriusXM Onyx Plus Motherboard Replacement: 手順 2、 3の画像 3
    • Starting with the bottom left corner, press down on the plastic opening tool to unhook the latches on the inside of the device.

    • You have to start with the bottom left and right corners, and then flip the device to over and do the top of the device.

  3. SiriusXM Onyx Plus Motherboard Replacement: 手順 3、 1の画像 1
    • Once unclipped, separate the back casing from the device.

  4. SiriusXM Onyx Plus Motherboard Replacement, Motherboard: 手順 4、 2の画像 1 SiriusXM Onyx Plus Motherboard Replacement, Motherboard: 手順 4、 2の画像 2
    • Remove the three 5.4mm JIS #00 screws from the motherboard.

  5. SiriusXM Onyx Plus Motherboard Replacement: 手順 5、 1の画像 1
    • Unlatch the two clips located at the top of the device that hold the motherboard in place.

  6. SiriusXM Onyx Plus Motherboard Replacement: 手順 6、 1の画像 1
    • Lift the motherboard up from the bottom.

  7. SiriusXM Onyx Plus Motherboard Replacement: 手順 7、 1の画像 1
    • Lift the screen up, so you can see where it is attached to the motherboard.

  8. SiriusXM Onyx Plus Motherboard Replacement: 手順 8、 1の画像 1
    • Use a spudger to flip up the retaining flap on the display ribbon cable ZIF socket.

  9. SiriusXM Onyx Plus Motherboard Replacement: 手順 9、 1の画像 1
    • Carefully pull the ribbon out from the ZIF connector.

終わりに

To reassemble your device, follow these instructions in reverse order.

作成者

2人の作成者と共同で作成されました。

Angel Rivera

メンバー登録日: 01/25/18

532 ポイント

5のガイドは作成済み

チーム

USF Tampa, Team S7-G2, Passmore Spring 2018 USF Tampa, Team S7-G2, Passmore Spring 2018人のメンバー

USFT-PASSMORE-S18S7G2

4 メンバー

5のガイドは作成済み

0 件のコメント

コメントを追加

統計データ:

過去 24時間: 2

過去 7 日: 9

過去 30 日: 24

今までの合計 1,789