はじめに
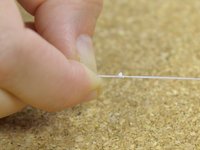
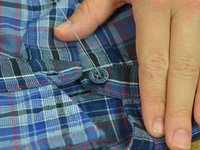
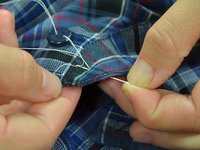
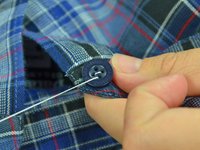
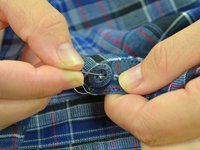
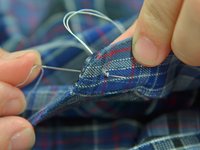
ボタンの交換は、頻繁に必要になる衣類の修理方法です。ボタン付けは修理の中でも、とりわけカンタンです。このガイドでは、標準の4穴ボタンを針と糸でつける方法を説明します。このガイドでは、見やすくするために対照的な糸を使用していますが、実際にボタンをつけるときは、生地の色に一致する糸を使用することをお勧めします。
必要な工具と部品


57 の人々がこのガイドを完成させました。


5 件のコメント
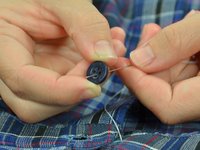
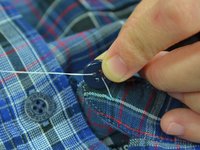
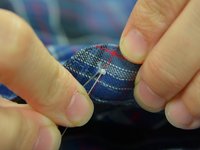
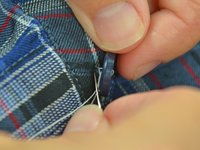
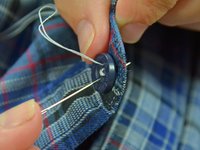
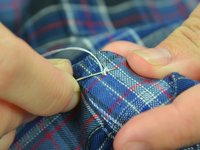
What helps after the last step 14 is to wrap the thread around and around a few times underneath the button itself (binding all the threads together) and making one last pass through the cloth before the final knot. This makes the repair much more durable.
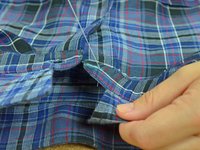
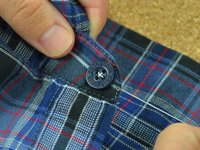
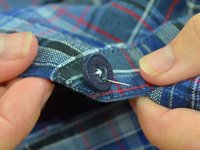
Wrapping the threads underneath the button to create a shank is useful for coat buttons where the fabric is thick and you don’t want the fabric to pucker. As noted, it adds durability to the button attachment. On a shirt collar, as seen here, it would create too much bulk where you need the button to lie quite flat, so this method is quite sufficient.
Thanks Jonathan. Great insight.