はじめに
The box has a dysfunctioning pushbutton. This repairment guide shows a step by step guideline how to replace the button. By following the steps the user will apply the right proceedings and receive tips how to make the steps easier. By clicking the link shown below, the guide will be presented.
必要な工具と部品
-
-
Remove the 5 screws holding the outer casing in place: 3 can be found on the back and 1 on either side of the box.
-
Slide the casing backwards.
 FixBotに聞いてみる
-
-
-
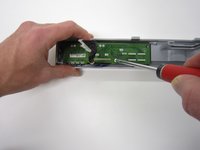
Disconnect the front of the by lifting the 2 connectors . You can also apply extra pressure on the front from below.
-
Tilt the front forward and remove it.
-
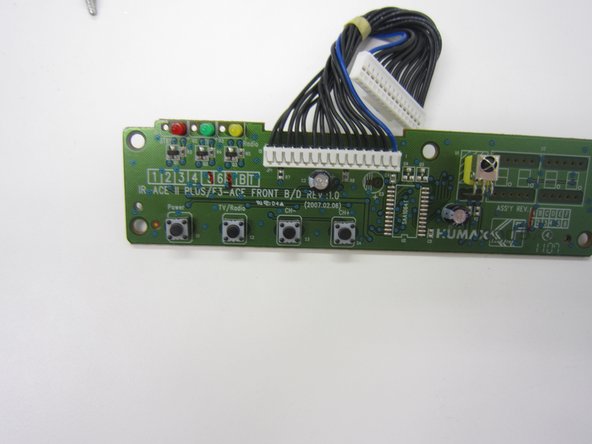
Remove the connector by pressing the upper part of it and carefully pulling it.
-
-
-
-
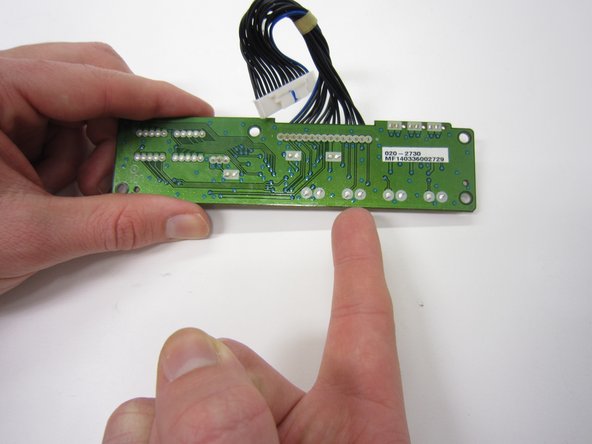
Undo the 4 screws of the front panel.
-
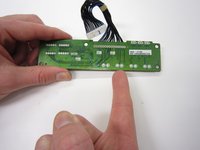
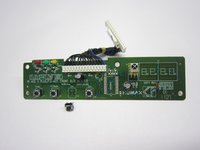
Locate your broken button. For instance, the third button from the left (front view), is the CH- button.
-
-
-
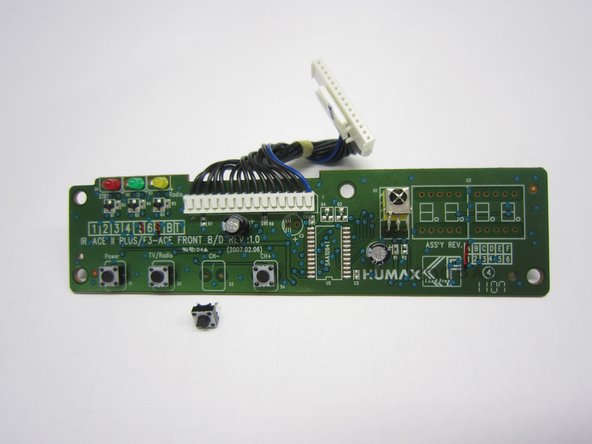
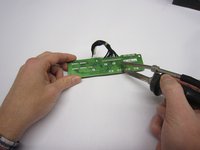
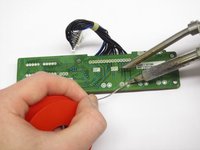
Unsolder the push button. You can push it out or maybe use some plyers.
-
Remove the old button and insert the new one.
-
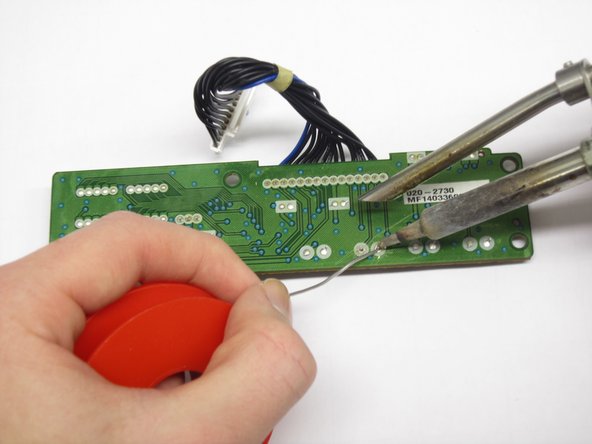
Solder the new push button on.
-
Check this link for help はんだ付けとはんだ除去の作業ガイド
-


To reassemble your device, follow these instructions in reverse order.
チーム

Delft University of Technology, Team 1-5, Flipsen Fall 2016 Delft University of Technology, Team 1-5, Flipsen Fall 2016人のメンバー
TUD-FLIPSEN-F16S1G5
3 メンバー
1のガイドは作成済み