このバージョンは誤った内容を含んでいる可能性があります。最新の承認済みスナップショットに切り替えてください。
必要な工具と部品
-
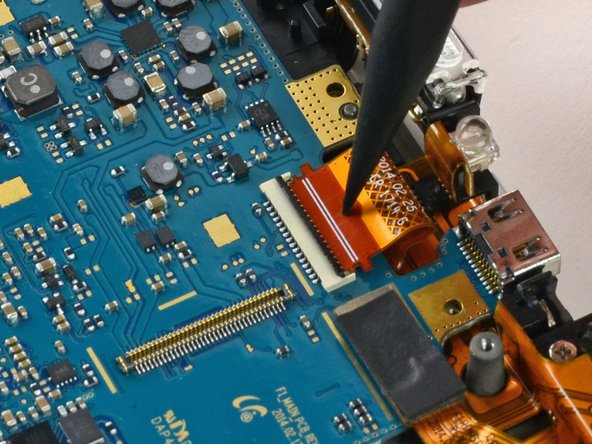
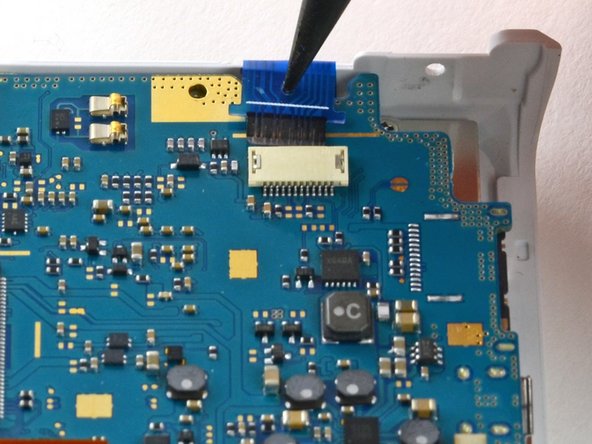
この手順は未翻訳です。 翻訳を手伝う。
-
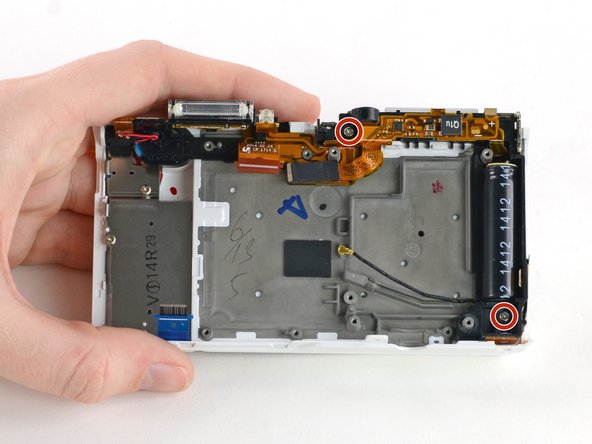
Gently flip the sensor cover back to expose the screw attaching the sensor cover to the ribbon cable.
-
Use a Phillips #00 screwdriver to remove the 3 mm screw from the sensor cover.
-
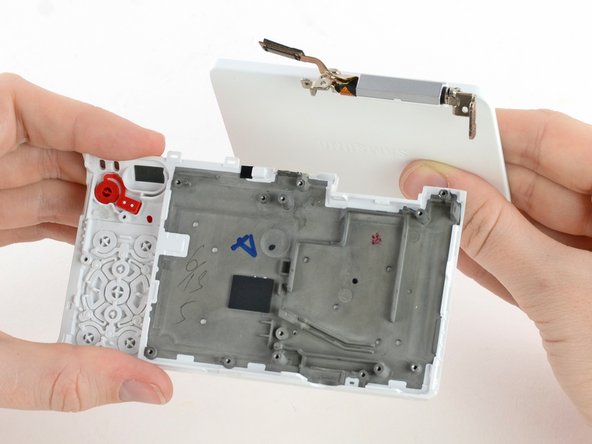
Use tweezers to remove the metal contact cover. Be sure to carefully remove the cover so the gold contacts remain in place.
-
-


3 の人々がこのガイドを完成させました。


4 件のコメント
do you have any nx mini device software tricks or hacks? (Video time limit or no lens error or anything)
Any experiences to change the LCD ?
This camera could be so much better if Samsung adds flash with manual mode when using vintage lenses. Is there any way to get camera to fire flash?
If Samsung just added a toggle option on/off that would be great. If there was a way to control intensity of the flash then even better. It is standard on Nikon 1 camera.