この修理ガイドは変更されています。最新の未承認バージョンに切り替えます。
はじめに
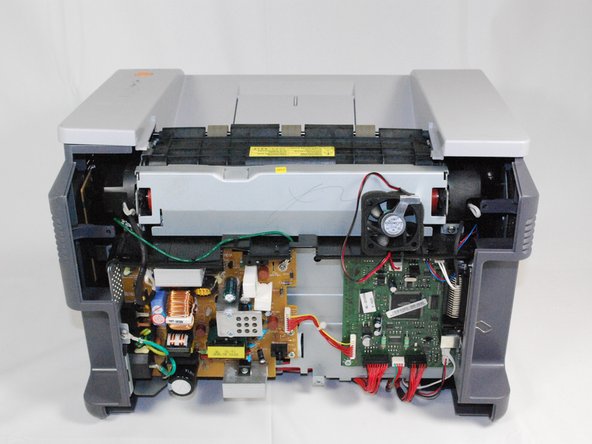
You will be required to disassemble much of the printer and its casing. You will need to refer to the Removing Samsung ML2510 Back Panel repair guide.
必要な工具と部品
-
-
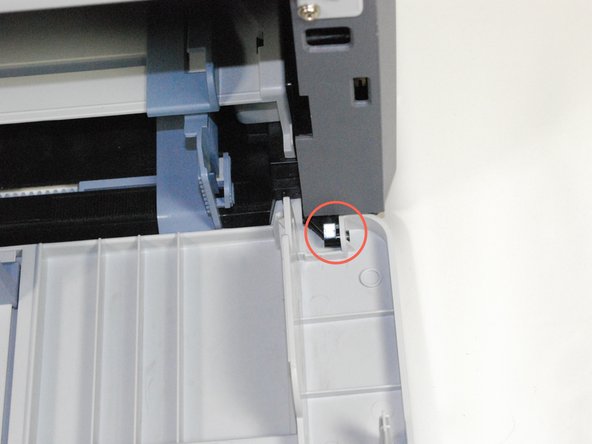
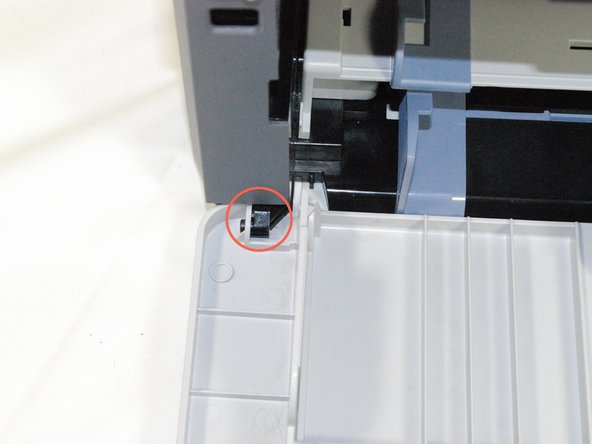
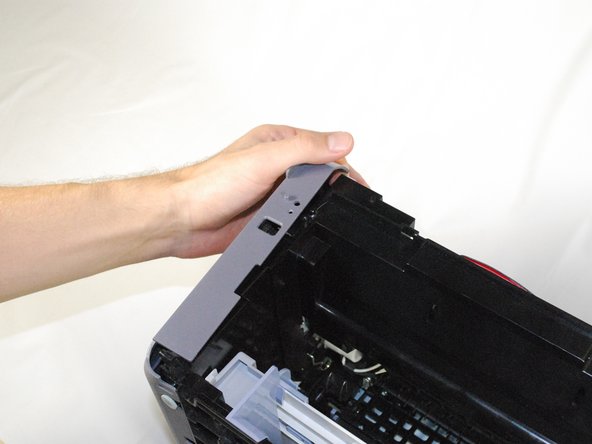
Remove the top hinged panel by taking out the pins at the bottom of this panel.
-
-
-
-
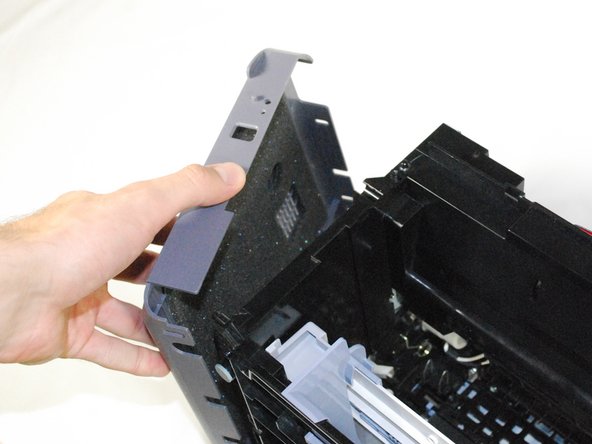
Remove the cable attached to the motor.
-
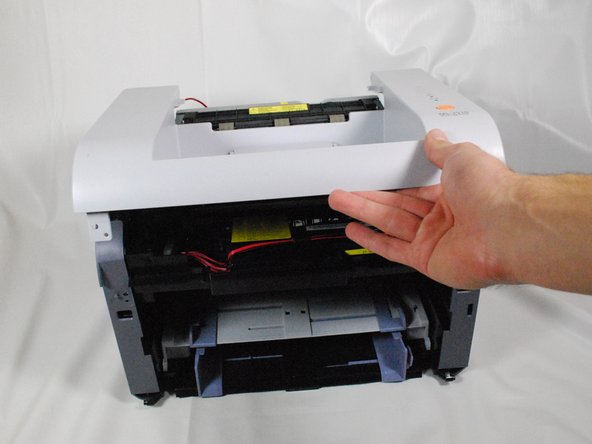
The entire panel can be removed from the rest of the printer.
-
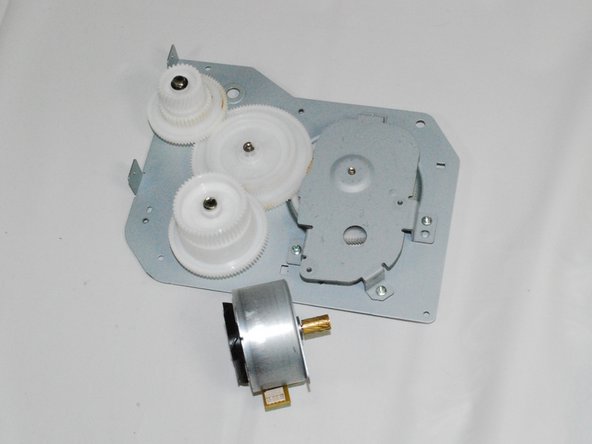
Using a Phillips #2 screwdriver, remove the motor from the panel by removing the two, 1", Phillips, PH#2 screws.
-
Replace the motor and reassemble the printer following instructions in reverse order.
-


ある他の人がこのガイドを完成しました。

チーム

Cal Poly, Team 17-18, Regan Fall 2011 Cal Poly, Team 17-18, Regan Fall 2011人のメンバー
CPSU-REGAN-F11S17G18
4 メンバー
12のガイドは作成済み