メインコンテンツにスキップ

Samsung Galaxy Tab S 10.5 Display Replacement

必要な工具と部品

  1. Samsung Galaxy Tab S 10.5 Display Replacement, Disassembling Galaxy Tab S 10.5 Back Cover: 手順 1、 2の画像 1 Samsung Galaxy Tab S 10.5 Display Replacement, Disassembling Galaxy Tab S 10.5 Back Cover: 手順 1、 2の画像 2
    • Place the plastic opening tool into the SD card slot or charge port.

    • Try in an upward motion until you see a separation between the tablet and back cover.

  2. Samsung Galaxy Tab S 10.5 Display Replacement: 手順 2、 1の画像 1
    • Work around the entire device by sliding the plastic opening tool around the rim.

    • If this is the first time, it will be hard to separate the back cover from the tablet.

    • The clips are approximately 5 cm apart. While working around the device, the clips will make a dislocating sound when disconnected.

  3. Samsung Galaxy Tab S 10.5 Display Replacement: 手順 3、 1の画像 1
    • Remove the back cover once all links have been separated.

    • Be careful when touching any of the internal components of the tablet.

  4. Samsung Galaxy Tab S 10.5 Display Replacement, Display: 手順 4、 2の画像 1 Samsung Galaxy Tab S 10.5 Display Replacement, Display: 手順 4、 2の画像 2
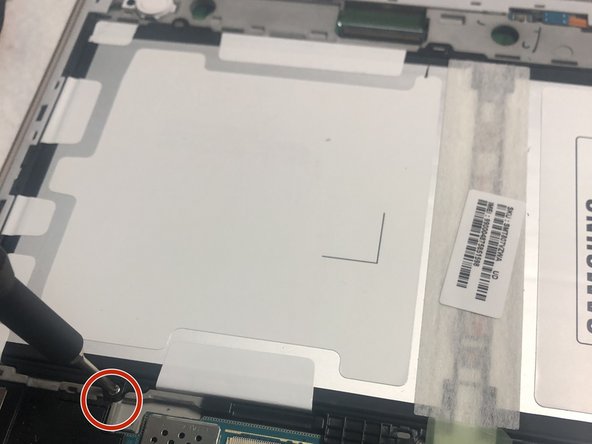
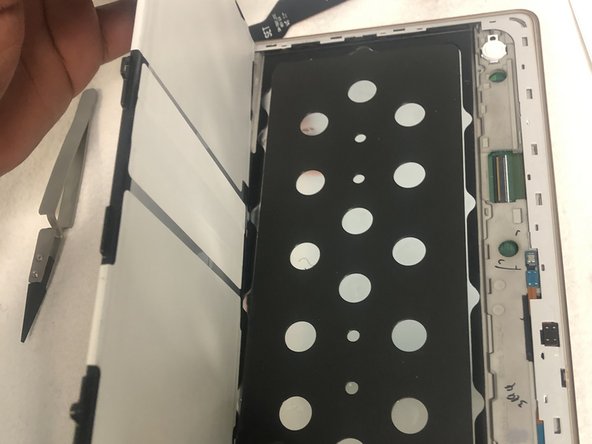
    • After taking off the back cover, use a pair of tweezers to disconnect the two (T807) ribbons.

    • Warning : Ribbon cables are connected with ZIF connectors (Zero Insertion Force): it requires a special sequence with rotation of a plastic lever to release the pressure on contacts. Then ribbon cable can be extracted without any damage.

  5. Samsung Galaxy Tab S 10.5 Display Replacement: 手順 5、 2の画像 1 Samsung Galaxy Tab S 10.5 Display Replacement: 手順 5、 2の画像 2
    • Remove the four screws holding down the battery using the Phillips #000 screwdriver.

  6. Samsung Galaxy Tab S 10.5 Display Replacement: 手順 6、 2の画像 1 Samsung Galaxy Tab S 10.5 Display Replacement: 手順 6、 2の画像 2
    • Remove the battery using a spudger.

    • Do not use a metal spudger on the inner components of your device. The metal spudger should only be used for serious prying power as it can damage the inner components of your device.

  7. Samsung Galaxy Tab S 10.5 Display Replacement: 手順 7、 1の画像 1
    • Use a Phillips #00 screwdriver to remove the screw holding the motherboard.

  8. Samsung Galaxy Tab S 10.5 Display Replacement: 手順 8、 2の画像 1 Samsung Galaxy Tab S 10.5 Display Replacement: 手順 8、 2の画像 2
    • Disconnect the motherboard and remove it from the device using the spudger.

    • The remainder of the device is the entire display assembly.

終わりに

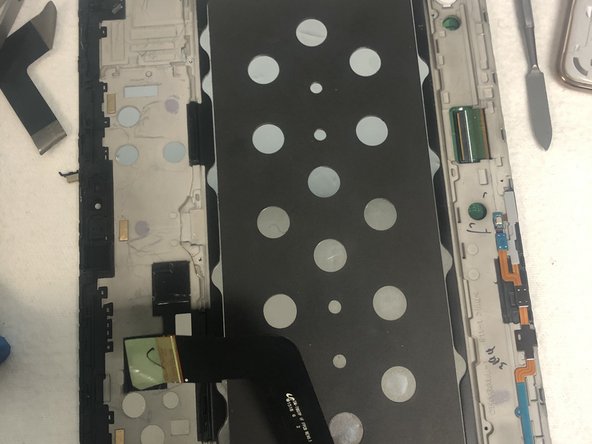
To reassemble your device, follow these instructions in reverse order.

2 の人々がこのガイドを完成させました。

作成者

5人の作成者と共同で作成されました。

Treyvon Akeeme Sumpter

メンバー登録日: 02/20/20

169 ポイント

1ガイドが承認済み

0 件のコメント

コメントを追加

統計データ:

過去 24時間: 2

過去 7 日: 8

過去 30 日: 42

今までの合計 4,330