Remove any micro-SD or SIM cards before continuing.
Verify your device is turned OFF.
Disconnect all external devices from your tablet.
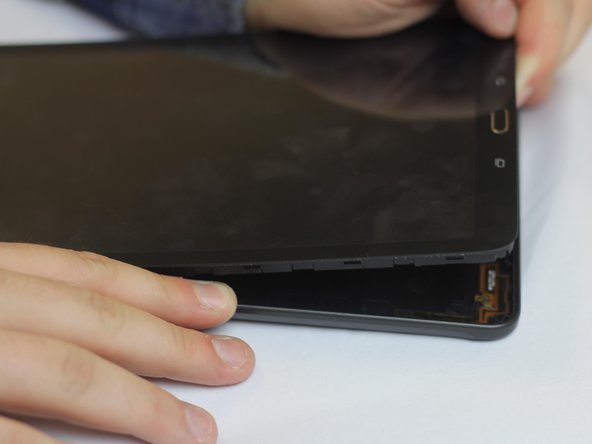
Insert the plastic opening tool by wedging it between the device's screen and back cover.
Move the plastic tool around the edges of the device to undo the plastic lips holding the casing together.
This step may require more force than expected. If difficult, try using a suction cup on the screen.
This process will become easier as more clips are separated.
Use your hands to gently pull the back cover off the device after about half of the clips are separated.
A suction cup can be used in this step as well to assist in pulling the device apart.
この手順で使用する道具:
Tweezers
$4.99
購入する
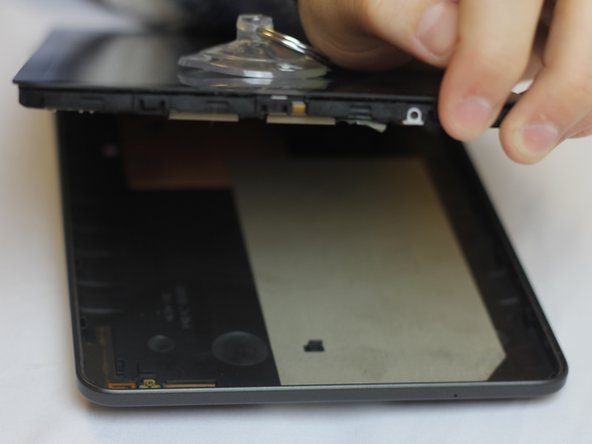
Turn the device over so the screen is facing down. Locate the front panel assembly connector at the top left corner of the motherboard.
To remove the connector, first use a pair of tweezers and flip the connector lock upwards towards the battery.
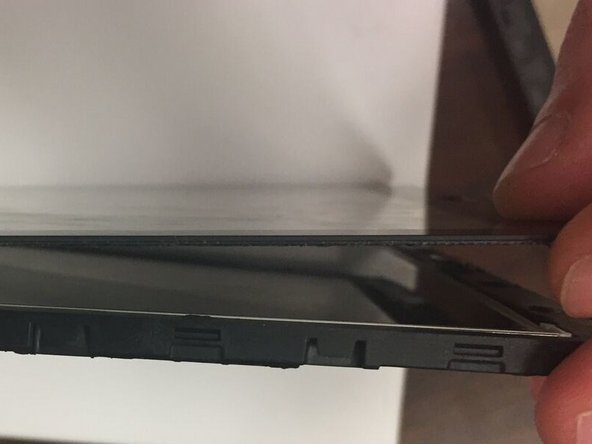
Turn the device back over and use a plastic opening tool to detach the adhesive glue securing the front casing.
You will need to wedge a plastic opening tool in between the front casing and the screen. Then move the tool around the perimeter of the device to break the adhesive.
Once you've loosed the front panel enough with the prying tool, you can use your hands to pull the front panel off of the device.
この手順で使用する道具:
Tweezers
$4.99
購入する
To remove the home button for replacement, locate a strip of ribbon wire on the back of the tablet at the bottom.
Using the tweezers, slowly pull the ribbon wire, being careful to not rip the wire or damage any surrounding parts.
Underneath the home button, you will find more ribbon wire. Do not remove this ribbon wire until the home button has been removed.
Once the ribbon wire has been disconnected from the back, flip the tablet over to remove the home button.
Using tweezers, securely grab the home button and pull until it has been removed. You should now be able to see the remainder of the ribbon wire.
If the ribbon wire is the reason for the faulty home button, remove the remainder of it and replace it with a new ribbon wire.
このガイドを埋め込む
サイズを選択し、以下のコードをコピーして、このガイドを小さなウィジェットとしてサイト/フォーラムに埋め込みます。
1つの手順
全ガイド
小サイズ - 600px
中サイズ - 800px
大サイズ - 1200px
プレビュー