メインコンテンツにスキップ

Samsung Galaxy Note Antenna Replacement

アーカイブされたガイド
このガイドは将来的な使用のためにのみ保存されてます。ご自身の修理作業には更新バージョンをご利用ください。

必要な工具と部品

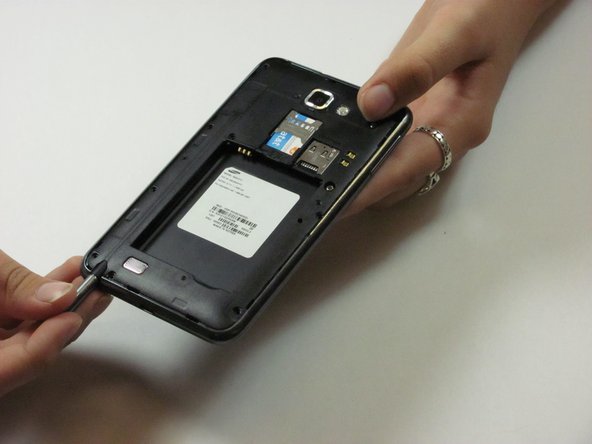
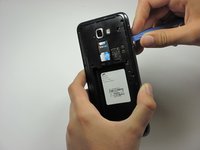
  1. Samsung Galaxy Note Antenna Replacement, Battery: 手順 1、 3の画像 1 Samsung Galaxy Note Antenna Replacement, Battery: 手順 1、 3の画像 2 Samsung Galaxy Note Antenna Replacement, Battery: 手順 1、 3の画像 3
    • Make sure the screen is face-down and the camera is opposite you.

    • Insert the flat end of a spudger into the phone's top right rectangular slot.

    • Use the spudger as a lever to pry open the back of the phone.

  2. Samsung Galaxy Note Antenna Replacement: 手順 2、 1の画像 1
    • With the spudger still inserted, carefully slide the spudger down the side of the phone.

    • Gently peel off the back cover with your hand.

  3. Samsung Galaxy Note Antenna Replacement: 手順 3、 1の画像 1
    • Place the spudger in the battery's bottom right slot.

    • Gently pry to remove the battery.

  4. Samsung Galaxy Note Antenna Replacement, Midframe: 手順 4、 1の画像 1
    • Remove the nine 3mm screws on the perimeter of the phone with a Phillips #00 screwdriver.

  5. Samsung Galaxy Note Antenna Replacement: 手順 5、 1の画像 1
    • Remove the stylus from the bottom of the phone.

  6. Samsung Galaxy Note Antenna Replacement: 手順 6、 3の画像 1 Samsung Galaxy Note Antenna Replacement: 手順 6、 3の画像 2 Samsung Galaxy Note Antenna Replacement: 手順 6、 3の画像 3
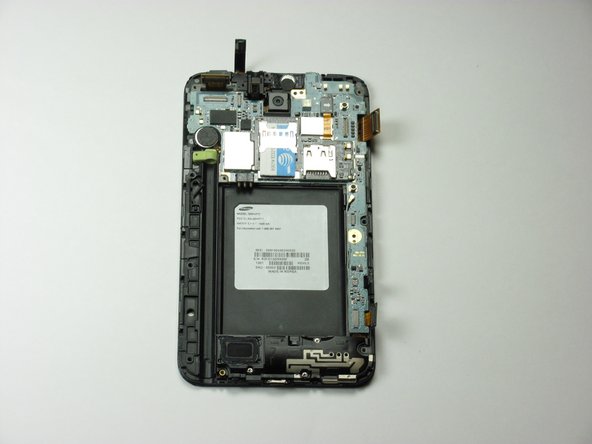
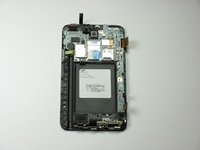
    • Pry all the way around the sides with a plastic pry tool and gently pop off the midframe.

    • If the cover does not come off easily, continue to pry along the phone's perimeter.

    • This step can take some patience. Prying too hard or forcing the screen off can crack or scratch the screen and break the thin plastic around the stylus case.

    • Separate the midframe from the phone. The midframe should now pull off easily.

  7. Samsung Galaxy Note Antenna Replacement, Antenna: 手順 7、 1の画像 1
    • Remove the two 3mm screws surrounded by a gold border with a Phillips #00 screwdriver.

  8. Samsung Galaxy Note Antenna Replacement: 手順 8、 2の画像 1 Samsung Galaxy Note Antenna Replacement: 手順 8、 2の画像 2
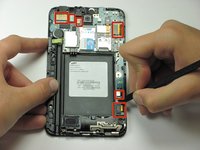
    • Use the spudger to pry up all six flex ribbons that hold the motherboard in place. They should pop off easily.

  9. Samsung Galaxy Note Antenna Replacement: 手順 9、 1の画像 1
    • Use the spudger to pull off the white wire with the gold connector.

  10. Samsung Galaxy Note Antenna Replacement: 手順 10、 1の画像 1
    • Lift the motherboard (PCB) directly up with your hands.

    • If the screws are all removed, the motherboard should come off easily.

  11. Samsung Galaxy Note Antenna Replacement: 手順 11、 2の画像 1 Samsung Galaxy Note Antenna Replacement: 手順 11、 2の画像 2
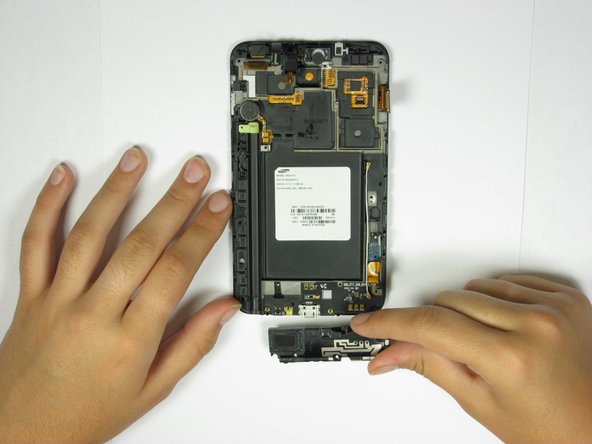
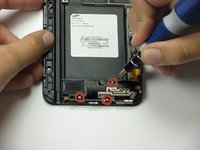
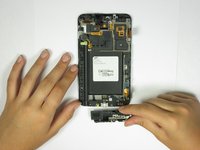
    • Use a Phillips #00 screwdriver to remove the three 3mm screws on the black rectangular bracket located towards the bottom of the phone.

  12. Samsung Galaxy Note Antenna Replacement: 手順 12、 1の画像 1
    • Use the spudger's flat end to disconnect the other end of the antenna.

終わりに

To reassemble your device, follow these instructions in reverse order.

13 の人々がこのガイドを完成させました。

作成者

6人の作成者と共同で作成されました。

David Ritter

メンバー登録日: 04/14/13

758 ポイント

6のガイドは作成済み

チーム

Cal Poly, Team 3-45, Amido Spring 2013 Cal Poly, Team 3-45, Amido Spring 2013人のメンバー

CPSU-AMIDO-S13S3G45

4 メンバー

7のガイドは作成済み

0 件のコメント

コメントを追加

統計データ:

過去 24時間: 0

過去 7 日: 0

過去 30 日: 0

今までの合計 4,638