メインコンテンツにスキップ

このバージョンは誤った内容を含んでいる可能性があります。最新の承認済みスナップショットに切り替えてください。

必要な工具と部品

  1. この手順は未翻訳です。 翻訳を手伝う。

    : 手順 1、 2の画像 1 : 手順 1、 2の画像 2
    この手順で使用する道具:
    Spudger
    $2.99
    購入する
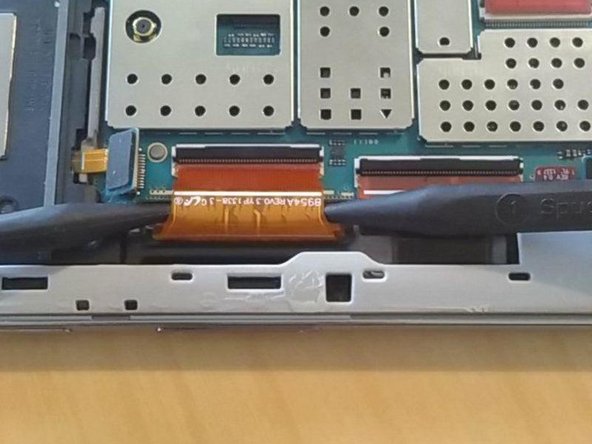
    • Using the nylon spudger or plastic opening tool along the edges of the screen, separate the back case off of the device.
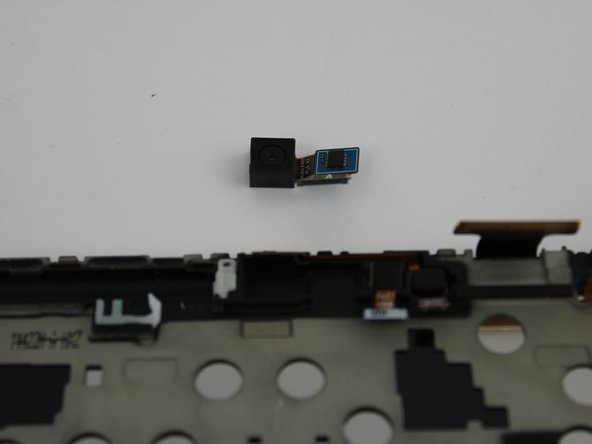
    • If possible, consider using the black nylon spudger for a gentler separation.

  2. この手順は未翻訳です。 翻訳を手伝う。

    : 手順 2、 2の画像 1 : 手順 2、 2の画像 2
    • Remove the three 3mm screws on the top right side of the device with the Phillips PH000 screw head.

    • Remove the one 3mm screw on the top left side of the device with the same method.

  3. この手順は未翻訳です。 翻訳を手伝う。

    : 手順 3、 3の画像 1 : 手順 3、 3の画像 2 : 手順 3、 3の画像 3
    • Remove the gray rubber piece.

    • Use a spudger or fingernail to disconnect the blue antenna cable from the motherboard.

    • Remove the right speaker unit.

  4. この手順は未翻訳です。 翻訳を手伝う。

    : 手順 4、 3の画像 1 : 手順 4、 3の画像 2 : 手順 4、 3の画像 3
    • Remove the loudspeaker modules located on the parts where the screws were removed by using the black nylon spudger.

    • They are the black pieces at the top left and right corners of the device that have metal squares on them in the middle.

  5. この手順は未翻訳です。 翻訳を手伝う。

    : 手順 5、 1の画像 1
    • Place your finger on the thin black bar at the end of the ribbon tape and flip each one up.

    • Gently pull the ribbon tape on the battery away from the bar. Repeat this process for the second ribbon tape.

  6. この手順は未翻訳です。 翻訳を手伝う。

    : 手順 6、 1の画像 1
    この手順で使用する道具:
    Phillips #000 Screwdriver
    $5.49
    購入する
  7. この手順は未翻訳です。 翻訳を手伝う。

    : 手順 7、 2の画像 1 : 手順 7、 2の画像 2
    この手順で使用する道具:
    Spudger
    $2.99
    購入する
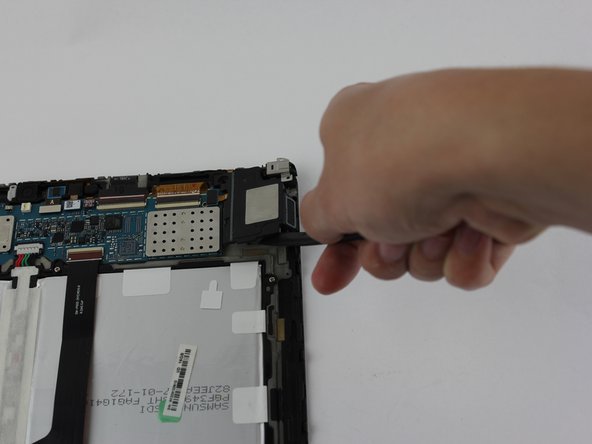
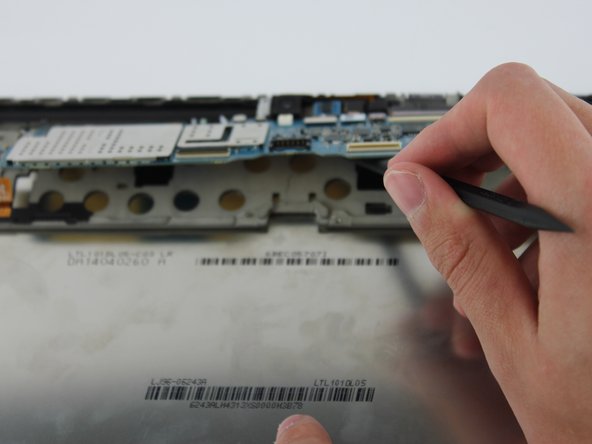
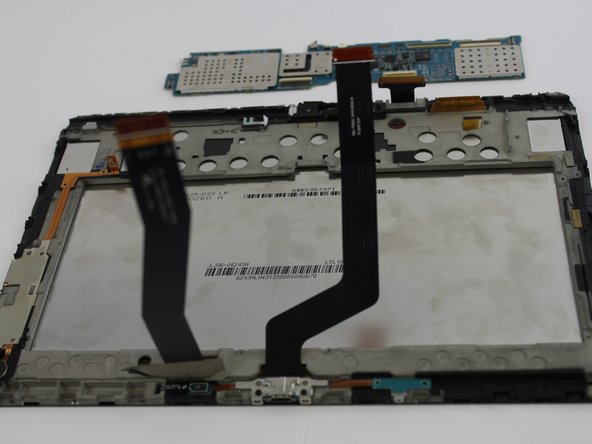
    • Lift up the battery from the bottom and situate the black nylon spudger underneath the battery.

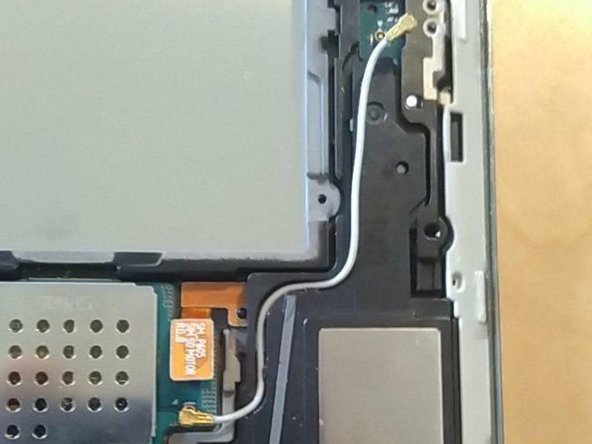
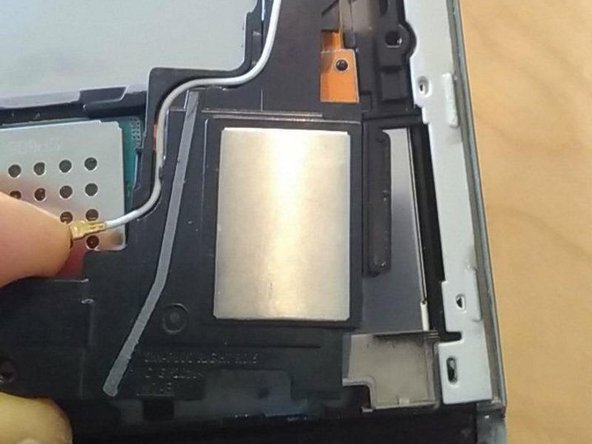
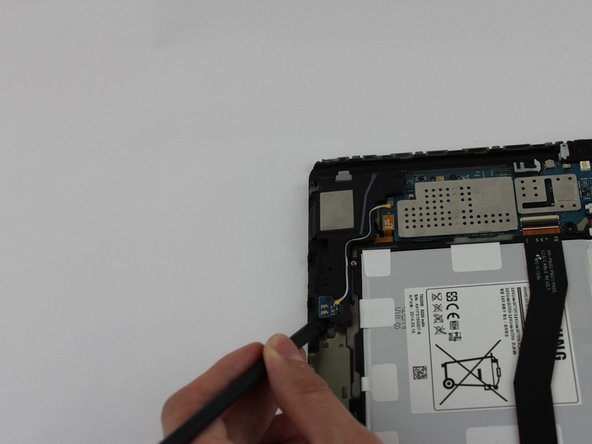
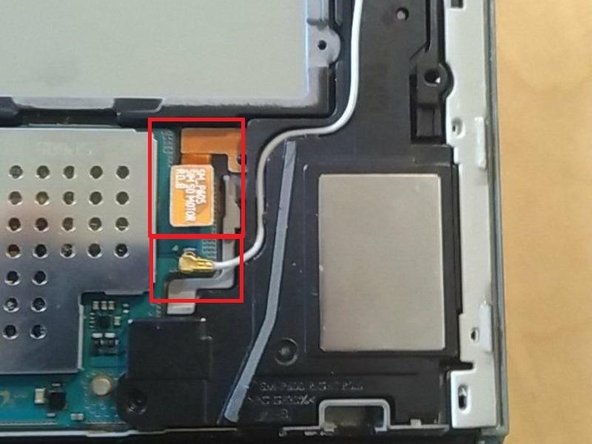
    • Use the black nylon spudger to disconnect the multi-colored wires from the rest of the device.

  8. この手順は未翻訳です。 翻訳を手伝う。

    : 手順 8、 3の画像 1 : 手順 8、 3の画像 2 : 手順 8、 3の画像 3
    • Disconnect all cables on the motherboard.

    • See our connector guide for help safely disconnecting various types of connectors.

  9. この手順は未翻訳です。 翻訳を手伝う。

    : 手順 9、 3の画像 1 : 手順 9、 3の画像 2 : 手順 9、 3の画像 3
    • Use the black nylon spudger to gently lift the motherboard away from the frame.

    • Remove the motherboard.

  10. この手順は未翻訳です。 翻訳を手伝う。

    : 手順 10、 2の画像 1 : 手順 10、 2の画像 2
    • Disconnect the camera piece from the motherboard.

    • The camera piece is shaped like an "L".

ゴール

ある他の人がこのガイドを完成しました。

作成者

3人の作成者と共同で作成されました。

Joseph Rasico

メンバー登録日: 02/20/17

2,173 ポイント

6のガイドは作成済み

チーム

USF Tampa, Team S1-G6, Leahy Spring 2017 USF Tampa, Team S1-G6, Leahy Spring 2017人のメンバー

USFT-LEAHY-S17S1G6

3 メンバー

6のガイドは作成済み

0 件のコメント

コメントを追加

統計データ:

過去 24時間: 2

過去 7 日: 11

過去 30 日: 16

今までの合計 724