メインコンテンツにスキップ

Samsung Galaxy A5 USB power board Replacement

必要な工具と部品

  1. Samsung Galaxy A5 USB power board Replacement, Display: 手順 1、 3の画像 1 Samsung Galaxy A5 USB power board Replacement, Display: 手順 1、 3の画像 2 Samsung Galaxy A5 USB power board Replacement, Display: 手順 1、 3の画像 3
    • Switch off your phone.

    • If your screen is cracked you want to cover the front panel with tape to protect yourself from glass shards and get a better grip to lift it.

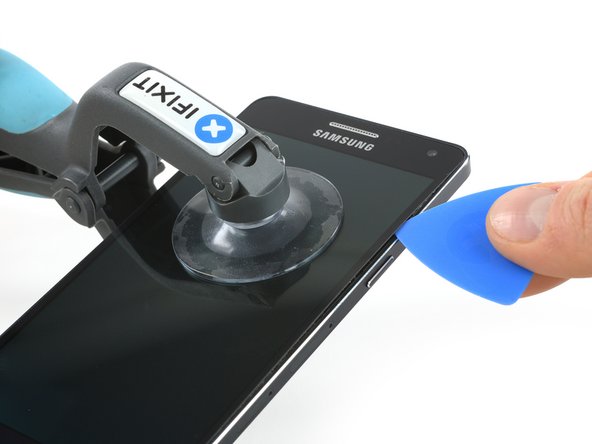
    • Use an iOpener to soften the glue on the edge of the display. Concentrate on the sides first and then on the bottom part.

    • With an iSclack or a suction handle you can lift the display a little bit to get in the gap with an opening pick.

    • The phone screen is composed of two layers (glass and display). Ensure that you are removing both layers and not splitting the two layers.

    • In the beginning just insert the tip of the opening pick and slide along the side to loosen the glue. Leave the top and bottom alone for now.

  2. Samsung Galaxy A5 USB power board Replacement: 手順 2、 3の画像 1 Samsung Galaxy A5 USB power board Replacement: 手順 2、 3の画像 2 Samsung Galaxy A5 USB power board Replacement: 手順 2、 3の画像 3
    • When the glue is loosened enough on the side you can lift the display a little bit more to get underneath the display with an opening pick.

    • Take a second opening pick and work your way around the bottom edge.

    • The software buttons in the lower left and right corners of the screen have ribbon cables that are glued to the display. Be very careful that your pick cuts between the screen and buttons and does not cut these wires.

    • Repeat the last step and this one on the other side.

  3. Samsung Galaxy A5 USB power board Replacement: 手順 3、 3の画像 1 Samsung Galaxy A5 USB power board Replacement: 手順 3、 3の画像 2 Samsung Galaxy A5 USB power board Replacement: 手順 3、 3の画像 3
    • Grab the iOpener once again to heat up the bottom and top part to further soften the glue.

    • Now you will be able to move the picks at the bottom closer to the home button and eventually open the display towards the top.

    • Don't open the display all the way. It is still connected to the motherboard.

    • The home button may stick to the display assembly or remain on the midframe. Keep an eye on it if your new display does not come with one already attached.

  4. Samsung Galaxy A5 USB power board Replacement: 手順 4、 3の画像 1 Samsung Galaxy A5 USB power board Replacement: 手順 4、 3の画像 2 Samsung Galaxy A5 USB power board Replacement: 手順 4、 3の画像 3
    • In the top right corner you can find the connector of the display. Use a spudger to unplug it.

    • Now you can remove the display.

  5. Samsung Galaxy A5 USB power board Replacement, Separating the midframe: 手順 5、 3の画像 1 Samsung Galaxy A5 USB power board Replacement, Separating the midframe: 手順 5、 3の画像 2 Samsung Galaxy A5 USB power board Replacement, Separating the midframe: 手順 5、 3の画像 3
    • Remove the 12 Ph00 screws holding the midframe

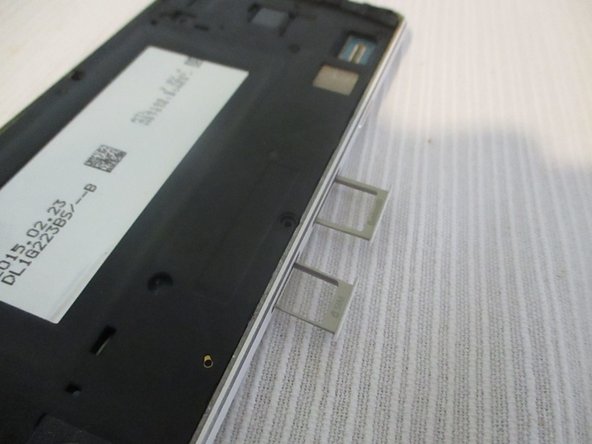
    • Remove the sim and sd card trays

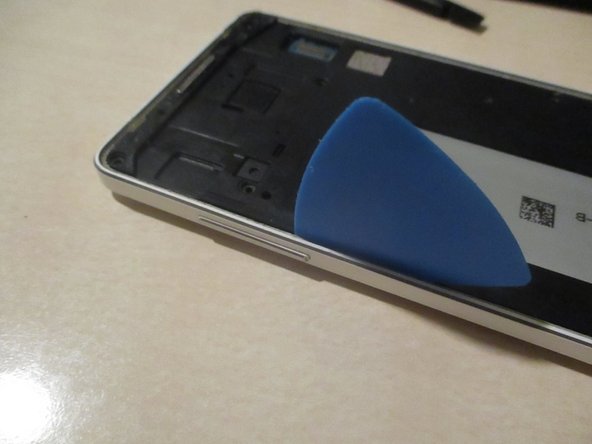
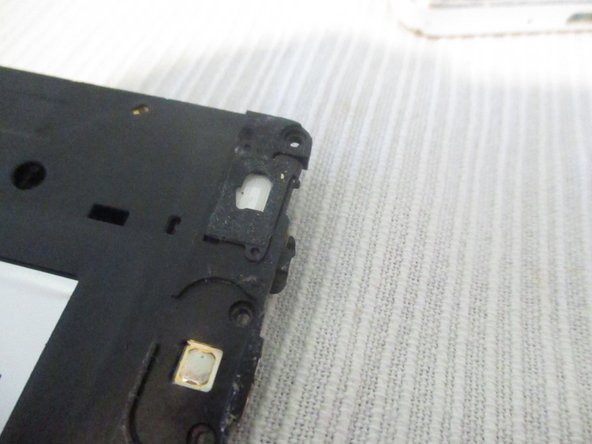
    • Using a plastic pick start opening the midframe starting from below the volume buttons going up and around the phone

  6. Samsung Galaxy A5 USB power board Replacement: 手順 6、 3の画像 1 Samsung Galaxy A5 USB power board Replacement: 手順 6、 3の画像 2 Samsung Galaxy A5 USB power board Replacement: 手順 6、 3の画像 3
    • Open up the cover.

    • Using a spudger, push up the flaps of the menu and back buttons.

    • The flaps are lightly adhered to the midframe.

  7. Samsung Galaxy A5 USB power board Replacement, Removing the usb board: 手順 7、 3の画像 1 Samsung Galaxy A5 USB power board Replacement, Removing the usb board: 手順 7、 3の画像 2 Samsung Galaxy A5 USB power board Replacement, Removing the usb board: 手順 7、 3の画像 3
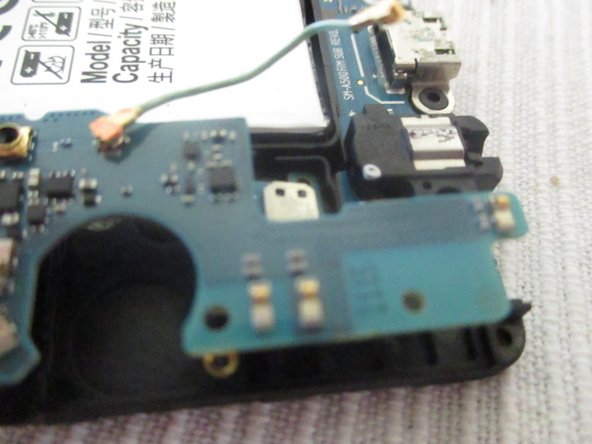
    • remove the 2 mainboard (one below the antenna cable and headphone jack screws.

    • Detach and unchannel the antenna cable from the USB board

    • Carefully lift the mainboard and pull out the USB board

終わりに

To reassemble your Samsung Galaxy A5 2015, follow these instructions in reverse order, adding tape where needed.

ある他の人がこのガイドを完成しました。

作成者

1人の作成者と共同作成されました。

Devnol

メンバー登録日: 12/01/18

2,648 ポイント

5のガイドは作成済み

0 件のコメント

コメントを追加

統計データ:

過去 24時間: 0

過去 7 日: 4

過去 30 日: 13

今までの合計 1,260