メインコンテンツにスキップ

Samsung Galaxy A5 (2016) Back Cover Replacement

必要な工具と部品

  1. Samsung Galaxy A5 (2016) Back Cover Replacement, Back Cover: 手順 1、 3の画像 1 Samsung Galaxy A5 (2016) Back Cover Replacement, Back Cover: 手順 1、 3の画像 2 Samsung Galaxy A5 (2016) Back Cover Replacement, Back Cover: 手順 1、 3の画像 3
    • Start by switching off your phone.

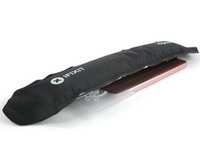
    • Take an iOpener to heat up and soften the glue behind the back cover.

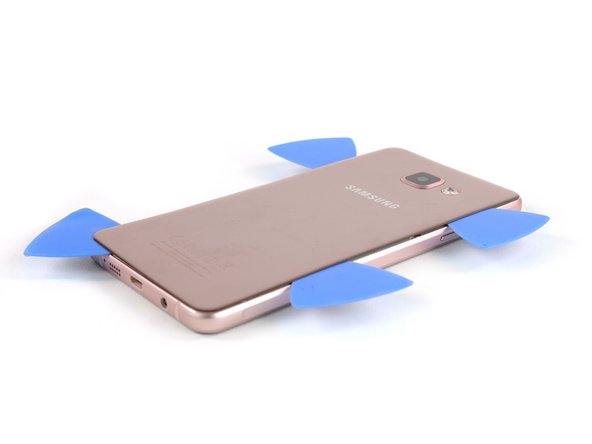
    • With a suction handle lift the back cover to insert an opening pick.

  2. Samsung Galaxy A5 (2016) Back Cover Replacement: 手順 2、 3の画像 1 Samsung Galaxy A5 (2016) Back Cover Replacement: 手順 2、 3の画像 2 Samsung Galaxy A5 (2016) Back Cover Replacement: 手順 2、 3の画像 3
    • Slide the pick up to the middle to separate the back cover from the frame.

    • Insert a second opening pick and move around the right corner along the bottom and around the left corner.

  3. Samsung Galaxy A5 (2016) Back Cover Replacement: 手順 3、 3の画像 1 Samsung Galaxy A5 (2016) Back Cover Replacement: 手順 3、 3の画像 2 Samsung Galaxy A5 (2016) Back Cover Replacement: 手順 3、 3の画像 3
    • Take another opening pick and continue towards the top corner.

    • Here you want to use one more pick for the last part at the top.

  4. Samsung Galaxy A5 (2016) Back Cover Replacement: 手順 4、 3の画像 1 Samsung Galaxy A5 (2016) Back Cover Replacement: 手順 4、 3の画像 2 Samsung Galaxy A5 (2016) Back Cover Replacement: 手順 4、 3の画像 3
    この手順で使用する道具:
    Plastic Cards
    $2.99
    購入する
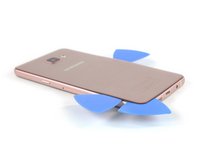
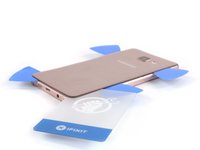
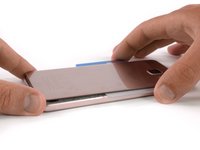
    • Insert a plastic card at the bottom and slide it underneath the back cover.

  5. Samsung Galaxy A5 (2016) Back Cover Replacement: 手順 5、 3の画像 1 Samsung Galaxy A5 (2016) Back Cover Replacement: 手順 5、 3の画像 2 Samsung Galaxy A5 (2016) Back Cover Replacement: 手順 5、 3の画像 3
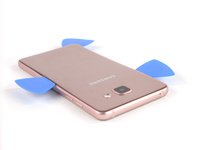
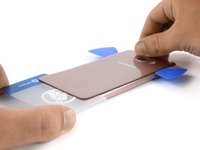
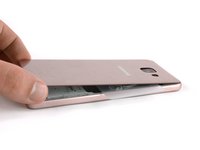
    • Heat up the back cover once again so you can slide the plastic card towards the top.

    • Always take a peek underneath the back cover to not damage any parts like the NFC antenna.

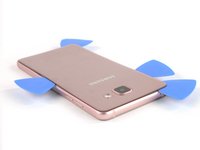
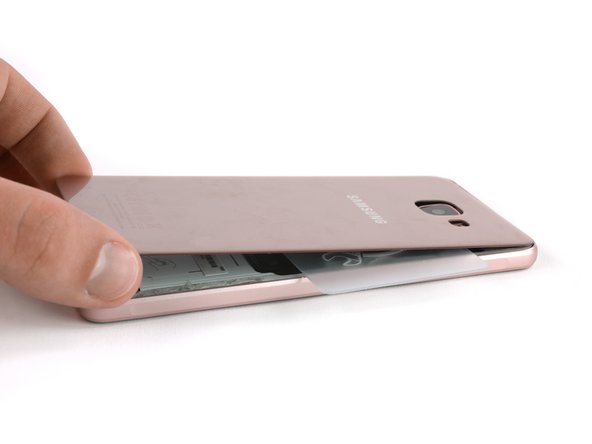
    • Move the plastic card until you reach the camera bump. Now slowly lift up the back cover and finally remove it.

    • Be sure to remove any residue from the glue and apply new adhesive when reassembling.

終わりに

To reassemble your device, follow these instructions in reverse order.

24 の人々がこのガイドを完成させました。

作成者

3人の作成者と共同で作成されました。

Tobias Isakeit

メンバー登録日: 03/31/14

117,598 ポイント

188のガイドは作成済み

チーム

Master Techs Master Techs人のメンバー

Community

322 メンバー

2,535のガイドは作成済み

0 件のコメント

コメントを追加

統計データ:

過去 24時間: 1

過去 7 日: 6

過去 30 日: 37

今までの合計 48,291