メインコンテンツにスキップ

Samsubg Galaxy Tab A 10.1 S-Pen Home Button Replacement

必要な工具と部品

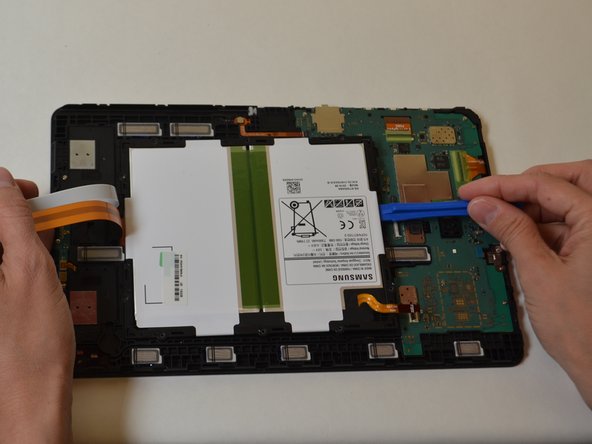
  1. Samsubg Galaxy Tab A 10.1 S-Pen Home Button Replacement, Battery: 手順 1、 2の画像 1 Samsubg Galaxy Tab A 10.1 S-Pen Home Button Replacement, Battery: 手順 1、 2の画像 2
    • Remove all external power and turn off the tablet.

    • Insert a plastic opening tool between the screen and rear casing.

    • Pry the screen and rear casing apart.

  2. Samsubg Galaxy Tab A 10.1 S-Pen Home Button Replacement: 手順 2、 3の画像 1 Samsubg Galaxy Tab A 10.1 S-Pen Home Button Replacement: 手順 2、 3の画像 2 Samsubg Galaxy Tab A 10.1 S-Pen Home Button Replacement: 手順 2、 3の画像 3
    • Remove the three green pieces of tape covering the white, black, and gold ribbon cables.

    • Use a spudger to flip up the retaining flap on the three ribbon cable ZIF sockets.

    • Pull the ribbon cables out of the sockets.

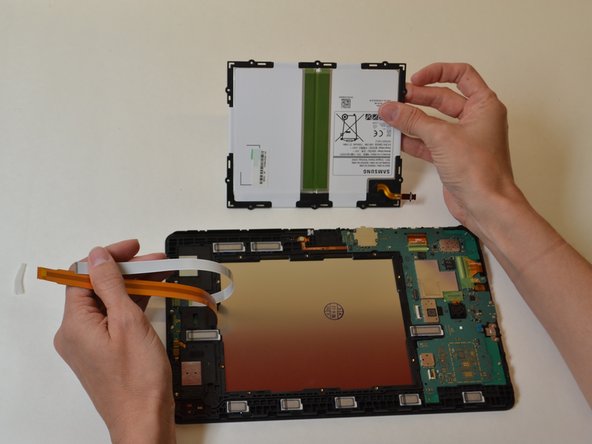
  3. Samsubg Galaxy Tab A 10.1 S-Pen Home Button Replacement: 手順 3、 3の画像 1 Samsubg Galaxy Tab A 10.1 S-Pen Home Button Replacement: 手順 3、 3の画像 2 Samsubg Galaxy Tab A 10.1 S-Pen Home Button Replacement: 手順 3、 3の画像 3
    • Remove the ten 4mm Phillips #000 screws from the battery.

    • Use a plastic opening tool to pry up the battery.

    • Remove the battery.

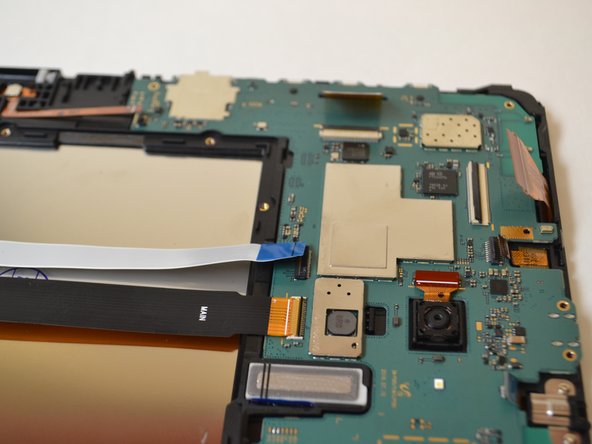
  4. Samsubg Galaxy Tab A 10.1 S-Pen Home Button Replacement, Home Button: 手順 4、 2の画像 1 Samsubg Galaxy Tab A 10.1 S-Pen Home Button Replacement, Home Button: 手順 4、 2の画像 2
    • Remove the green protective tape from the three ZIF connectors on the motherboard.

    • Use a spudger to flip up the retaining flap on the three ribbon cable ZIF sockets.

    • Pull the ribbon cables out of their sockets.

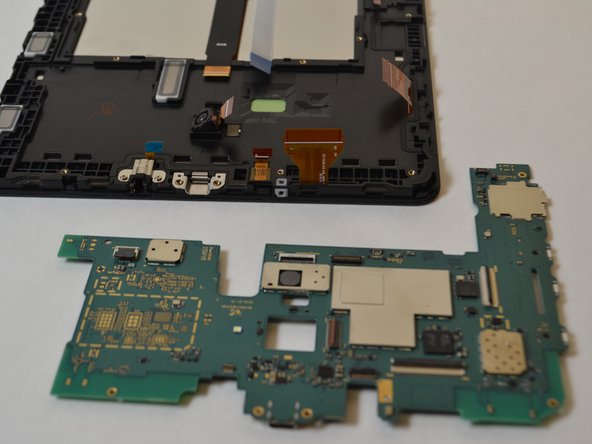
  5. Samsubg Galaxy Tab A 10.1 S-Pen Home Button Replacement: 手順 5、 2の画像 1 Samsubg Galaxy Tab A 10.1 S-Pen Home Button Replacement: 手順 5、 2の画像 2
    • Remove the six 4mm Phillips #000 screws from the motherboard.

    • Remove the motherboard.

  6. Samsubg Galaxy Tab A 10.1 S-Pen Home Button Replacement: 手順 6、 2の画像 1 Samsubg Galaxy Tab A 10.1 S-Pen Home Button Replacement: 手順 6、 2の画像 2
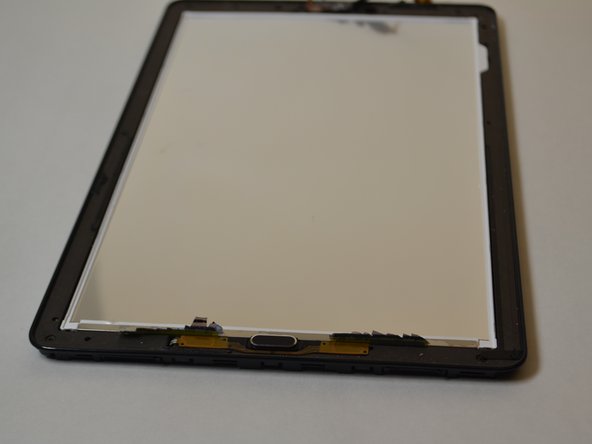
    • Insert a plastic opening tool between the screen and bezel.

    • Slide the plastic opening tool around the perimeter while applying a prying motion.

    • Remove the screen from the display.

    • Applying heat may be needed to loosed the glue.

  7. Samsubg Galaxy Tab A 10.1 S-Pen Home Button Replacement: 手順 7、 2の画像 1 Samsubg Galaxy Tab A 10.1 S-Pen Home Button Replacement: 手順 7、 2の画像 2
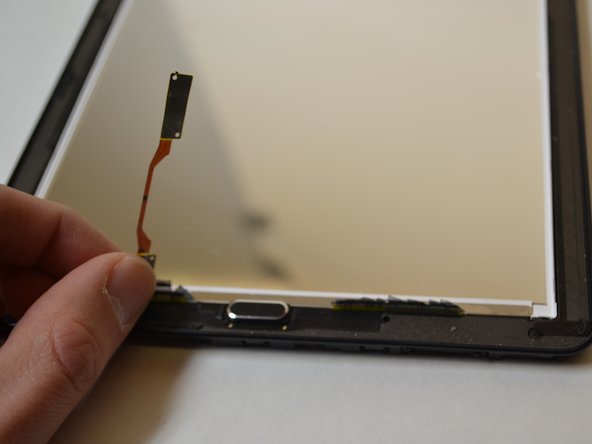
    • Locate the Home button on the front of the panel and carefully lift the gold ribbon surrounding it from RIGHT to LEFT.

  8. Samsubg Galaxy Tab A 10.1 S-Pen Home Button Replacement: 手順 8、 1の画像 1
    • Using your Phillips #000 screwdriver Remove the two 4mm Phillips #000 screws from the home button.

  9. Samsubg Galaxy Tab A 10.1 S-Pen Home Button Replacement: 手順 9、 1の画像 1
    • Remove the home button by sliding it to the left or right while pulling up.

終わりに

To reassemble your device, follow these instructions in reverse order.

ある他の人がこのガイドを完成しました。

作成者

2人の作成者と共同で作成されました。

Guneet Bawa

メンバー登録日: 04/12/18

679 ポイント

4のガイドは作成済み

チーム

UW Tacoma, Team S1-G5, Liner Spring 2018 UW Tacoma, Team S1-G5, Liner Spring 2018人のメンバー

UWT-LINER-S18S1G5

5 メンバー

8のガイドは作成済み

0 件のコメント

コメントを追加

統計データ:

過去 24時間: 1

過去 7 日: 5

過去 30 日: 15

今までの合計 1,965