メインコンテンツにスキップ

Ridgid GEN5X R8642 Battery Port Replacement

必要な工具と部品

  1. Ridgid GEN5X R8642 Battery Port Replacement, Battery Port: 手順 1、 1の画像 1
    • Remove the plastic tab holding the handle cover in place by prying upward with the spudger until the tab pops off.

  2. Ridgid GEN5X R8642 Battery Port Replacement: 手順 2、 1の画像 1
    • Remove the handle cover by pulling it towards the front of the saw.

    • The grip can sometimes become stuck and may require a decent amount of force to remove.

  3. Ridgid GEN5X R8642 Battery Port Replacement: 手順 3、 3の画像 1 Ridgid GEN5X R8642 Battery Port Replacement: 手順 3、 3の画像 2 Ridgid GEN5X R8642 Battery Port Replacement: 手順 3、 3の画像 3
    • Use a T20 Torx screwdriver to remove the nine M4 X 16mm screws from the plastic housing.

  4. Ridgid GEN5X R8642 Battery Port Replacement: 手順 4、 1の画像 1
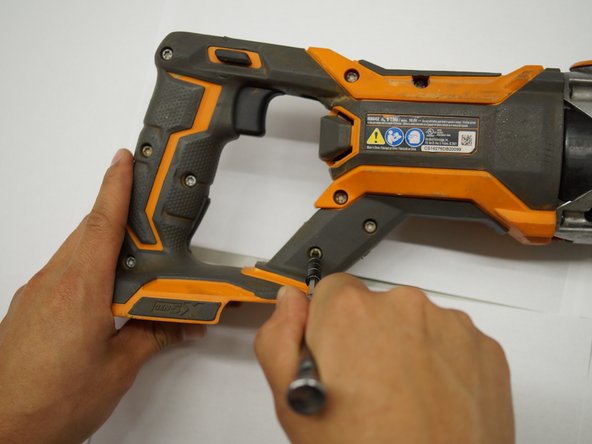
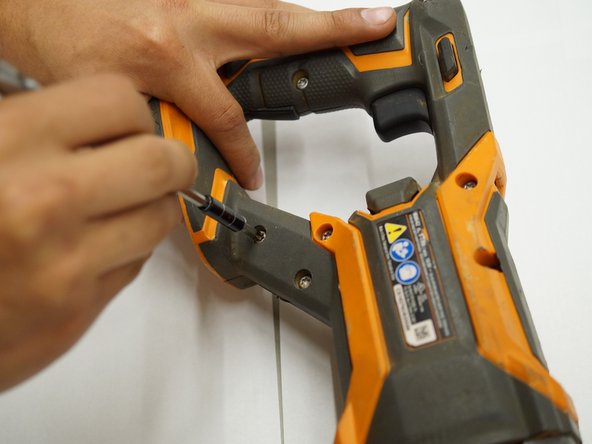
    • Use a JIS #1 screwdriver to remove the two M4 x 25mm screws on both sides of the metal housing.

  5. Ridgid GEN5X R8642 Battery Port Replacement: 手順 5、 1の画像 1
    • Remove one half of the plastic housing using a spudger so that the internal system is exposed.

  6. Ridgid GEN5X R8642 Battery Port Replacement: 手順 6、 1の画像 1
    • Remove the plastic wire covers to the red and black connections on the switch assembly.

    • When you remove the wire covers, you should be able to see the solder on the wires.

    • Desolder the connections on both the red and black wire using a soldering iron.

    • Once the solder is removed, pull out the wires with the battery port attached to the wires.

終わりに

To reassemble your device, follow these instructions in reverse order.

作成者

4人の作成者と共同で作成されました。

Grant White

メンバー登録日: 02/12/19

453 ポイント

2のガイドは作成済み

チーム

Western Carolina University, Team S1-G3, Virtue Spring 2019 Western Carolina University, Team S1-G3, Virtue Spring 2019人のメンバー

WCU-VIRTUE-S19S1G3

4 メンバー

5のガイドは作成済み

0 件のコメント

コメントを追加

統計データ:

過去 24時間: 2

過去 7 日: 3

過去 30 日: 8

今までの合計 377