このバージョンは誤った内容を含んでいる可能性があります。最新の承認済みスナップショットに切り替えてください。
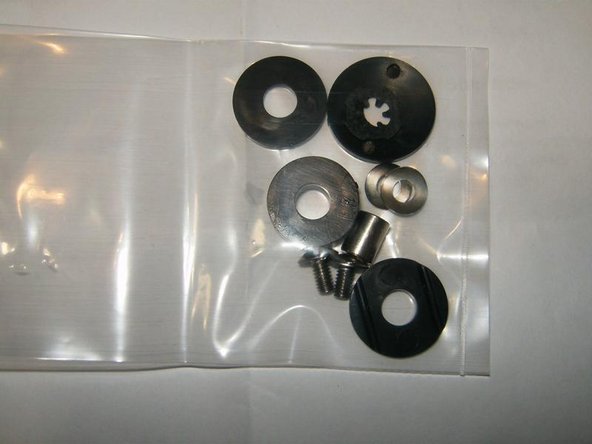
必要な工具と部品
-
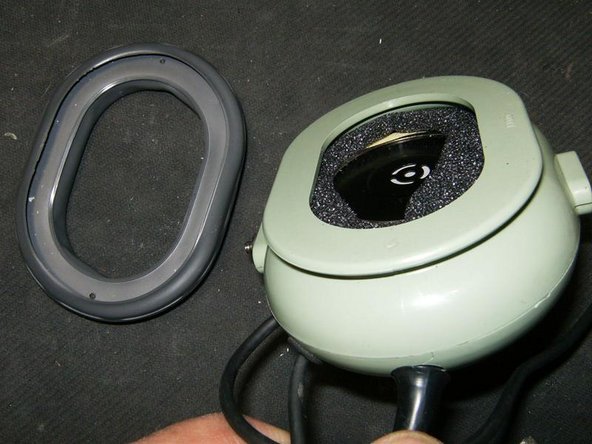
この手順は未翻訳です。 翻訳を手伝う。
-
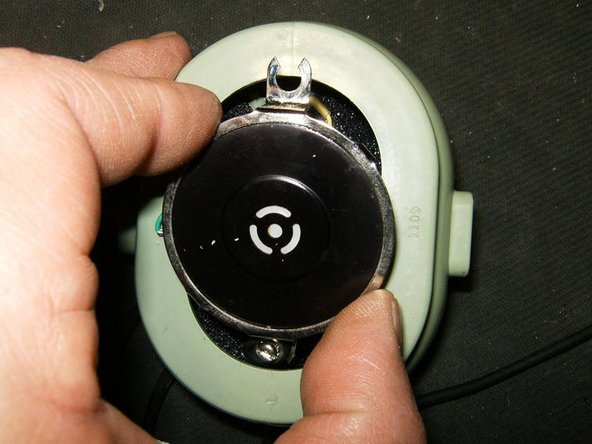
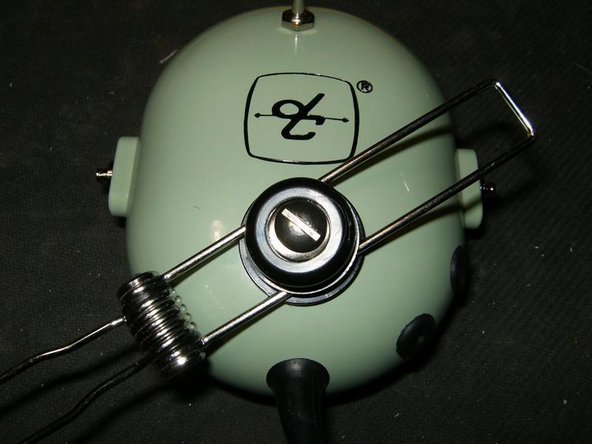
Remove the mounting screw for the filter.
-
Lift the speaker out of the dome. The wires are still attached, so do not try to pull to hard.
-
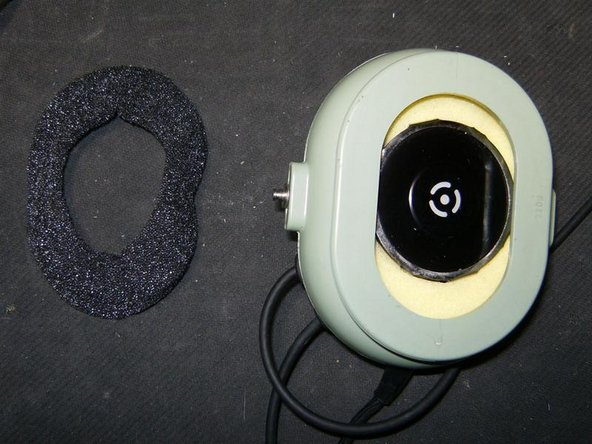
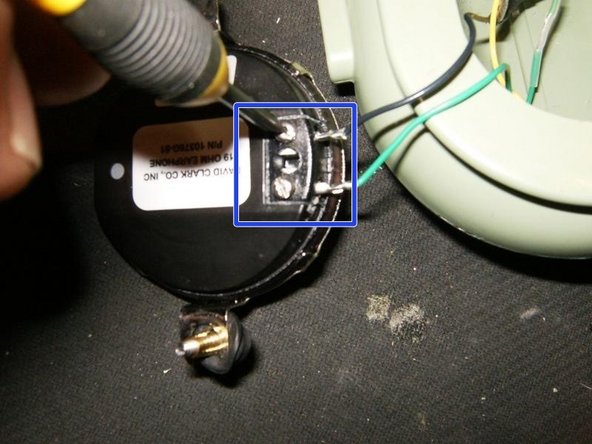
Flip the speaker over to reveal the wire connection and the last filter. Originally this headset will only have three different foam filters
-
-
この手順は未翻訳です。 翻訳を手伝う。
-
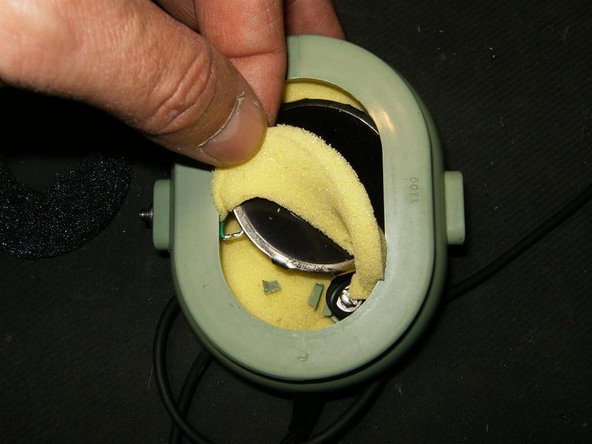
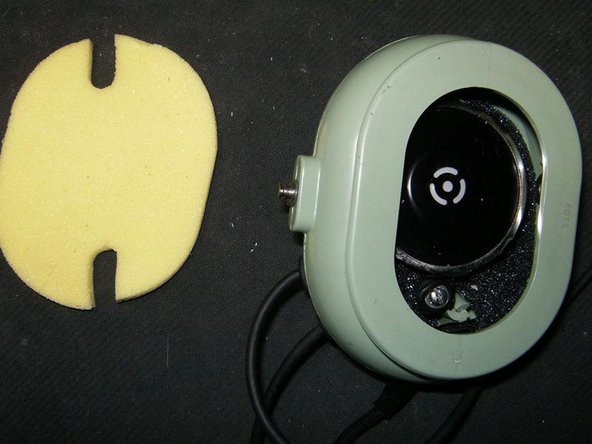
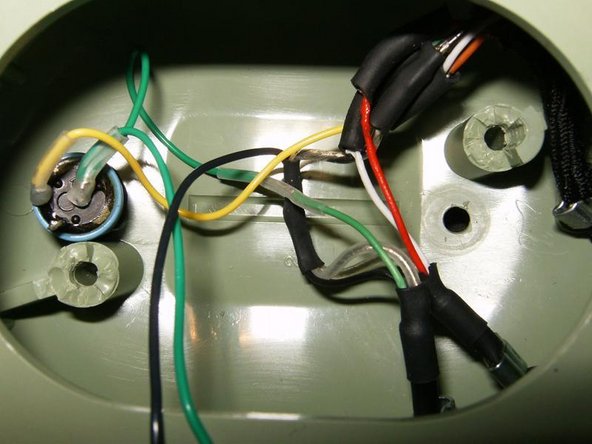
This is the last foam filter. All the wiring will be beneath this filter
-
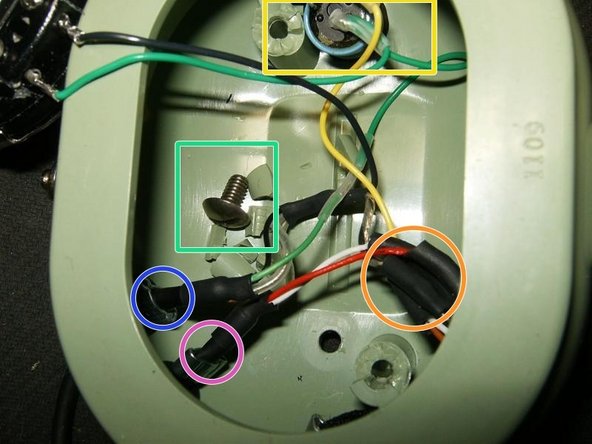
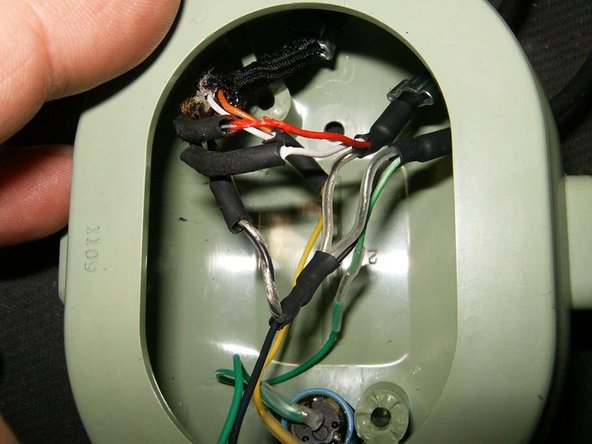
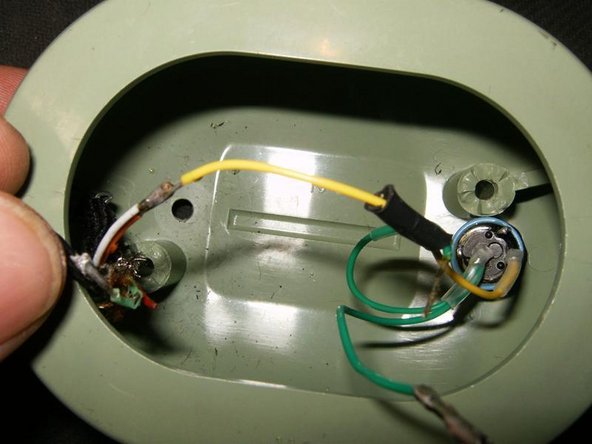
Here is the complete wiring
-
Crossover cable
-
Microphone cable
-
Main cable (Communication cord)
-
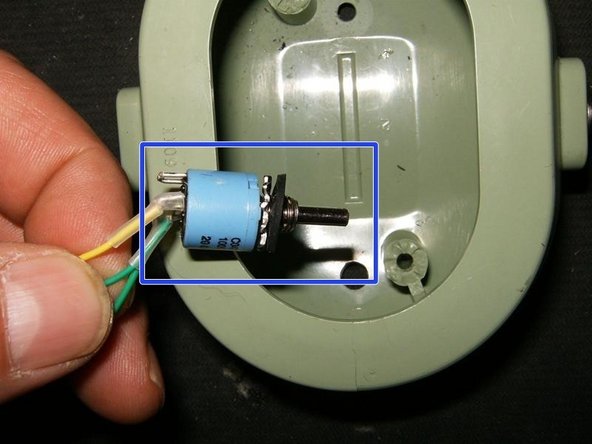
Volume control
-
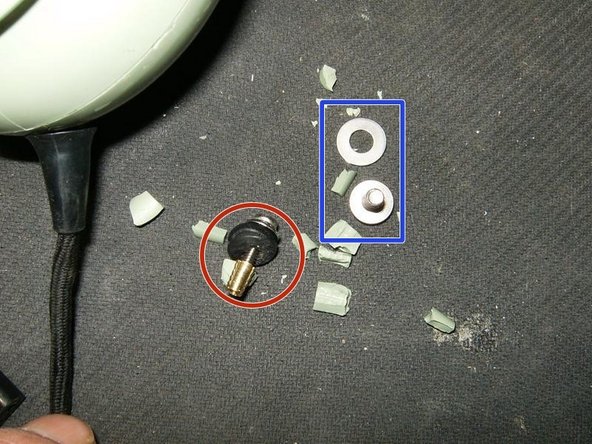
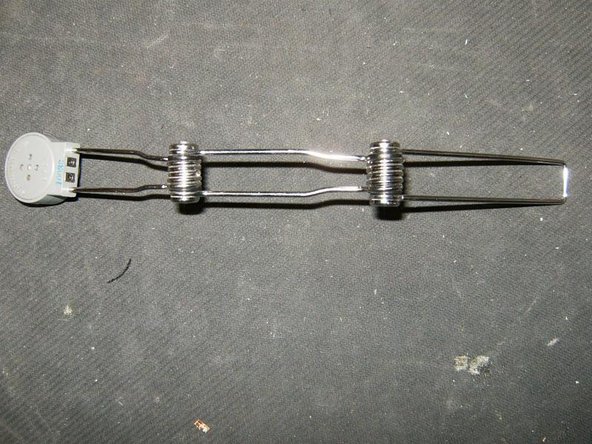
and more broken pieces. The screw comes from the boom mic guide.
-
Long screw was originally for the speaker, The short screw and washer are from the boom mic guide. Plenty of plastic from the broken standoff inside the dome.
-
-
-
この手順は未翻訳です。 翻訳を手伝う。
-
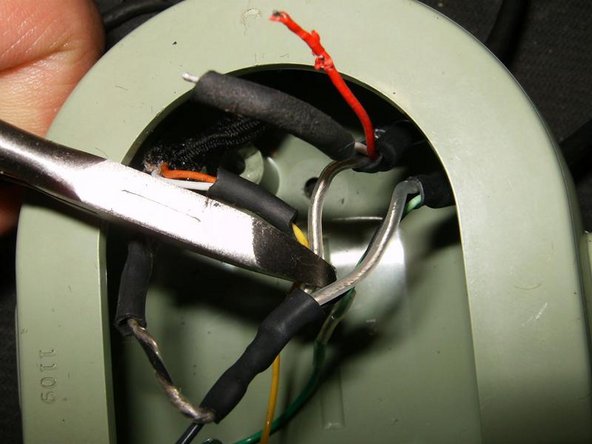
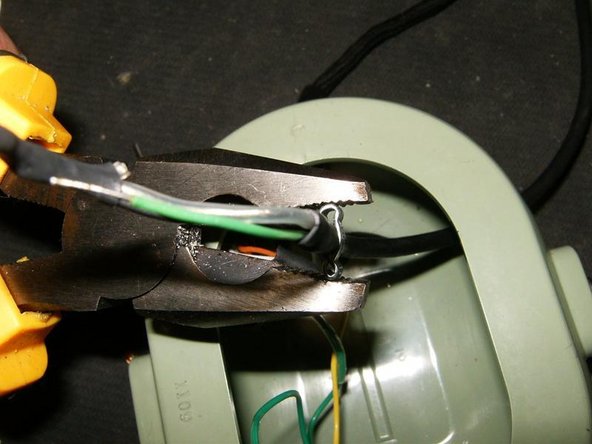
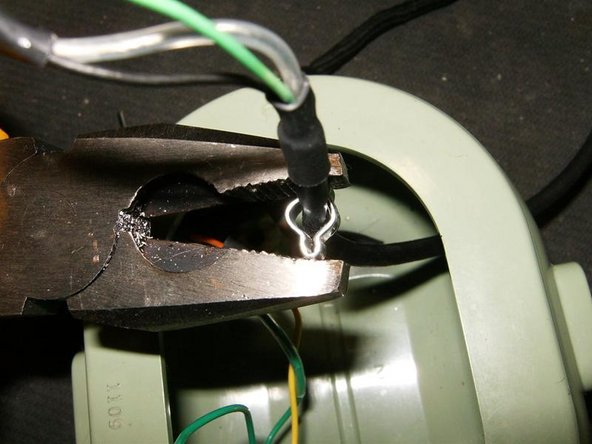
First to remove the mic cable. All connections in this headset are soldered. If possible, slide the heat shrink off the soldered connections to separate them with a soldering iron
-
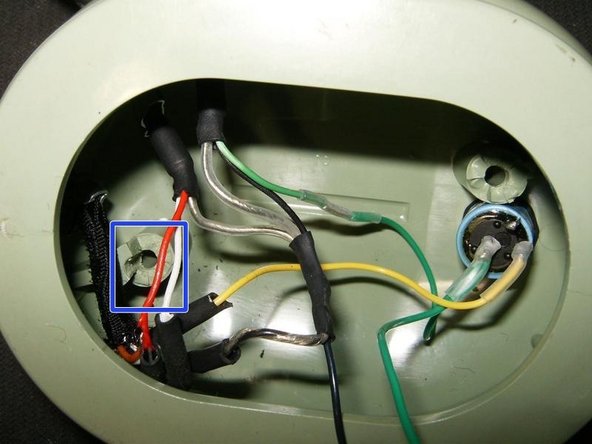
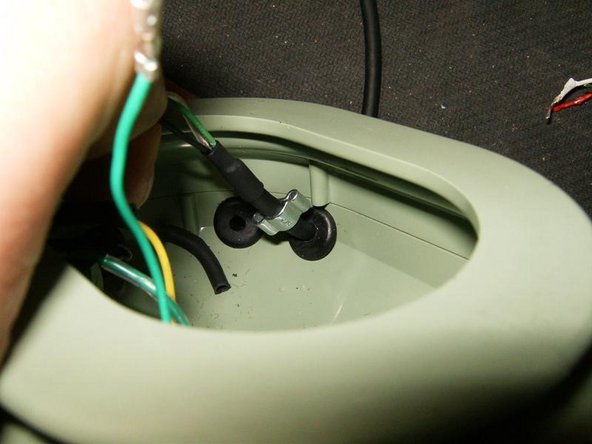
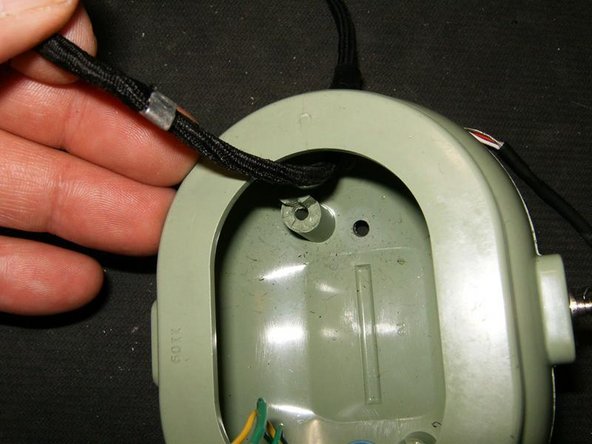
these are the cord clips holding which prevent the cables from being pulled out of the dome.
-
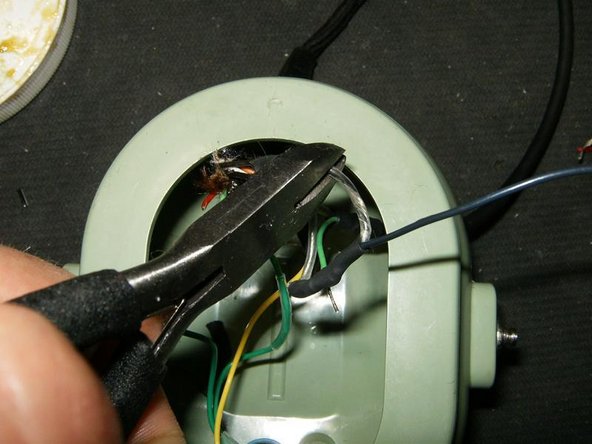
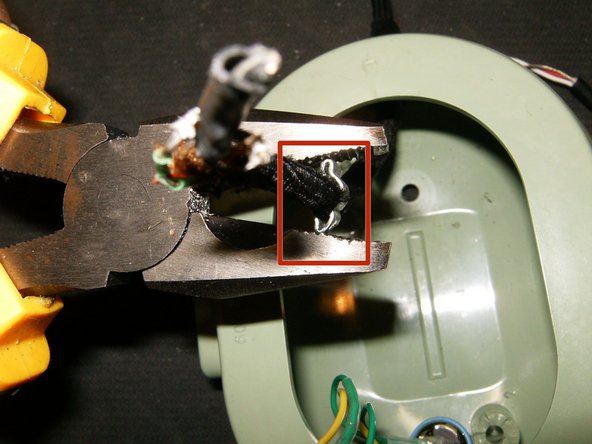
The connections where the heat shrink tubing can not be removed, are cut with a pair of pliers.
-
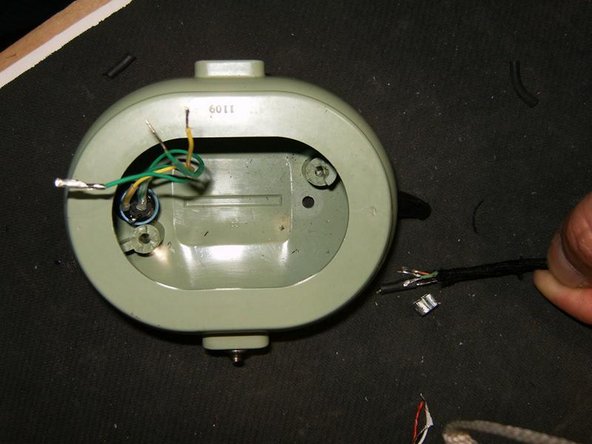
With the mic cable connected, pull the cable inside the dome to gain easy access to the cord clip
-
-
この手順は未翻訳です。 翻訳を手伝う。
-
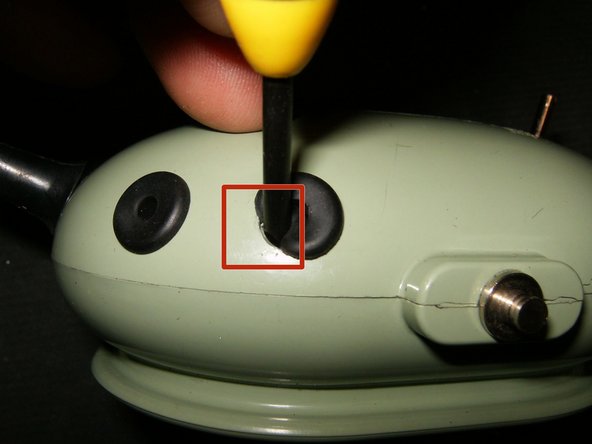
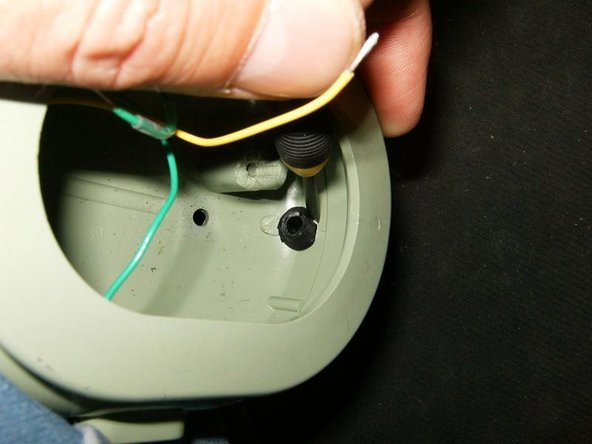
Again use a small jewelers screw driver for the grommet of the crossover cable
-
The elongated grommet for the main cable will have to be removed from the inside out.
-
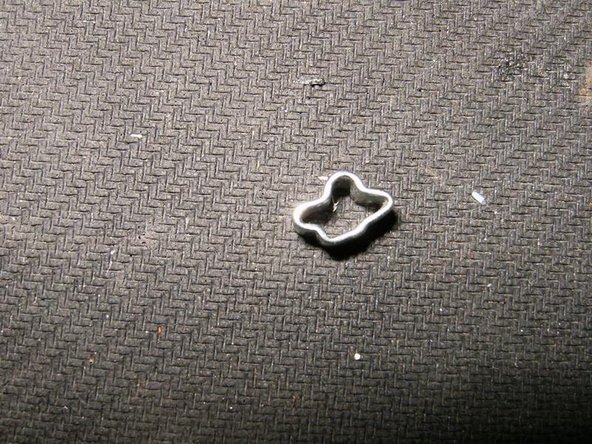
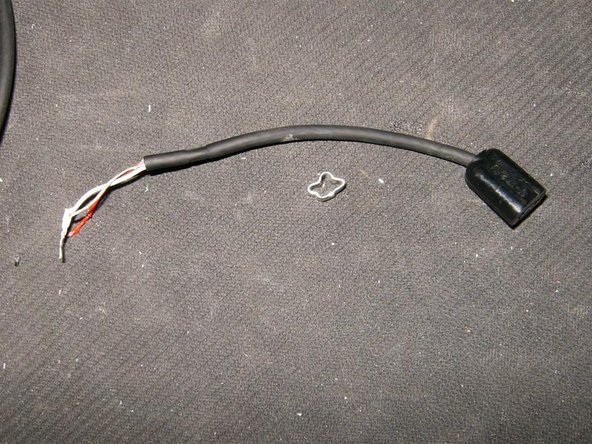
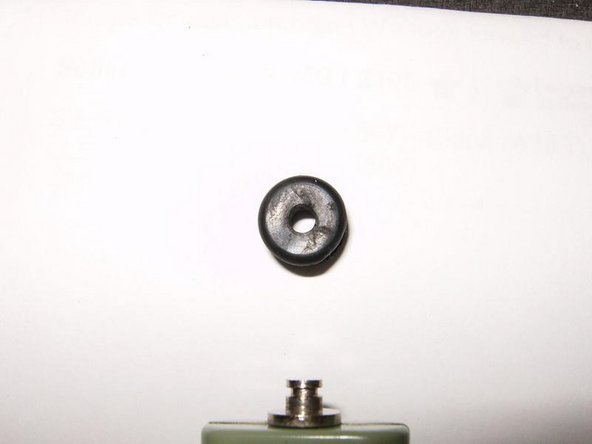
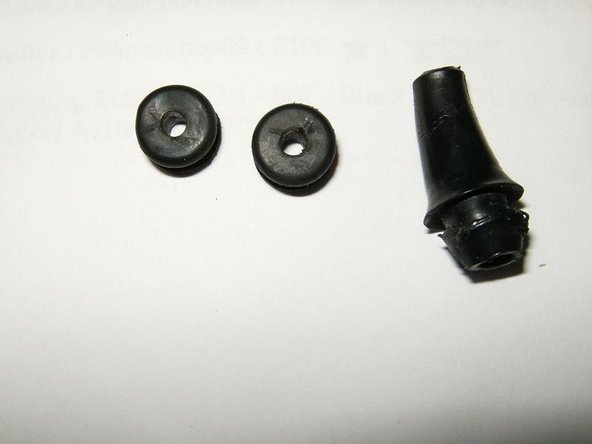
Here are the two small grommets for the mic and crossover cable, as well as the elongated one for the main cable.
-


4 の人々がこのガイドを完成させました。

チーム
