はじめに
You need to open or replace your Dell XPS 13 9380 back panel, this guide is for you!
必要な工具と部品
-
-
Use a Torx T5 driver to unscrew the eight screws securing the back panel.
-
Use a spudger to pry up and loosen the back panel.
-
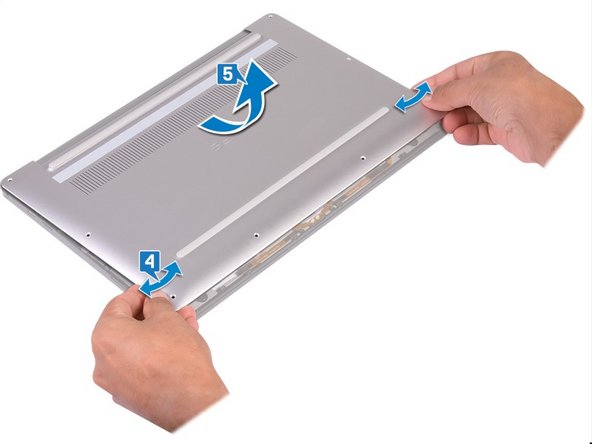
Lift the back panel up slightly from the non-hinged edge.
-
Pull the back panel away from the hinged edge, wiggling it back and forth to loosen the clips.
-
When the back panel clips are free, remove the back panel.
-
-


To reassemble your device, follow the instructions in reverse order.
To reassemble your device, follow the instructions in reverse order.
ある他の人がこのガイドを完成しました。
以下の翻訳者の皆さんにお礼を申し上げます:
100%


これらの翻訳者の方々は世界を修理する私たちのサポートをしてくれています。 あなたも貢献してみませんか?
翻訳を始める ›

チーム
