このバージョンは誤った内容を含んでいる可能性があります。最新の承認済みスナップショットに切り替えてください。
必要な工具と部品
-
-
ガラスに亀裂が入った場合は、ガラスをテープで固定することにより、破損箇所の拡大を食い止め、修理時の負傷を防止します。
-
透明な梱包用テープを、iPadのディスプレイの面全体が覆われるように貼り付けます。特に破損が酷い場合は、2枚重ねて貼らなければならないことがあります。
-
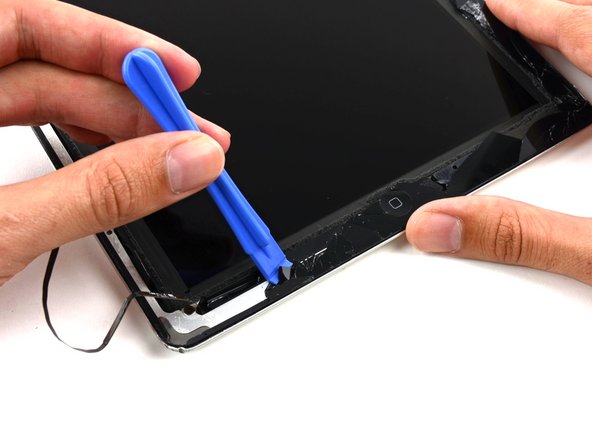
このガイドの残りの説明にできるだけ従うようにしてください。ただし一度ガラスが破損すると、作業の進行に従って亀裂が広がりやすくなるため、金属製のヘラでガラスを剥がして除去することが必要になる場合があります。
-
-
-
-
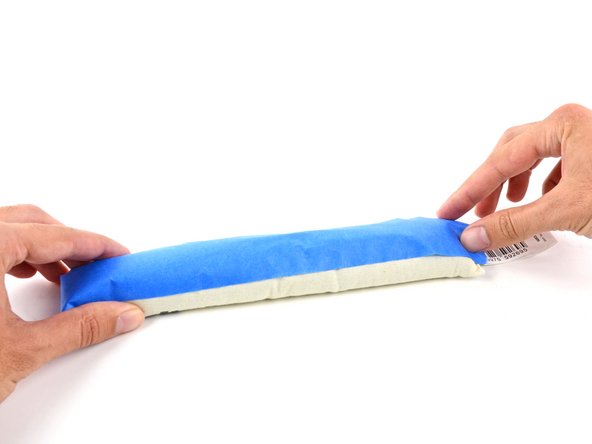
鍋を十分な量のお湯で満たして、iOpener を完全に沈めます。
-
お湯を沸かして熱くなったら火を止めます。
-
iOpenerを熱湯の中に約2−3分間沈めます。iOpener全体が完全に浸かっているか確認してください。
-
トングなどを浸かって、温まったiOpenerをお湯から取り出します。
-
タオルでiOpener全体を拭き取ります。
-
iOpenerの準備は整いました。iOpenerを再度温める必要がある場合は、お湯を沸騰させて、火を止めてからiOpenerを2-3分間浸してください。
-
-
この手順は未翻訳です。 翻訳を手伝う。
-
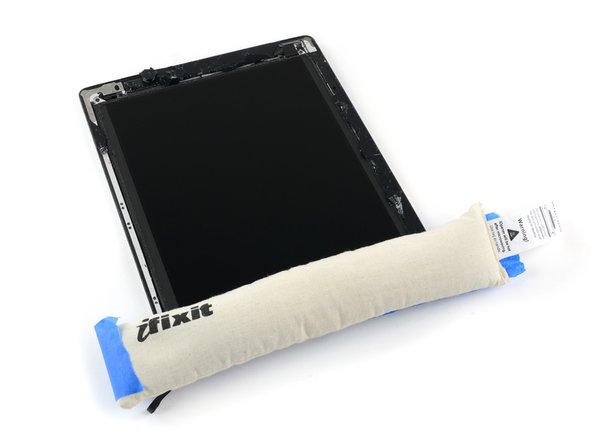
To protect your iOpener from the glass and keep it from filling with glass dust, stick some masking tape to one side.
-
Heat the iOpener and apply it to one edge of the iPad, directly on top of the pieces of glass that are still adhered to the rear case of the iPad.
-
Leave the iOpener there for at least 90 seconds, to soften the adhesive holding these small pieces in place.
-


17 の人々がこのガイドを完成させました。

コメント 1 件
During step 9, if you can manage to grab an end of the adhesive going under glass, see if you can slowly pull it out and to the side of the frame. If the strip doesn’t break too much, this should greatly reduce shard spread and increase speed!