このバージョンは誤った内容を含んでいる可能性があります。最新の承認済みスナップショットに切り替えてください。
はじめに
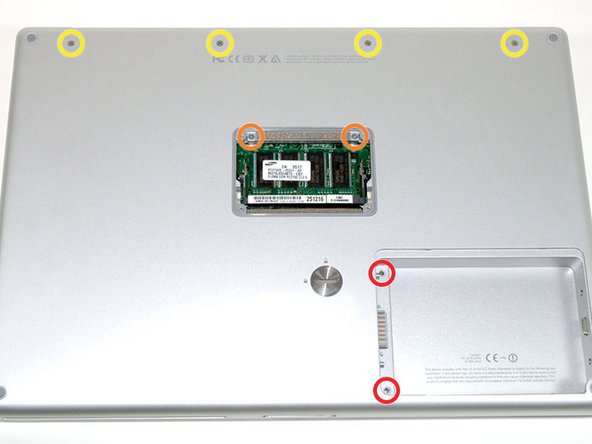
ディスプレイをスムーズに開口できるようにするため、消耗したクラッチヒンジを交換しましょう。
必要な工具と部品
-
この手順は未翻訳です。 翻訳を手伝う。
-
Grasp the back corners of the upper case and pull up. Do not pull the upper case off yet; you still need to disconnect the keyboard and trackpad cable.
-
Lift the back of the case up and work your fingers along the sides, freeing the case as you go. Once you have freed the sides, you may need to rock the case up and down to free the front of the upper case.
-
-
-
この手順は未翻訳です。 翻訳を手伝う。
-
Grasp the logic board at the left edge with one hand and at the thinnest section with the other hand. Lift the left edge of the board up to approximately a 30 degree angle (if you don't have your protractor handy, just lift until the DVI port clears the right hinge).
-
Once the logic board clears the ports, slide it out to the left.
-
-
この手順は未翻訳です。 翻訳を手伝う。
-
To properly reassemble your PowerBook, you'll have to clean off and replace the old thermal compound. Use our Applying Thermal Paste Guide to prepare the processor and heat sink surfaces.
-
-
この手順は未翻訳です。 翻訳を手伝う。
-
Lift the Airport card out of the computer and slide a spudger between the card and the antenna connector to disconnect the cable from the card.
-
Deroute the antenna cable from the side of the card, removing tape as necessary.
-
You don't need to remove the Airport card entirely. We're just trying to free up the Airport antenna cable.
-
-
この手順は未翻訳です。 翻訳を手伝う。
-
With your spudger still inserted under the front display bezel, run it around the lower left corner of the display.
-
Rotate the spudger away from yourself to pry the rear display bezel off the aluminum tabs on the front display bezel.
-
Work your way down the side of the display until the rear display bezel has been separated from the front display bezel.
-
-
この手順は未翻訳です。 翻訳を手伝う。
-
Repeat the previous steps to separate the right side of the rear display bezel from the display.
-
Use your spudger to pry the plastic retaining clips on the rear display bezel over the raised aluminum tabs on the front display bezel.
-
At this point, the clips on the left and right edges of the rear display bezel should be free from the raised aluminum tabs on the front display bezel. If they are not, use a spudger to pry them past the front display bezel.
-
-
この手順は未翻訳です。 翻訳を手伝う。
-
Use your thumbs to push the clutch cover away from the clutch hinges.
-
While pressing with your thumbs, rotate the clutch cover toward yourself about its long edge to pop it off the clutch hinge.
-
It may be necessary to wiggle the clutch cover while pressing it away from the clutch hinges to release the retaining clips.
-


デバイスを再度組み立てるには、この説明書の逆の順番で組み立ててください。
デバイスを再度組み立てるには、この説明書の逆の順番で組み立ててください。
ある他の人がこのガイドを完成しました。
