はじめに
このガイドでは、PlayStation 4 Proからファンを取り外す際に必要な手順を説明します。この作業を完了するには、多くの手順に加えてメーカー保証が無効となる分解工程が必要となります。PS4 Proの大半は分解してファンを取り外す必要があります。
必要な工具と部品
-
-
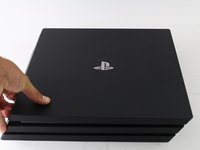
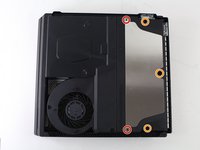
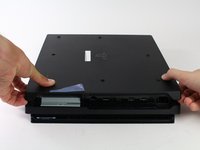
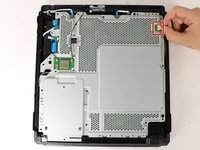
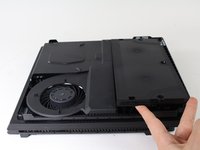
本体の右側が上になるように向きを変えます。
-
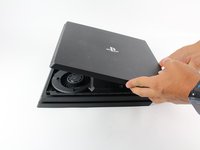
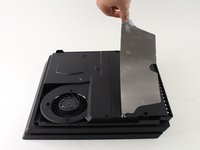
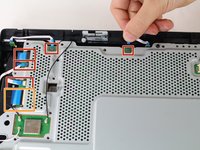
本体の前面にある2つの隅を持ちます。
-
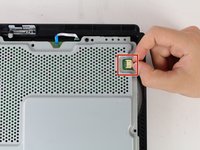
大きな音がして内張りが外れるまで上方に引っ張ります。
-
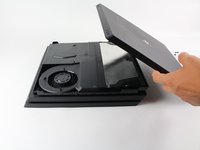
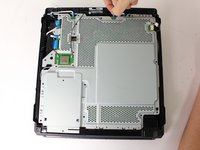
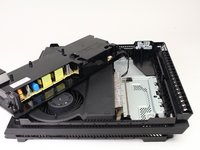
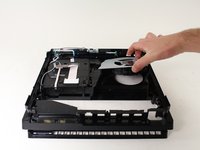
両方の隅が外れたら、カバーを後方にスライドさせて取り外します。
-
-
-
-
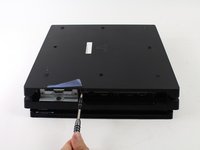
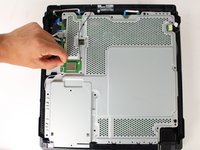
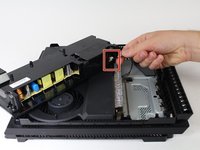
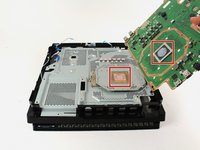
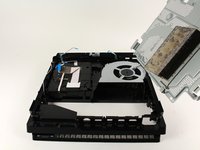
7200シリーズの場合、このメタルプレートはマザーボードプレートを取り外す際に既に取り外されています。その場合は、この手順をスキップしてください。
-
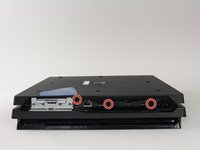
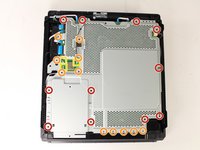
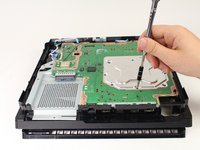
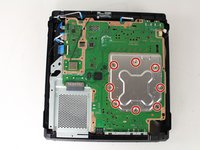
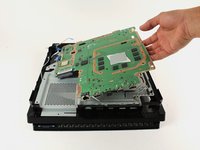
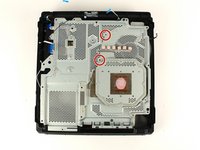
底部が上を向くように、慎重に本体を裏返します。
-
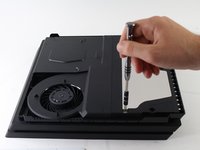
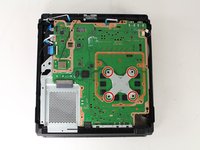
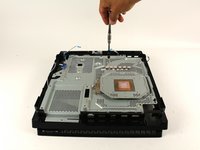
#1プラスドライバーを使用して、X字型のメタルプレートを固定している4 ㎜のねじ8本を取り外します。
-
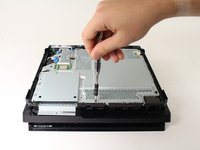
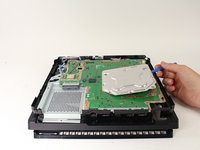
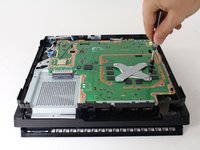
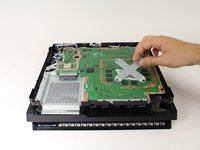
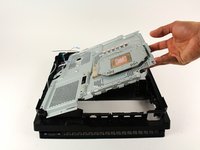
プラスチック製の分解ツールを使用して、X字型メタルプレートを取り外します。
-


元通りに組み立てる際には、これらの手順を逆に実行してください。
元通りに組み立てる際には、これらの手順を逆に実行してください。
117 の人々がこのガイドを完成させました。
以下の翻訳者の皆さんにお礼を申し上げます:
100%


これらの翻訳者の方々は世界を修理する私たちのサポートをしてくれています。 あなたも貢献してみませんか?
翻訳を始める ›
チーム

Cal Poly, Team S21-G5, Livingston Spring 2017 Cal Poly, Team S21-G5, Livingston Spring 2017人のメンバー
CPSU-LIVINGSTON-S17S21G5
4 メンバー
49のガイドは作成済み
14 件のコメント
Danke für die Anleitung. hat alles super geklappt. Bloß beim letzten Schritt ist die Schraube vom Lüfter nicht oben links sondern unten rechts. Mfg
Thanks for the guide. Very comprehensive.
I’m clueless with electronics but my PS4 was on its death throes with overheating. I read this guide and watched the video (coffee break included) and got to work. The only trouble I had was that my husband (he’s a good guy normally) decided to help and used too big pliers and broke the connector between the power supply and PS4. Ok, so 5 days wait for replacement. I replaced the fan, thermal paste, and pads and put it back together (shaking like a leaf in a hurricane). It’s quiet and works thanks to ifixit.com. Thank you so much!
This was super helpful! For the power supply, I was trying to pull at the socket the cable was plugged into (same color plastic). I think it would have worked better just wiggling the cable.
Also, T8 worked fine, but putting it back together, I noticed T9 was better fit, so if you have a T9, use that instead. After cleaning and repasting, it’s so much quieter. Thanks!