はじめに
バッテリーを交換してもカメラの電源が入らない?撮影したはずの写真が保存されていない?スクリーンは動いてるのに、写真が表示されない?このような問題はマザーボードが壊れたり故障していることが原因かも知れません。
必要な工具と部品
-
-
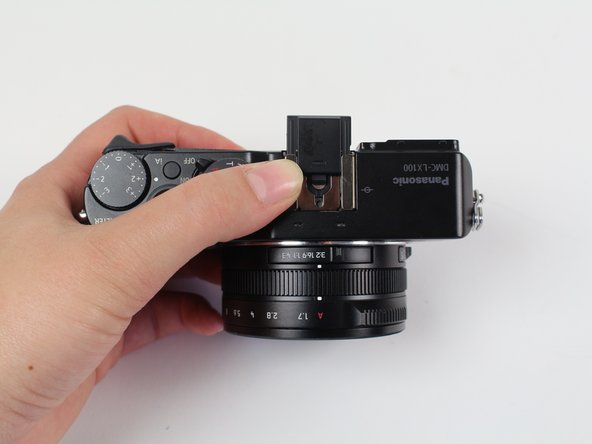
#000のプラスドライバー(PH000)を使って、カメラ底面にある長さ4.5mmのネジ5本と、左側面の上側にある1本を外して下さい。左右側面はレンズが手前に向いている状態での向きを指します。
-
合計2本の長さ3.5mmのネジを外して下さい。レンズの下に1本、左側面に1本あります。
-
#000のプラスドライバー(PH000)を使って、カメラ右側面にある長さ7.1mmのネジ1本を外して下さい。
-
-
-
-
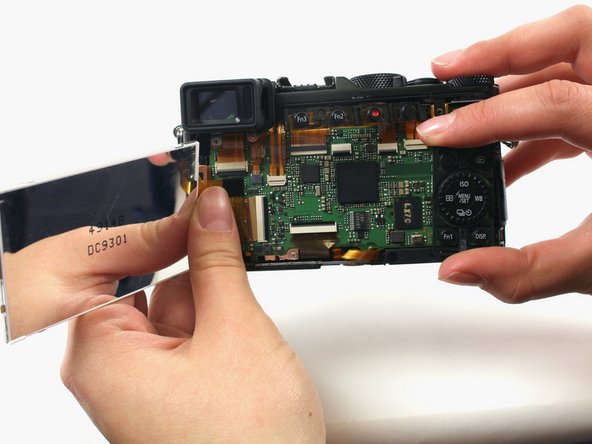
最初に見えている9本のリボンケーブルをZIFコネクタから外して下さい。外す際は黒い板状の部分を跳ね上げてからリボンケーブルをコネクタからまっすぐ引き抜いて下さい。
-
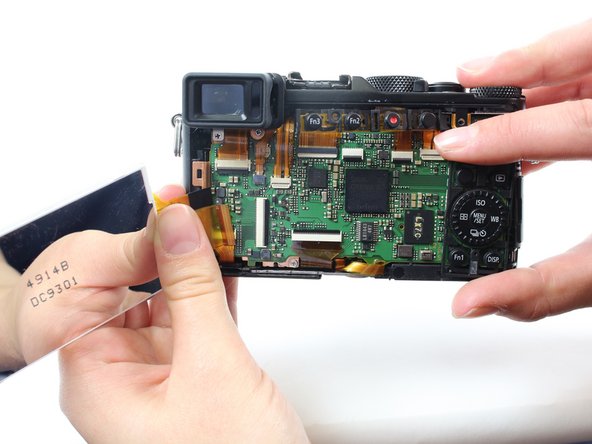
基板の左上に最初に見えていたケーブルに隠れている2本のケーブルがあるので、それも接続を外して下さい。
-


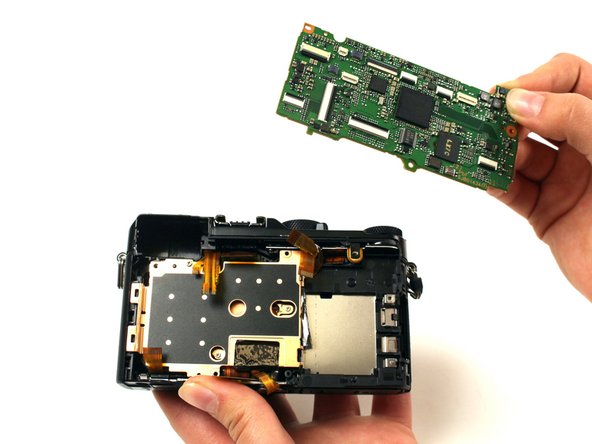
組み立て直す際は、逆の順番で作業を行って下さい。
組み立て直す際は、逆の順番で作業を行って下さい。
3 の人々がこのガイドを完成させました。

チーム

Cal Poly, Team 70-4, Forte Winter 2016 Cal Poly, Team 70-4, Forte Winter 2016人のメンバー
CPSU-FORTE-W16S70G4
4 メンバー
13のガイドは作成済み
2 件のコメント
This camera is a true dust harvester.
Thanks to this guide I have dared to clean the sensor successfully.
I know that I will have to return to the task in a few months but now I am more sure of the process.
Thanks a lot
Just a quick question! After replacing the motherboard, the camera works just fine or is it needed a software intervention?