はじめに
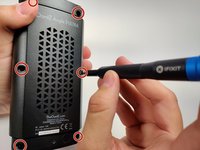
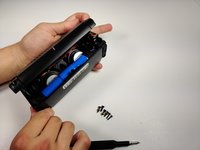
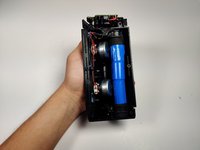
If your Oontz Angle 3 ULTRA speaker is playing faulty audio, you may need to replace your speaker’s drivers. This replacement guide will walk you through replacing the drivers of your Oontz Angle 3 ULTRA Bluetooth speaker. For this guide, you will need a plastic opening tool, a Phillips #0 Screwdriver, a Soldering Iron with Solder Wick or a Solder Sucker, and a Jimmy. Follow this guide to learn how to solder and de-solder connections. はんだ付けとはんだ除去の作業ガイド
You will need to match the resistance of the speaker’s default drivers with your replacements, or else your Oontz Angle 3 ULTRA will not function properly with the replacement drivers.
必要な工具と部品
-
この手順で使用する道具:Tweezers$4.99
-
Remove the two black rubber sheaths around the edges of the speaker.
-
Under the symbol-marked sheath there is a white rubber covering for the buttons. Peel this away to reveal the panel underneath.
-
On two corners of its triangular face there is a small divot, which allows you to use your fingernails or a pair of tweezers to grip and peel away the covering.
-
-
-
-
Insert the Jimmy into the gap between the speaker's grill and the plastic enclosure.
-
Work the Jimmy around the gap to free it from the speaker enclosure.
-
-
この手順で使用する道具:Desoldering Pump$3.99
-
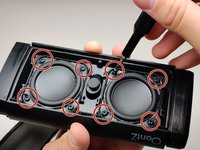
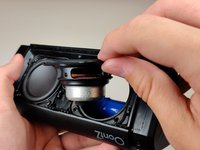
Locate the wires connecting to the driver. There will be a red wire connected to the driver’s positive terminal, and a black wire connected to the driver’s negative terminal.
-
With your soldering iron and solder sucker, remove the solder connecting the wires to each terminal, and then gently pull the wires away from the terminals to free them.
-
For more information on soldering and desoldering connections, please read the How to Solder and Desolder Connections Guide.
-
To reassemble your device, follow these instructions in reverse order.
To reassemble your device, follow these instructions in reverse order.
ある他の人がこのガイドを完成しました。
3件のガイドコメント
Where can i purchase replacement speaker
reference of speakers of Oontz Angle 3 ULTRA U12A pls to replacement speaker
any luck on replacement speakers?


