はじめに
This guide demonstrates how to replace the heating plate in a NuWave Brio 37001 air fryer.
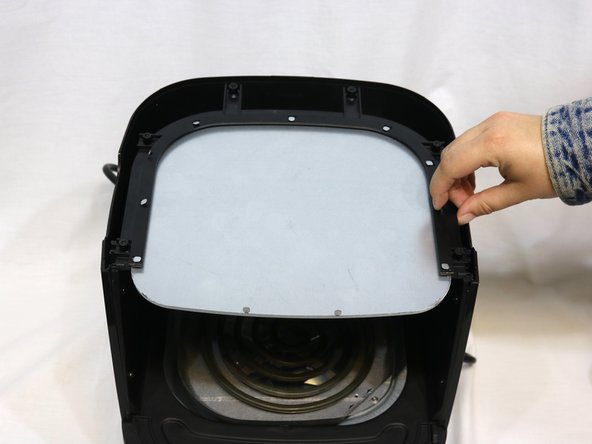
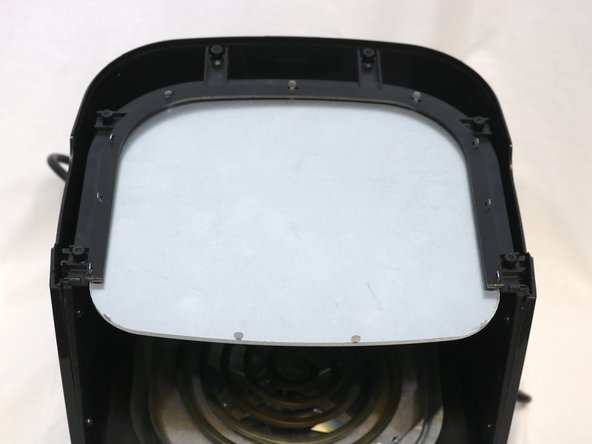
The NuWave Brio 37001 comes equipped with a metal heating plate, which can be located at the bottom of the device. The device's cooking basket rests upon this component when inserted. This plate is responsible for transferring heat generated by the coil. If it is faulty, it can lead to slow or uneven cooking.
Be sure to leave the device unpowered while following this guide. Touching an active heating element can cause injury.
Make sure you visit the troubleshooting page before following this guide. There could be issues other than the heating plate that need fixing.
必要な工具と部品


To reassemble your device, follow these instructions in reverse order.
To reassemble your device, follow these instructions in reverse order.
2 の人々がこのガイドを完成させました。

チーム

University of Delaware, Team 11-3, McGuire Spring 2023 University of Delaware, Team 11-3, McGuire Spring 2023人のメンバー
UD-MCGUIRE-S23S11G3
5 メンバー
4のガイドは作成済み