メインコンテンツにスキップ

Nook Simple Touch with GlowLight Screen Replacement

必要な工具と部品

  1. Nook Simple Touch with GlowLight Screen Replacement, Power Button: 手順 1、 1の画像 1
    • Place the Nook with the screen facing down.

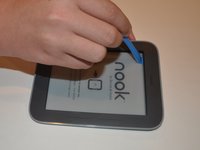
  2. Nook Simple Touch with GlowLight Screen Replacement: 手順 2、 1の画像 1
    • Wedge the opening tool between the power button and the upper edge of the device.

    • Push the opening tool down to pry the power button up.

  3. Nook Simple Touch with GlowLight Screen Replacement: 手順 3、 1の画像 1
    • Using your fingers, gently remove the power button.

  4. Nook Simple Touch with GlowLight Screen Replacement, Back Cover: 手順 4、 1の画像 1
    • Remove the single screw using a T4 Torx screwdriver.

  5. Nook Simple Touch with GlowLight Screen Replacement: 手順 5、 1の画像 1
    • Slide the back cover down towards you in the direction of the charging port.

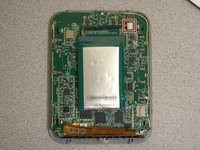
  6. Nook Simple Touch with GlowLight Screen Replacement, Battery: 手順 6、 2の画像 1 Nook Simple Touch with GlowLight Screen Replacement, Battery: 手順 6、 2の画像 2
    • Detach the white cable connector from the motherboard.

    • Remove the battery from the device.

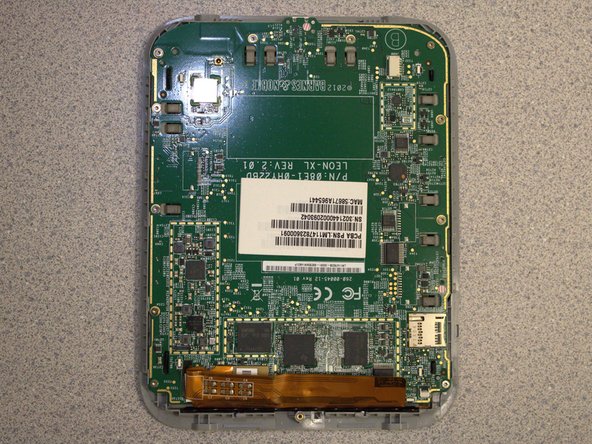
  7. Nook Simple Touch with GlowLight Screen Replacement, Motherboard: 手順 7、 1の画像 1
    • Remove eleven screws from the motherboard using the T4 screwdriver.

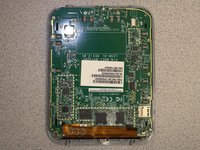
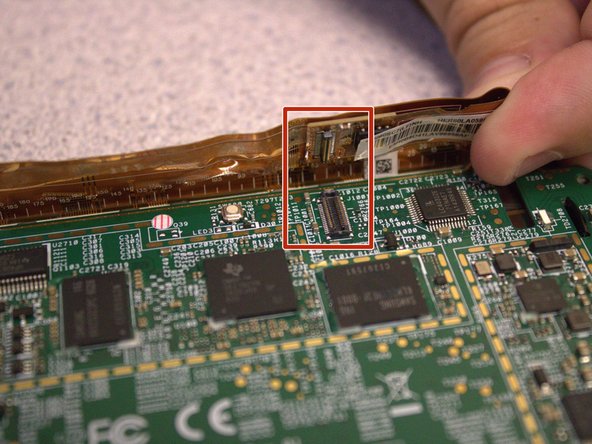
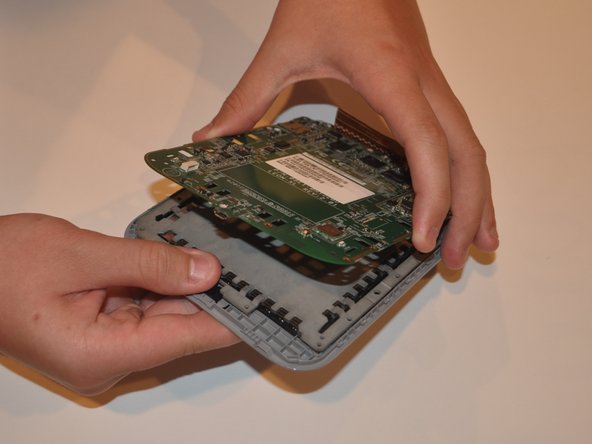
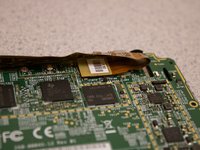
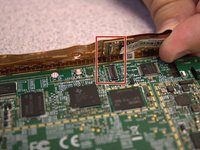
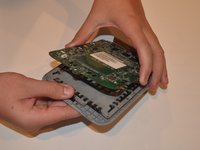
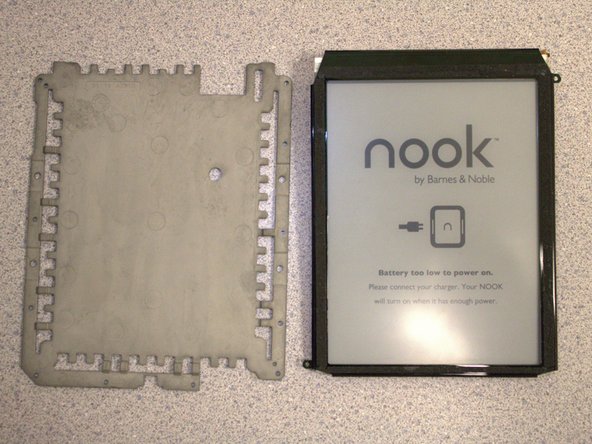
  8. Nook Simple Touch with GlowLight Screen Replacement: 手順 8、 3の画像 1 Nook Simple Touch with GlowLight Screen Replacement: 手順 8、 3の画像 2 Nook Simple Touch with GlowLight Screen Replacement: 手順 8、 3の画像 3
    • Disconnect the orange ribbon cable from the motherboard.

    • Using your fingers, gently lift the motherboard from the display.

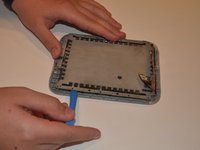
  9. Nook Simple Touch with GlowLight Screen Replacement, Screen: 手順 9、 2の画像 1 Nook Simple Touch with GlowLight Screen Replacement, Screen: 手順 9、 2の画像 2
    • Insert the iFixit opening tool between the display and the front case.

    • Gently move to iFixit opening tool around the perimeter to release the set of tape strips.

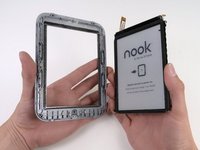
  10. Nook Simple Touch with GlowLight Screen Replacement: 手順 10、 2の画像 1 Nook Simple Touch with GlowLight Screen Replacement: 手順 10、 2の画像 2
    • Turn the display over. Pry the display bezel from the display assembly with the iFixit opening tool.

終わりに

To reassemble your device, follow these instructions in reverse order.

作成者

2人の作成者と共同で作成されました。

Sydney Segear

メンバー登録日: 03/01/23

401 ポイント

4のガイドは作成済み

チーム

University of Delaware, Team 12-3, McGuire Spring 2023 University of Delaware, Team 12-3, McGuire Spring 2023人のメンバー

UD-MCGUIRE-S23S12G3

5 メンバー

5のガイドは作成済み

0 件のコメント

コメントを追加

統計データ:

過去 24時間: 2

過去 7 日: 8

過去 30 日: 47

今までの合計 419