はじめに
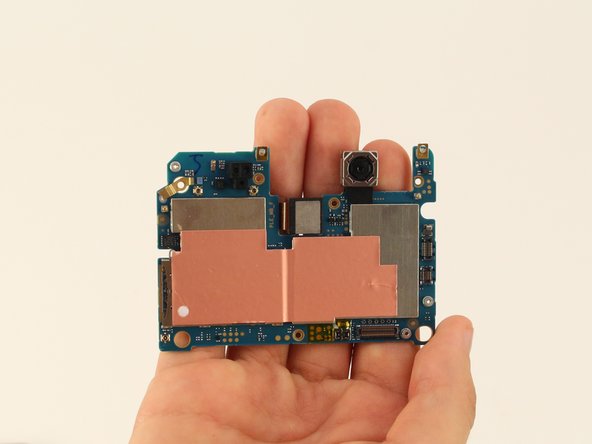
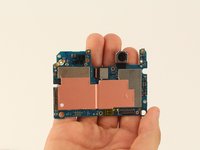
Use this guide to replace your Nokia 6’s motherboard.
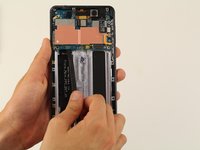
If the battery is swollen, take appropriate precautions. Be very careful when heating the phone when removing the screen. As the battery is in the center of the phone, avoid heating the center, focusing only on the edges to heat up the adhesive.
必要な工具と部品
-
-
Insert the SIM card ejection tool into the hole on the left side of the phone.
-
Remove the SIM card and microSD card.
-
-
-
-
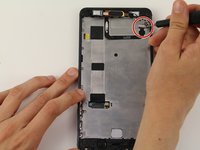
Remove 18 screws.
-
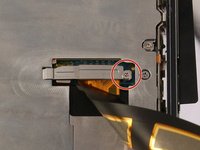
There is one 1 mm x 1.4 mm screw that needs to be removed by a Phillips #000 screwdriver.
-
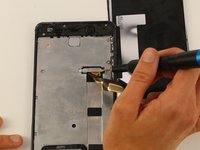
One of the screws is 1.2 mm x 4.2 mm and will be removed by a Phillips #00.
-
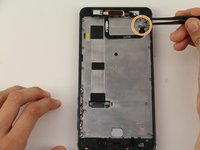
The remaining 16 screws can be removed by the Phillips #00 screwdriver and are 1.2 mm x 2.2 mm.
-


To reassemble your device, follow these instructions in reverse order.
3 の人々がこのガイドを完成させました。

チーム

Cal Poly, Team S9-G15, Maness Spring 2019 Cal Poly, Team S9-G15, Maness Spring 2019人のメンバー
CPSU-MANESS-S19S9G15
4 メンバー
14のガイドは作成済み