このバージョンは誤った内容を含んでいる可能性があります。最新の承認済みスナップショットに切り替えてください。
必要な工具と部品
-
-
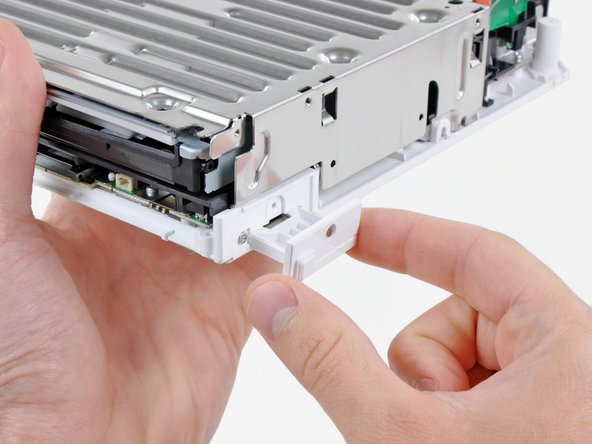
コントローラーのポートカバーが黒色コントローラーのポートベゼルに対して垂直になるように開きます。
-
コントローラーのポートカバーを外付けケースから外すため、真っ直ぐ引き上げます。
-
-


15 の人々がこのガイドを完成させました。

4 件のコメント
Soldering jumpers on those fuses is easier said than done. The left-hand fuse follows the same trace all the way to the larger solder pad above, so don't worry about bridging. But it looks like there's a cap or diode along the trace of the right-hand fuse, so solder carefully! This worked great, and got my Wii drive back to spinning without spending $80 on a new drive.
If anyone could give specifications for the fuses needed, it would be very much appreciated... 0603 Fuses come in different amp ratings. I saw one person suggest elsewhere that after research he found that the ones used in this repair are 2A 0603 fuses, can anyone confirm this please before I get the wrong ones?
Thanks in advance,
James @ Retro Gaming Repair UK
I found a datasheet for littelfuse which labels the fuse as 2A. The datasheet can be found here
http://www.littelfuse.com/data/en/data_s....
Hope this helps.
Another tip for after you know the fuse is blown instead of removing the fuse and jumpering it add a little solder on both sides of the fuse then use a lead from a resister heating up the solder and push the lead from a resistor into it then do the same for the other side.
randyhenke - 返信
this guide assumes you have one revision of the board....i have another revision and can only find one of the resistors