はじめに
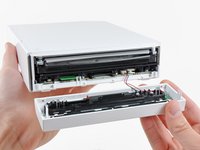
このガイドを使ってWiiの内部システムを保護している白色のプラスチック製外付けケースを取り外します。外付けケースを取り外す際は、トライウイングネジ用のドライバーが必要です。
必要な工具と部品
-
-
-
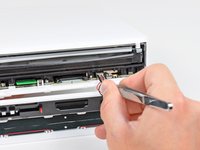
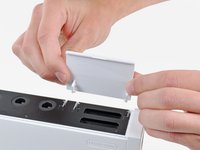
コントローラーのポートカバーが黒色コントローラーのポートベゼルに対して垂直になるように開きます。
-
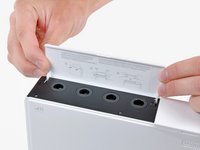
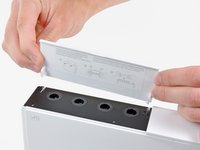
コントローラーのポートカバーを外付けケースから外すため、真っ直ぐ引き上げます。
-


デバイスを再組み立てする際は、これらのインストラクションを逆の順番に従って作業を進めてください。
デバイスを再組み立てする際は、これらのインストラクションを逆の順番に従って作業を進めてください。
39 の人々がこのガイドを完成させました。
以下の翻訳者の皆さんにお礼を申し上げます:
100%

Midori Doiさんは世界中で修理する私たちを助けてくれています! あなたも貢献してみませんか?
翻訳を始める ›

4 件のコメント
Ugh, I went and purchased an iFixit Essential Electronics Toolkit and the Tri-wing screwdriver is too small! Y000 is what it says on the box, time to return this purchase.
Unfortunately this guide stops half way through and doesn’t include the other side of the case, which involves quite a few screws as the motherboard is screwed down in quite a few places, and the cpu heatsink has to come up, it’s much more complicated than this.
yes i would love if the poster edited the guide and made it so it could be used as a "reshell" guide because i am considering purchaseing a lower condition wii and reshelling it in another color
Sqwerks -