メインコンテンツにスキップ

Nintendo NES Advantage Joystick Replacement

必要な工具と部品

  1. Nintendo NES Advantage Joystick Replacement, Back Panel: 手順 1、 1の画像 1
    • Remove the four sticky pads from the bottom of the device.

    • If the pads are stuck, use a spudger to remove them.

  2. Nintendo NES Advantage Joystick Replacement: 手順 2、 2の画像 1 Nintendo NES Advantage Joystick Replacement: 手順 2、 2の画像 2
    • Remove the six 8 mm screws from the bottom of the device with a Phillips #0 screwdriver.

    • Use your hands to pull the back panel away from the controller.

  3. Nintendo NES Advantage Joystick Replacement, Joystick Panel: 手順 3、 1の画像 1
    • Remove the four 12 mm screws from the small square panel on the right with a Phillips #0 screwdriver.

    • While removing the last (fourth) screw, apply downward pressure on the panel. This will make it easier to remove the last screw because of the joystick spring on the other side of this panel.

  4. Nintendo NES Advantage Joystick Replacement: 手順 4、 2の画像 1 Nintendo NES Advantage Joystick Replacement: 手順 4、 2の画像 2
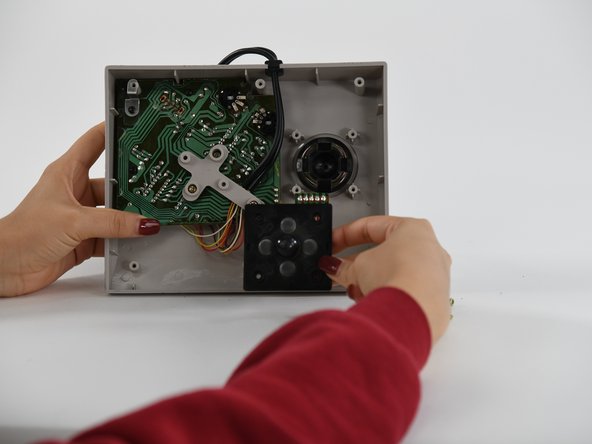
    • Remove the small square panel.

    • This panel is connected with wires to the main circuit board. To replace the joystick panel, you will need to desolder the wires. To learn more about soldering, refer to our はんだ付けとはんだ除去の作業ガイド guide.

  5. Nintendo NES Advantage Joystick Replacement, Joystick: 手順 5、 2の画像 1 Nintendo NES Advantage Joystick Replacement, Joystick: 手順 5、 2の画像 2
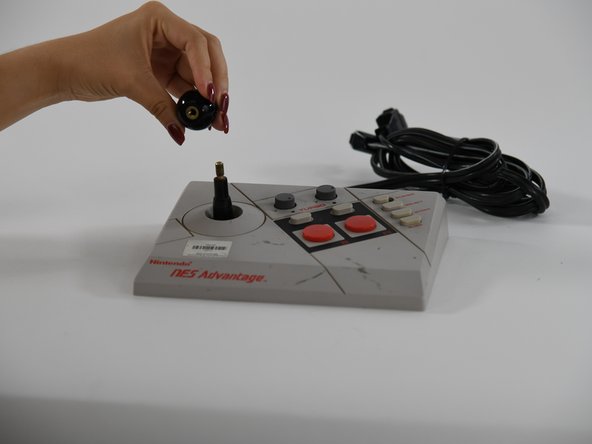
    • Using your hands, unscrew the ball on top of the joystick.

  6. Nintendo NES Advantage Joystick Replacement: 手順 6、 1の画像 1
    • Pull the joystick through the back of the NES Advantage Gamepad.

終わりに

To reassemble your device, follow these instructions in reverse order.

Kristen Gismondi

メンバー登録日: 11/12/14

82,068 ポイント

200のガイドは作成済み

チーム

iFixit iFixit人のメンバー

Staff

135 メンバー

17,198のガイドは作成済み

0 件のコメント

コメントを追加

統計データ:

過去 24時間: 0

過去 7 日: 2

過去 30 日: 9

今までの合計 274