はじめに
Nintendo DS Liteの下部LCDを交換します。
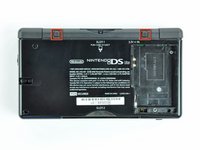
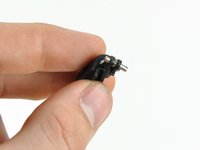
必要な工具と部品
-
-
-
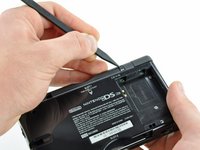
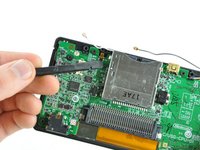
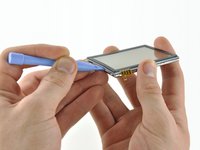
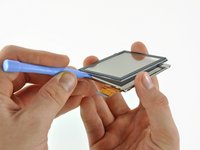
指の爪やプラスチック製開口ツールの先端を使って、下部LCDリボンケーブルの固定フラップを注意深く跳ね上げます。
-
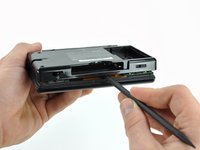
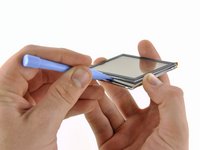
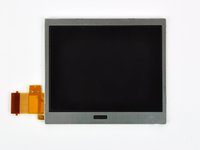
下部LCDアセンブリをまっすぐ引き離し、マザーボード上のソケットから下部LCDリボンケーブルの接続を外します。
-
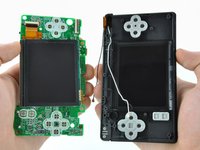
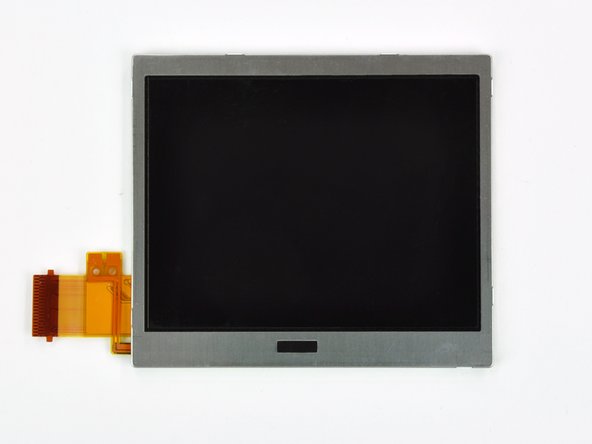
マザーボードから下部LCDアセンブリを取り外します。
-
-
-
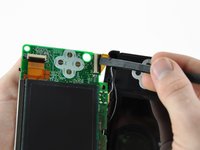
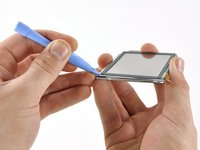
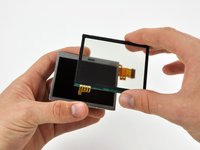
タッチスクリーンとディスプレイ右上角の間にプラスチック製開口ツールを差し込みます。
-
開口ツールをディスプレイ右端から下側に向けてスライドし、タッチスクリーン端を解放します。
-


デバイスを再組み立てする際は、これらのインストラクションを逆の順番に従って作業を進めてください。
41 の人々がこのガイドを完成させました。
以下の翻訳者の皆さんにお礼を申し上げます:
100%

これらの翻訳者の方々は世界を修理する私たちのサポートをしてくれています。 あなたも貢献してみませんか?
翻訳を始める ›

3件のガイドコメント
This guide recommends a Y1 Tri point scredriver. I bought one to try this repair and it's marginally too big :(
It does begin to bite the screw, then slips and fails. I daren't keep trying for fear of rounding the screws off, so
I'm going to try again with a Y0 and see how that goes.
Following the instructions precisely and watching Steve from Tronicsfix's tutorial, I tried to fix my screen, but now it has no power.any solutions?
If I had to guess, I would assume that it is an issue with the way you attached the ribbon cable of the screen, but take that with a grain of salt, because im not positive 😶