はじめに
最初にニンテンドー3DS LLの下側ケースを分離して、それから上側ケースを開き、上側LCDスクリーンを本体と接続しているリボンケーブルに対して作業を行います。
必要な工具と部品
-
-
カバーが上を向くように本体を持って下さい。
-
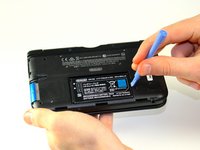
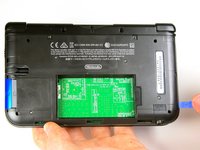
プラスチック製のオープニングツールを使って、右上の角からカバーをこじ開けていきます。
-
カバーの角が閉じてしまわないように固定して下さい。
-
タッチペン収納場所の下の狭い区間を確認して下さい。その部分がまだ開いていない場合は、その場所をこじ開けて下さい。
-
カバーを取り外して、脇に置いておいて下さい。
-
-
-
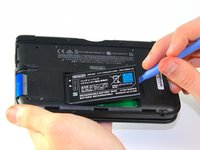
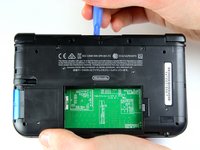
プラスチック製のオープニングツールをバッテリーの右側の開口部に差し込んで下さい。
-
バッテリーを下側ケースからこじり出して下さい。
-
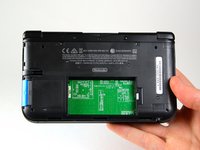
バッテリーを本体から持ち上げて外し、脇に置いておいて下さい。
-
-
この手順で使用する道具:Tweezers$4.99
-
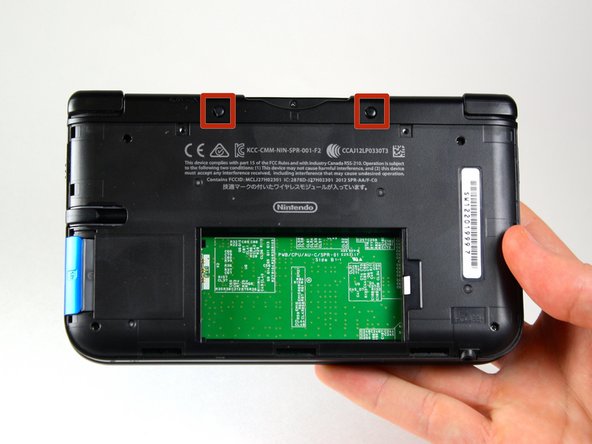
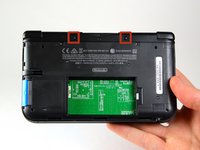
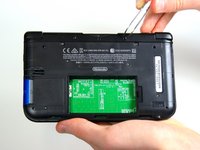
ピンセットを使ってゴム足を外して下さい。これらは本体の上の方のゲームカードスロットの左右にあります。
-
-
-
SDカードが外れていることを確認して下さい。プラスチック製のオープニングツールを使って下側ケースを外します。底側の端から始めて、縁に沿って作業を進めていきます。
-
ケースと回路基板は2本のリボンケーブルで繋がっています。ケースを強く引っ張りすぎてリボンケーブルを破損しないように注意して下さい。
-
-
-
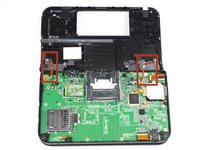
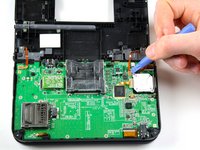
左右の連結部の下にあるリボンケーブルを外して下さい。外すにはプラスチック製のオープニングツールを使ってケーブルコネクタの根元をこじり上げます。
-
下側ケースを本体の他の部分と完全に切り離して、脇に置いておいて下さい。
-
-
-
本体の向きを変えて、ゲームカードスロットが上を向くようにして下さい。
-
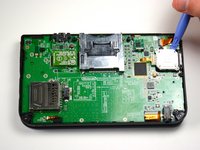
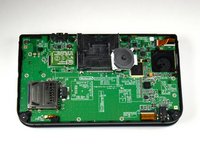
本体の右側にあるサークルパッドの位置を確認して下さい。
-
長さ7.5mmのネジ2本を外して下さい。これらのネジはサークルパッドの左上と右下の角にあります。
-
-
-
-
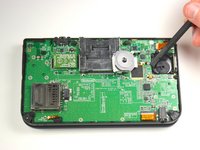
スパッジャーの平らな方の先を使って、スライドパッドのリボンケーブルをマザーボードに接続している固定つまみを慎重に持ち上げます。
-
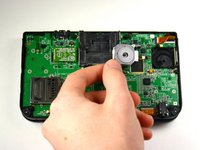
リボンケーブルとスライドパッドジョイスティックを外して下さい。
-
-
-
本体の向きを画像のように変えて、ゲームカードスロットが上を向くようにして下さい。
-
IR基板を見つけて下さい。マザーボードの上側の右の方にあるはずです。
-
プラスチック製のオープニングツールを使ってIR基板を外します。IR基板の裏にオープニングツールを差し込んで、慎重にこじり上げて下さい。
-
-
この手順で使用する道具:Tweezers$4.99
-
サウンドボリュームのスイッチを見つけて下さい。マザーボードの右側、スライドパッドの近くにあるはずです。
-
ピンセットを使って、慎重にボリューム基板をケースから外して下さい。この基板はまだマザーボードとリボンケーブルで繋がっているはずです。
-
-
-
スパッジャーの平らな方の先を使って、ボリューム基板をマザーボードに接続しているフラップを慎重に持ち上げて下さい。
-
ボリューム基板を取り外して脇に置いておきます。
-
-
-
スパッジャーの平面側の先を使って、画像に示した幅の広いリボンケーブルをマザーボードに接続しているフラップを慎重に持ち上げます。
-
開いたフラップからリボンケーブルを外します。
-
-
-
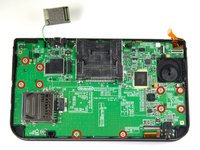
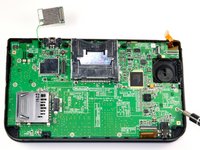
ゲームカードスロットの上の角付近にある2本の取り付けピンをちょうど避けられる程度まで、マザーボードを慎重にまっすぐ上に持ち上げて下さい。
-
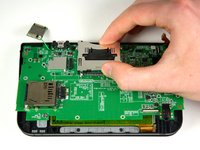
マザーボードを上側を軸にするように慎重にめくり返して下さい。
-
-
-
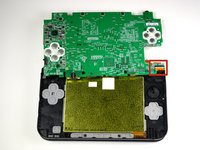
スパッジャーの平らな方の先を使って、幅の広いリボンケーブルをマザーボードに接続しているフラップを持ち上げます。これはマザーボードの右上側にあります。
-
持ち上げたフラップからリボンケーブルを外して下さい。
-
マザーボードは脇に置いておきます。
-
-
-
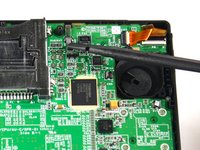
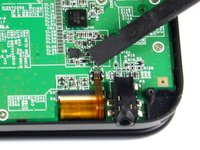
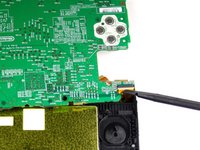
左上にある2本の短いリボンケーブルを外して下さい。
-
スパッジャーを使って、リボンケーブルをブラケットに接続している黒いヒンジを持ち上げます。
-
ブラケットからリボンケーブルを引き抜きます。
-
-
-
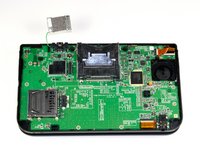
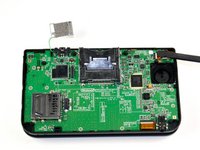
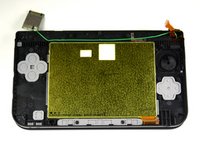
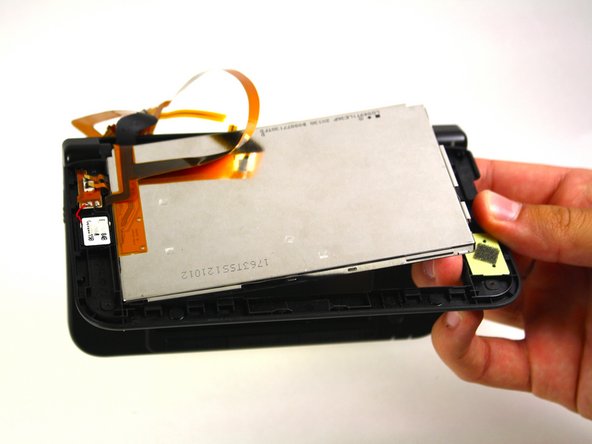
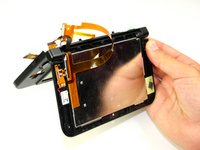
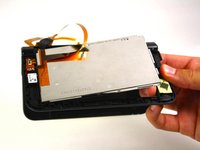
ヒンジを開いて、指を使って慎重に上側LCDを押し出します。勢いよく外れる場合があるので注意して下さい。
-
ヒンジからリボンケーブルを慎重に外します。
-
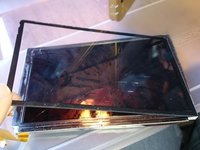
保護ガラスを新しいスクリーンに取り付ける際は、縁に沿って細く接着剤をつけるか、古い接着剤を再利用して下さい。
-


 FixBotに聞いてみる






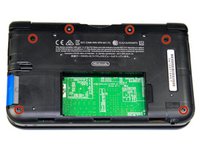
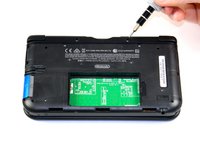




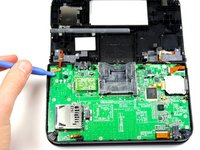
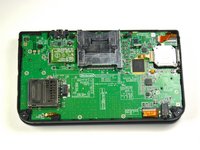


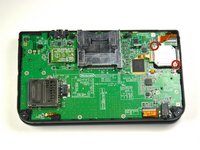
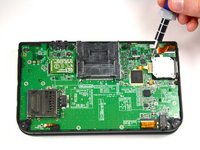






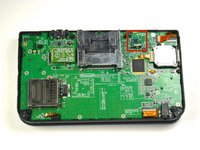
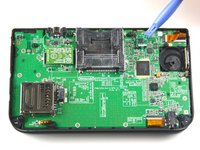


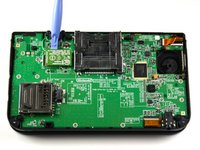
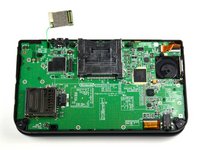


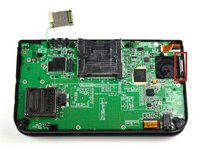
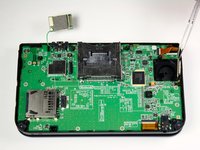


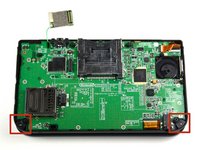
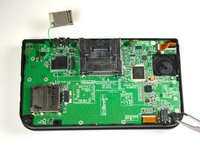




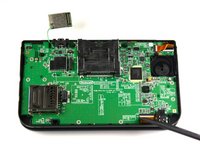
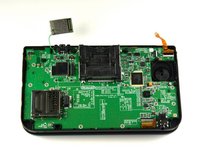


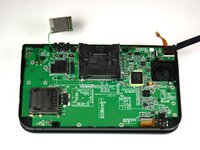
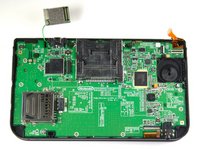








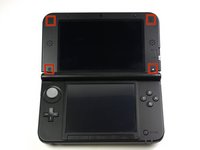
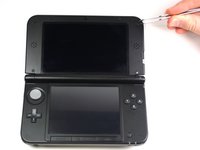


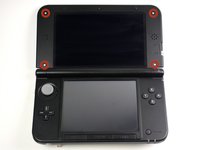
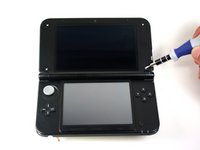


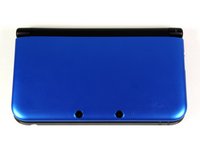
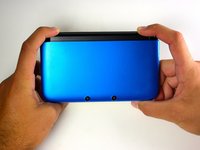
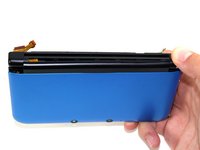


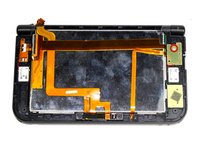
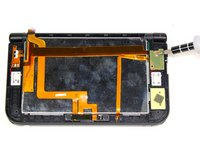
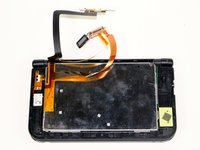



組み立て直す際は、上記の手順と逆の順番で作業を行なって下さい。
158 の人々がこのガイドを完成させました。
以下の翻訳者の皆さんにお礼を申し上げます:
100%


これらの翻訳者の方々は世界を修理する私たちのサポートをしてくれています。 あなたも貢献してみませんか?
翻訳を始める ›

チーム

Cal Poly, Team 9-13, Regan Spring 2014 Cal Poly, Team 9-13, Regan Spring 2014人のメンバー
CPSU-REGAN-S14S9G13
5 メンバー
56のガイドは作成済み
67件のガイドコメント
Any good ways to get the ribbon cable back through the hole?
did u find a solution?? i need help.
Carefully just have a pre-twist to it....good luck
Note: If your top or bottom screen was working before disassembly and doesn't work after reassembly, then it's likely that the connector is loose or dirty or damaged or not clipped or PLACED UPSIDE-DOWN. I had this issue with my Super3DS XL(2015) and it turns out that the reason why my top screen wasn't working after put together, was because I had the top LCD connector upside-down. After I correctly put the connector in, It worked again! :)
Try a Bobby hair pin.
