はじめに
この Nexus 5X の交換ガイドはLCDスクリーンとデジタイザを交換する方法です。 スクリーンアセンブリを交換するためのものではありません。ご注意ください。交換用のパーツにプラスチックのフレームが含まれる場合は、パーツ (LED、振動モーター、イヤースピーカー、ヘッドホンジャック、電源/音量ボタンと近接センサーのガスケット)を新しいフレームアセンブリに移植する必要があります。 手順とコメント欄をよく読んでから作業を始めてください。
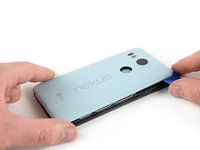
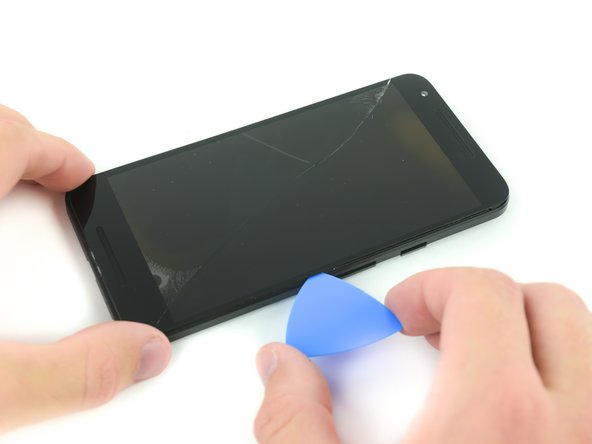
ガラススクリーン(デジタイザ)にヒビが入っていたり、破損していたり、タッチしても応答しない場合は、このガイドで破損したガラススクリーンを交換して、デバイスの機能を回復させましょう。
ディスプレイに応答しないピクセル、ぶらついた画像、ディスプレイが破損した状態の場合、このガイドを使って壊れたLCDを交換できます。
接着剤の強さは、デバイスの状態によって異なります。デバイスからパーツを取り外す際は、特にご注意ください。
必要な工具と部品
-
-
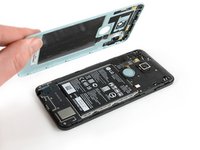
手順15 マザーボードのアセンブリ
注意: 手順 15-18 は、作業進行中としてマークされている ガイド から引用されています。
-
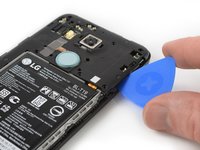
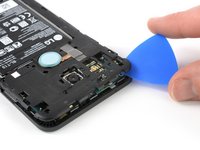
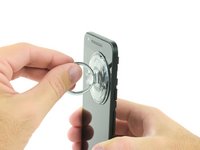
iOpenerを使って、リアカメラの下に留められた接着剤を緩めてください。iOpenerをデバイス上部に約30秒間当てます。
-
-
-
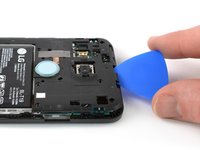
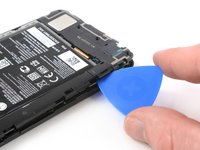
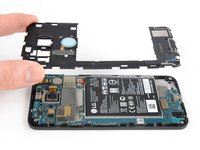
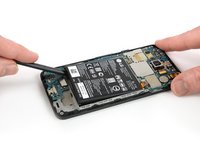
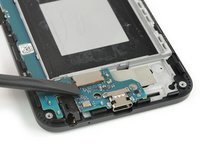
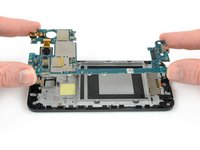
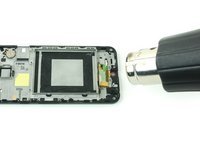
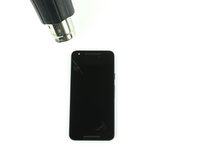
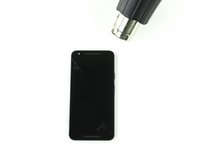
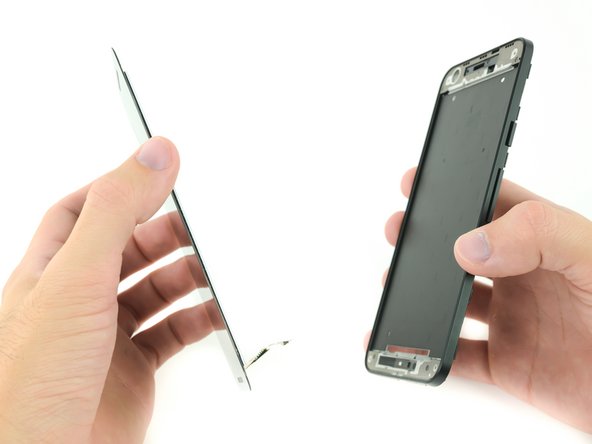
iOpenerまたはヒートガンをデジタイザリボンケーブルに当てて、プラスチックハウジングに固定している接着剤を柔らかくします。
-
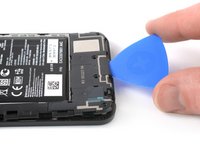
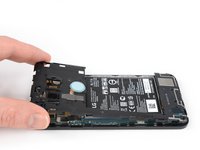
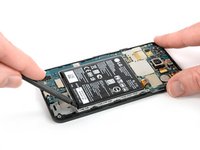
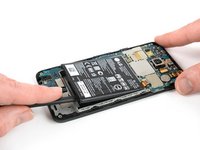
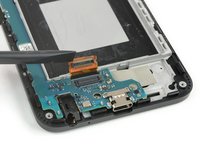
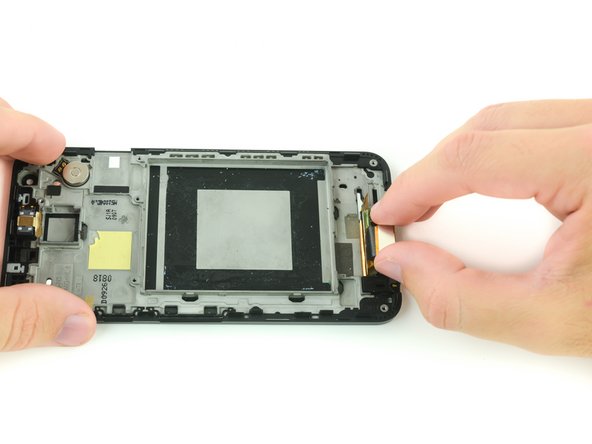
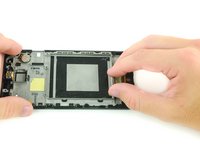
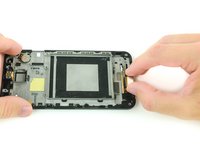
バッテリーケースとデジタイザーリボンケーブルの隙間に、スパッジャーの平面側先端を慎重に差し込むか、指を使ってデジタイザーリボンケーブルをそっと引き抜きます。
-


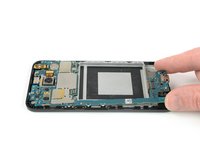
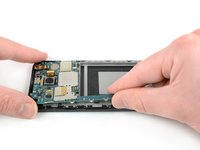


デバイスを再組み立てする際は、これらの手順を逆の順番に従って作業を進めてください。
デバイスを再組み立てする際は、これらの手順を逆の順番に従って作業を進めてください。
36 の人々がこのガイドを完成させました。
以下の翻訳者の皆さんにお礼を申し上げます:
100%

Midori Doiさんは世界中で修理する私たちを助けてくれています! あなたも貢献してみませんか?
翻訳を始める ›


23件のガイドコメント
Good guide, but not the end all - this guide doesn't accurately reflect how difficult the cameras and battery can be to remove. Also, if you are replacing the LCD+digitizer+frame, you will need to remove the LED, headphone jack, and vibration motor
Hello Jay! Thank you for your comment. I've added some of the details you mentioned to help our readers. Guide specifics can vary since it's not always possible to judge the state of a reader's particular device, but that's the beauty of a repair wiki! We can all pitch in and create a comprehensive guide.
You are correct—additional components and/or parts may need to be transferred or removed depending on the replacement. You certainly can remove the LED panel, headphone jack, and vibration motor, but it is not required to free the LCD screen and digitizer in this guide. The cameras are removed in this guide due to their fragility and the potential for component damage during the replacement.
Always research replacement kits and parts before ordering, and make sure you've got everything you need for a successful repair!
Richard -
This guide helped tremendously, things got a little confusing after step 10 (my replacement screen came with the frame, which I think is the better option). As Jay Miley pointed out there are several other steps required for moving components from the old frame (and unfortunately it's easy to overlook some of the smaller pieces), but it was still nice to have this guide to reference.
Hiya Craig! I'm glad to hear that your replacement went well even though you had the +frame replacement part. There are two screen replacement options for the 5X; the +frame replacement part for the 5X requires additional components and gaskets to be transferred from your old frame. I'll try to get a guide up for the LCD & digitizer +frame replacement part in addition to this guide.
Richard -
I had a pre-assembled screen / frame so the only real difference was:
* heatgun and remove headphone jack
* power / volume buttons also needed to be switched over (very small flat head screw driver to pop-up)