メインコンテンツにスキップ

このバージョンは誤った内容を含んでいる可能性があります。最新の承認済みスナップショットに切り替えてください。

必要な工具と部品

  1. この手順は未翻訳です。 翻訳を手伝う。

    : 手順 1、 1の画像 1
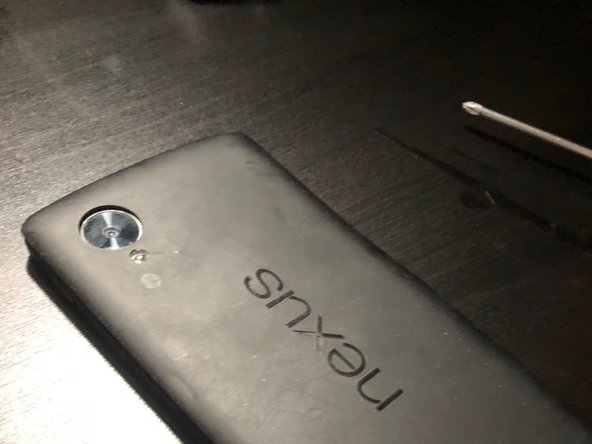
    • The battery door of the Nexus 5 is held together with plastic clips.

    • Use the plastic spudger to separate the battery door.

  2. この手順は未翻訳です。 翻訳を手伝う。

    : 手順 2、 3の画像 1 : 手順 2、 3の画像 2 : 手順 2、 3の画像 3
    • Using your #00 Philips Screwdriver, remove the six screws holding the midframe in place.

    • Remove the four screws at the bottom of the device holding the speaker assembly in place.

    • The screw on the far right may be covered in adhesive. Use your plastic spudger to remove the adhesive covering the screw.

  3. この手順は未翻訳です。 翻訳を手伝う。

    : 手順 3、 2の画像 1 : 手順 3、 2の画像 2
    • Remove the midframe and speaker assembly.

  4. この手順は未翻訳です。 翻訳を手伝う。

    : 手順 4、 3の画像 1 : 手順 4、 3の画像 2 : 手順 4、 3の画像 3
    • The antenna cables are located on the right and left side of the battery (one is gray, the other is black).

    • Using your plastic spudger, disconnect both ends of the antenna cables.

    • Connect your new antenna cables.

    • Make sure the antenna cables are securely connected.

  5. この手順は未翻訳です。 翻訳を手伝う。

    : 手順 5、 2の画像 1 : 手順 5、 2の画像 2
    • Screw the midframe and speaker assembly back into place.

    • Push the outer edges of the battery door down until you hear the plastic clips "click."

  6. この手順は未翻訳です。 翻訳を手伝う。

    • Hold the power button until you feel the phone vibrate and/or see the Google logo displayed.

ゴール

ある他の人がこのガイドを完成しました。

作成者

1人の作成者と共同作成されました。

Tyler Caldwell

メンバー登録日: 12/07/17

181 ポイント

1ガイドが承認済み

チーム

IUPUI, Team S1-G1, Baechle Fall 2017 IUPUI, Team S1-G1, Baechle Fall 2017人のメンバー

IUPUI-BAECHLE-F17S1G1

2 メンバー

6のガイドは作成済み

0 件のコメント

コメントを追加

統計データ:

過去 24時間: 1

過去 7 日: 7

過去 30 日: 12

今までの合計 2,741