メインコンテンツにスキップ

Nest x Yale Lock Speaker Replacement

必要な工具と部品

  1. Nest x Yale Lock Speaker Replacement, Speaker: 手順 1、 3の画像 1 Nest x Yale Lock Speaker Replacement, Speaker: 手順 1、 3の画像 2 Nest x Yale Lock Speaker Replacement, Speaker: 手順 1、 3の画像 3
    • Get the lock device and turn it around.

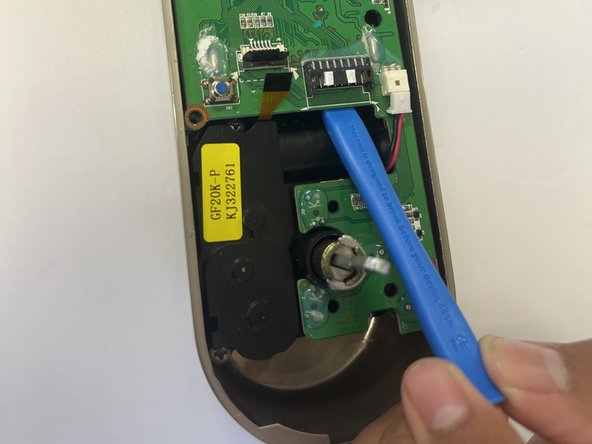
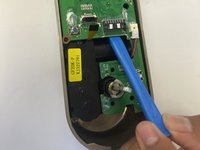
    • Take out the black cover by removing the screws as shown in picture #1 and pull it out gently just so.

    • All 3 screws are 0.25 inches high and are phillip screws.

    • Doing so gains access to the motherboard as shown in picture #3.

  2. Nest x Yale Lock Speaker Replacement: 手順 2、 2の画像 1 Nest x Yale Lock Speaker Replacement: 手順 2、 2の画像 2
    この手順で使用する道具:
    Tweezers
    $4.99
    購入する
    • On the white connector in picture #1, push down using a pointed tip object and then remove the connection using tweezers.

    • For the wider connection in picture #2, lift up the black switch and remove the connection using tweezers.

  3. Nest x Yale Lock Speaker Replacement: 手順 3、 2の画像 1 Nest x Yale Lock Speaker Replacement: 手順 3、 2の画像 2
    • Take out the motherboard by unscrewing the screws holding it shown in picture #1.

    • The screws are phillips and are 0.25 inches.

    • After removing the screw on the motherboard, pry the motherboard out using a prying tool shown in picture #2.

  4. Nest x Yale Lock Speaker Replacement: 手順 4、 1の画像 1
    • The small black part on the down right side of the motherboard is the audio.

終わりに

To reassemble your device, follow these instructions in reverse order.

作成者

7人の作成者と共同で作成されました。

Christopher Gonzalez

メンバー登録日: 09/26/22

313 ポイント

3のガイドは作成済み

チーム

CSU Los Angeles, Team 5-3, Adachi Fall 2022 CSU Los Angeles, Team 5-3, Adachi Fall 2022人のメンバー

CSULA-ADACHI-F22S5G3

5 メンバー

5のガイドは作成済み

0 件のコメント

コメントを追加

統計データ:

過去 24時間: 2

過去 7 日: 4

過去 30 日: 14

今までの合計 261