メインコンテンツにスキップ

このバージョンは誤った内容を含んでいる可能性があります。最新の承認済みスナップショットに切り替えてください。

必要な工具と部品

  1. この手順は未翻訳です。 翻訳を手伝う。

    : 手順 1、 2の画像 1 : 手順 1、 2の画像 2
    • Position the Nabi DreamTab onto a non-metallic surface so that the screen is facing towards the ceiling, and the DreamTab logo appears closest to you.

    • Remove the red silicone case from the Nabi DreamTab HD8.

    • These steps are specific to the included manufacturer case. If you have a different protective case, please refer to the respective manual for removal.

  2. この手順は未翻訳です。 翻訳を手伝う。

    : 手順 2、 1の画像 1
    • Turn it upside down, ensuring the small black circular camera is in the upper left hand corner.

    • Proceeding beyond here will void the manufacturer's warranty. If you wish to continue, follow these steps carefully.

  3. この手順は未翻訳です。 翻訳を手伝う。

    : 手順 3、 2の画像 1 : 手順 3、 2の画像 2
    • Remove the six 2.5 mm JIS #000 screws attaching the custom grid to the back panel.

  4. この手順は未翻訳です。 翻訳を手伝う。

    : 手順 4、 2の画像 1 : 手順 4、 2の画像 2
    • Grasp one of the protruding squares and gently lift off the back plate. Place it aside for later reassembly.

    • This piece should come off very easily. If you have trouble removing it, all of the screws may not be completely removed. Check and proceed.

    • Do not confuse the golden threads for screws.

  5. この手順は未翻訳です。 翻訳を手伝う。

    : 手順 5、 3の画像 1 : 手順 5、 3の画像 2 : 手順 5、 3の画像 3
    • Remove the three 3.5mm screws using the J-0 screwdriver attaching the back panel to the device.

  6. この手順は未翻訳です。 翻訳を手伝う。

    : 手順 6、 3の画像 1 : 手順 6、 3の画像 2 : 手順 6、 3の画像 3
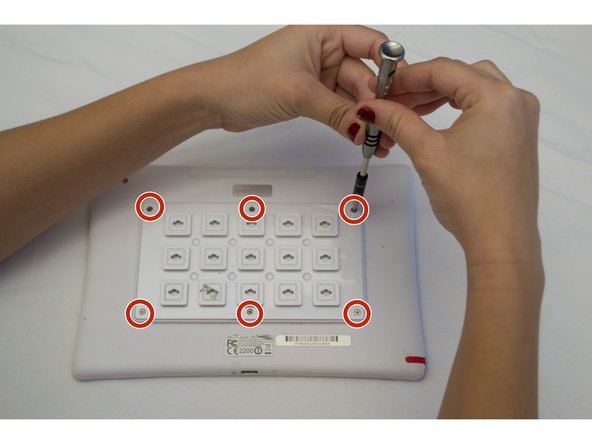
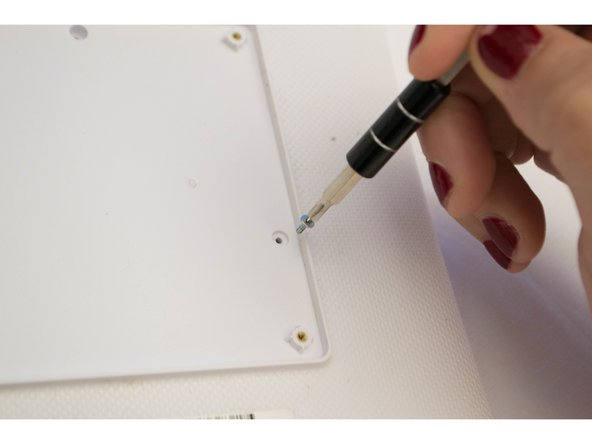
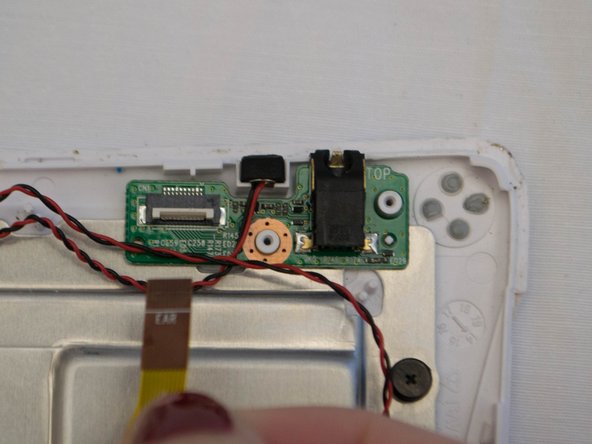
    • Rotate the top of the device towards you so that the audio jack appears on the right side of the device.

    • The audio jack will have a small symbol of headphones next to a small 3.5mm diameter hole.

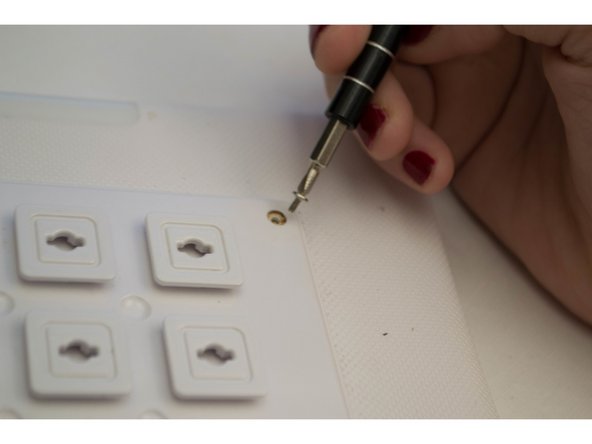
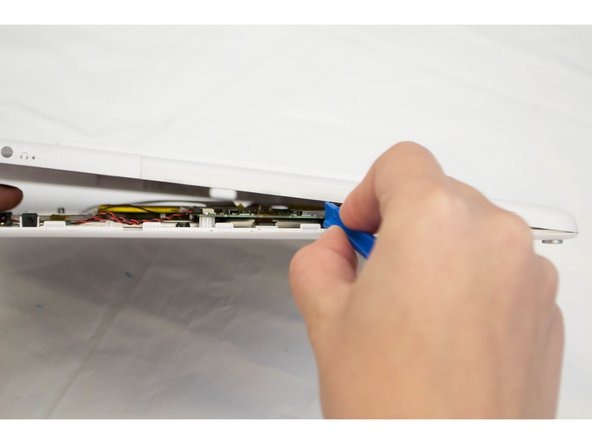
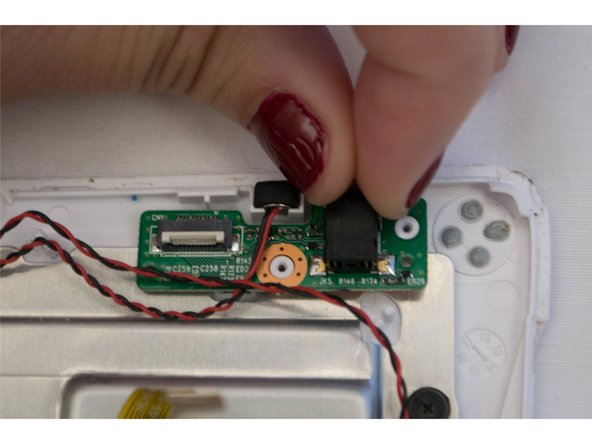
    • Wedge the plastic opening tool between where the front and back case panels meet near the audio jack.

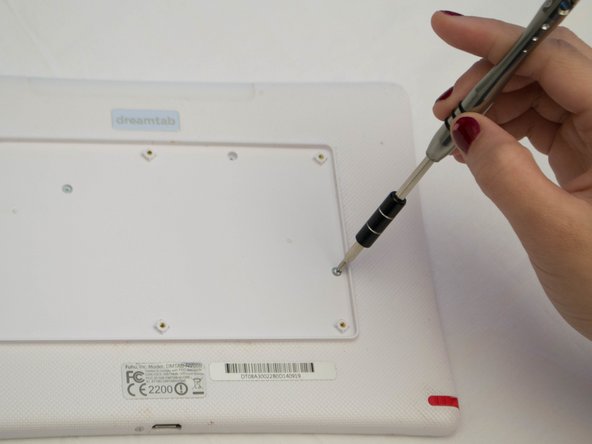
    • Pry the device open using moderate force until you hear a clicking sound. This is the sound of the clips unlocking.

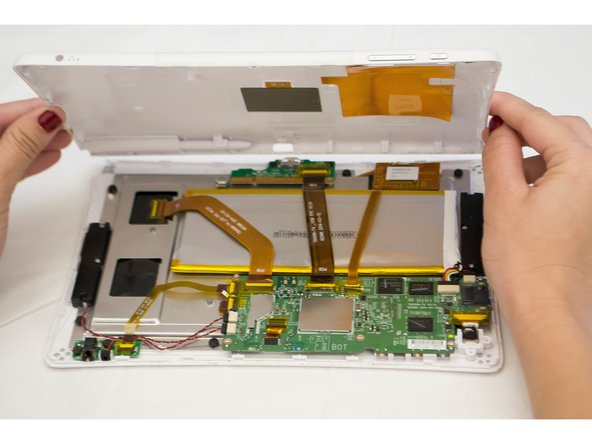
    • Move along the perimeter of the entire device using the same prying motion to gradually separate the front and back panels.

    • Once the edges are open return to the same starting position next to the audio jack.

    • During this step, you may crack some parts of the case. Gently pry around the speakers, audio jack and charging cable ports to reduce this damage.

  7. この手順は未翻訳です。 翻訳を手伝う。

    : 手順 7、 3の画像 1 : 手順 7、 3の画像 2 : 手順 7、 3の画像 3
    • Once you've completed separating the front and back panels, place the device back onto the table, display facing downward and camera at the top left.

    • Lift off the back panel and rotate the device 180 degrees while the screen is facing down.

  8. この手順は未翻訳です。 翻訳を手伝う。

    : 手順 8、 1の画像 1
    • On the upper right hand corner of the device, you'll notice a small piece that says EAR. This is the audio jack.

  9. この手順は未翻訳です。 翻訳を手伝う。

    : 手順 9、 3の画像 1 : 手順 9、 3の画像 2 : 手順 9、 3の画像 3
    • Remove the two black 3.5 mm Phillips # 00 screws and the attached washers.

  10. この手順は未翻訳です。 翻訳を手伝う。

    : 手順 10、 2の画像 1 : 手順 10、 2の画像 2
    この手順で使用する道具:
    Tweezers
    $4.99
    購入する
    • Remove the yellow plastic tape from the connector with tweezers.

  11. この手順は未翻訳です。 翻訳を手伝う。

    : 手順 11、 3の画像 1 : 手順 11、 3の画像 2 : 手順 11、 3の画像 3
    • Lift the white part of the connector and pull out the connector.

  12. この手順は未翻訳です。 翻訳を手伝う。

    : 手順 12、 2の画像 1 : 手順 12、 2の画像 2
    • Lightly pinch the black part of the audio jack and lift for replacement.

ゴール

作成者

5人の作成者と共同で作成されました。

Luis Delgado

メンバー登録日: 09/17/15

263 ポイント

2のガイドは作成済み

チーム

CSU Fullerton, Team 2-3, Bruce Fall 2015 CSU Fullerton, Team 2-3, Bruce Fall 2015人のメンバー

CSUF-BRUCE-F15S2G3

4 メンバー

10のガイドは作成済み

0 件のコメント

コメントを追加

統計データ:

過去 24時間: 0

過去 7 日: 3

過去 30 日: 12

今までの合計 676