必要な工具と部品
-
この手順は未翻訳です。 翻訳を手伝う。
-
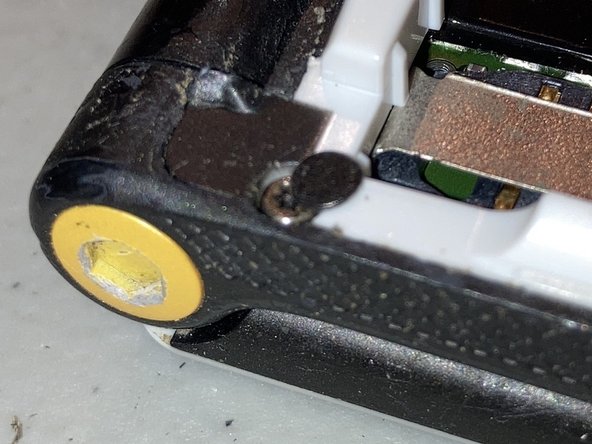
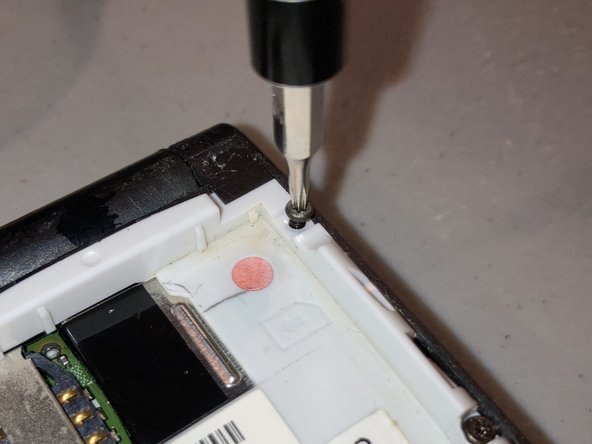
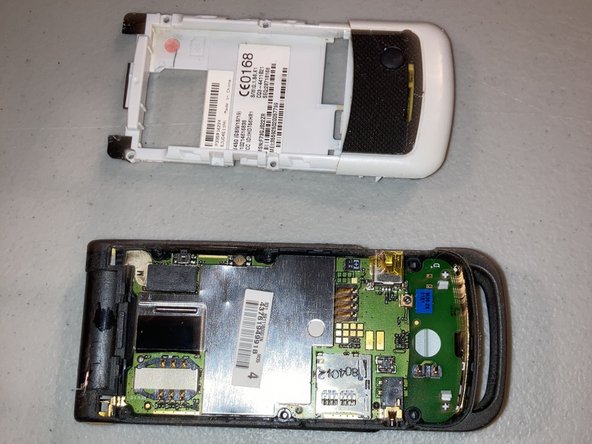
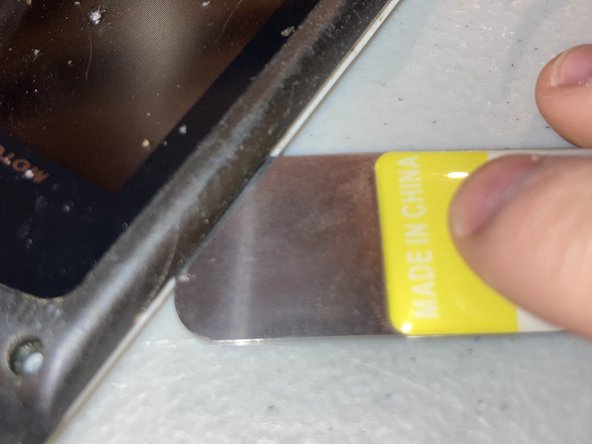
After the first screws are removed, let’s take a look at the front. On the bottom of the front, there is a plastic cover blocking two screws. Work your way around the edges of the cover with an opening tool to remove it, then lift the cover and remove the two remaining external Torx screws.
-
-
-
この手順は未翻訳です。 翻訳を手伝う。
-
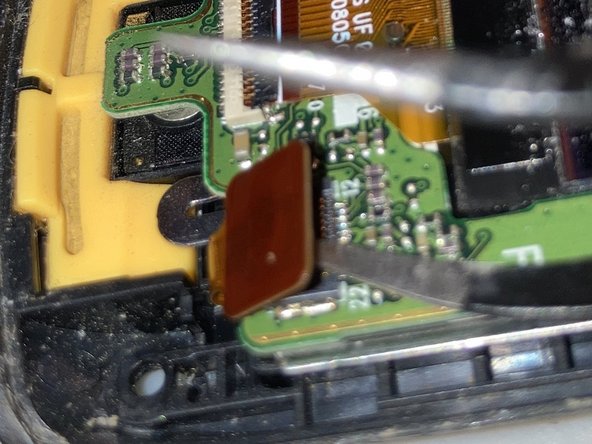
Now back to the phone. We are now at the circuit board. There is one connection to the screen on the back of the board (see pictures). We need to separate it from the board. Use tweezers to carefully lift the click connector. Next, there are two clips on the board. Use tweezers to push one in, then push the other in and lift the board.
-
-
この手順は未翻訳です。 翻訳を手伝う。
-
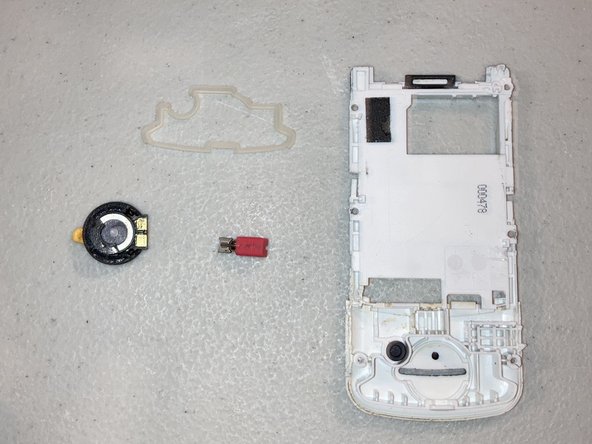
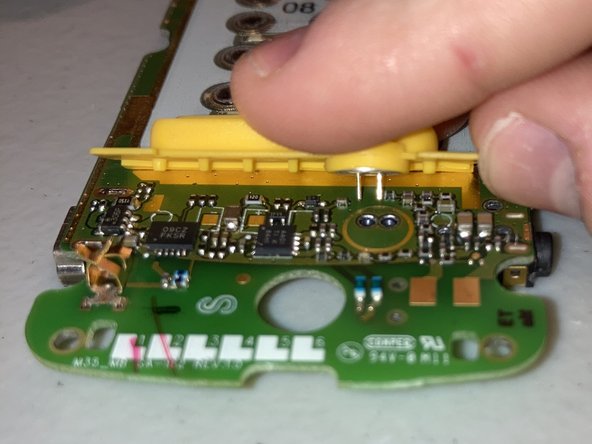
If we flip over the board, there are some removable parts. 1: The rubber keypad buttons. Simply pull them off as they are only glued a little. 2: The phone call mic. Pull up on the little yellow strip of rubber to remove. Don’t panic when you see the bottom of the mic, it looks like you pulled out the soldering, but you didn’t, just a connector!
-
-
この手順は未翻訳です。 翻訳を手伝う。
-
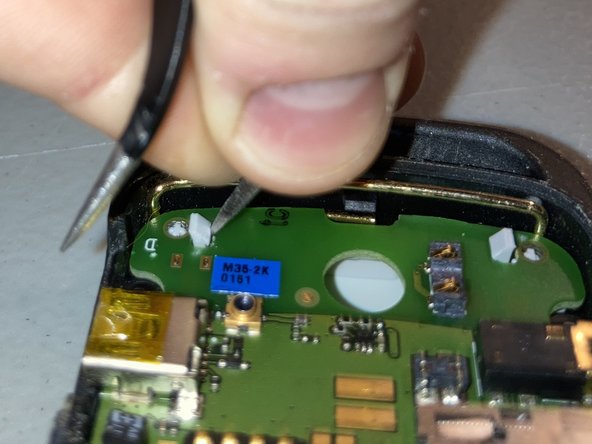
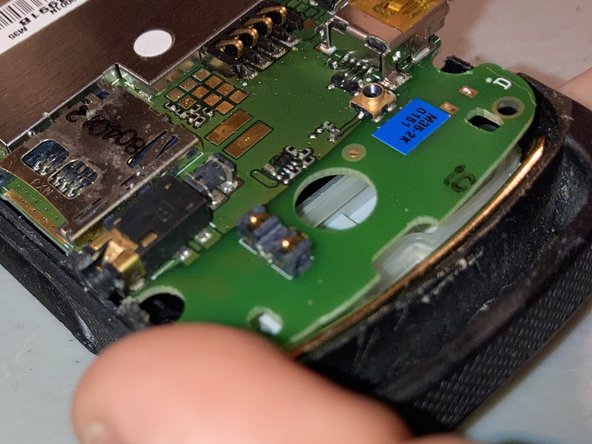
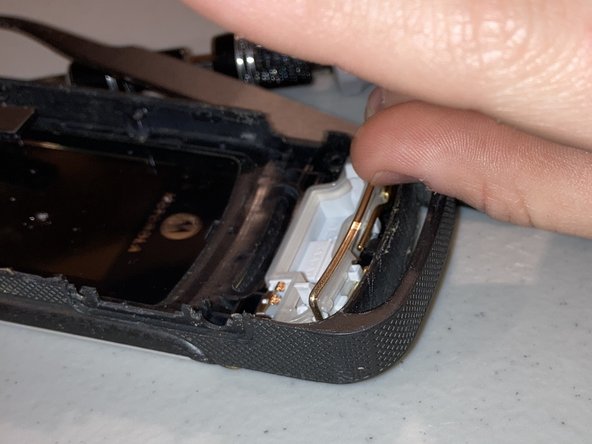
As we look into the back of the phone again, you should see those pesky clips from step 7. We can take those little guys out! Just push on the back of it and use your fingernail to pull up on the gold bar. Now you can take out the volume button by pushing it on from the outside of the phone.
-
-
この手順は未翻訳です。 翻訳を手伝う。
-
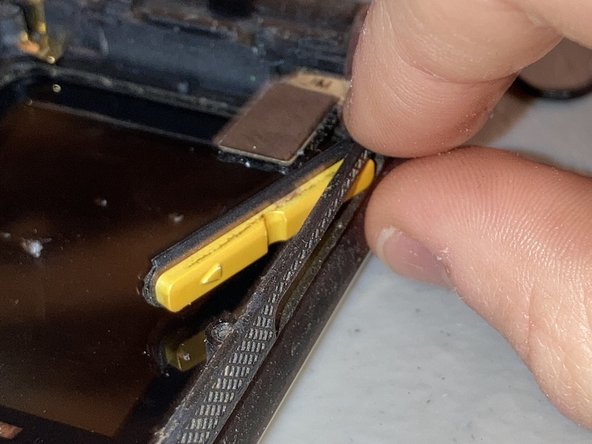
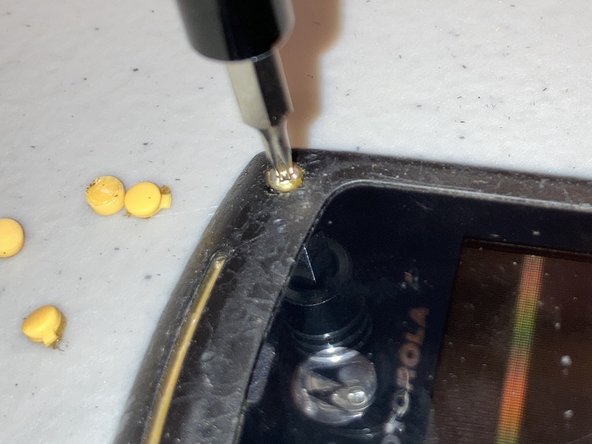
Phew! We’ve done a lot of work on the bottom of the phone. Let’s go to the top with the screen! First, use tweezers to remove the yellow rubber coverings over the screws, then use your T5 Torx driver to remove all four screws. Now work your way around the screen edge with an opening tool, then lift the cover!
-
-
この手順は未翻訳です。 翻訳を手伝う。
-
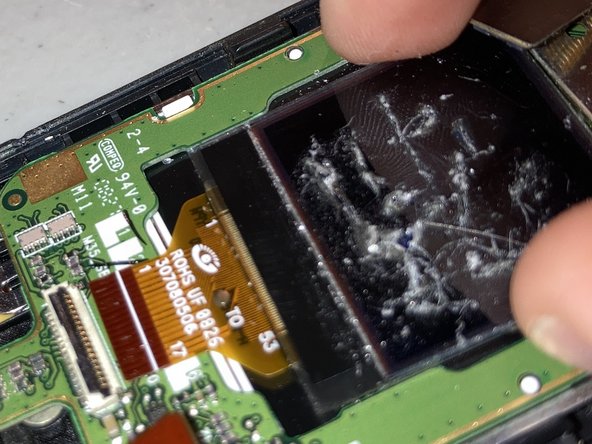
Wow! There sure are a lot of connections to the screen! Let’s remove them! Use tweezers to lift the metal connector, lift the black lever on the plastic connectors and pull out the wires, and lift the maroon plastic connector. The two black plastic connectors connect the small front screen and the camera, so you will remove these after the wires.
-
-
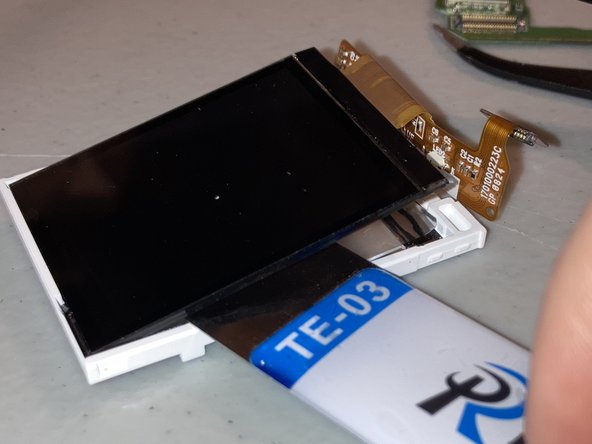
この手順は未翻訳です。 翻訳を手伝う。
-
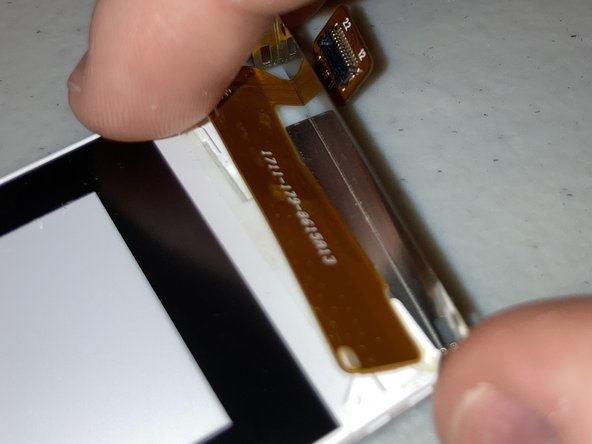
Now, the moment we’ve been waiting for... THE MAIN SCREEN REMOVAL! Carefully lift the screen circuit board out, unlatch the two white clips and carefully lift the screen backlight off. Now remove the metal cover on the back of the screen, remove the glued-on wire, and ever so carefully, use an opening tool to go UNDER the screen and boom! It’s off!
-