メインコンテンツにスキップ
リペアコミュニティに参加 - アカウントの作成

Motorola Droid Turbo Headphone Jack Replacement

必要な工具と部品

  1. Motorola Droid Turbo Headphone Jack Replacement, Rear Case: 手順 1、 1の画像 1
    • Prepare an iOpener and lay it over the rear case to soften the adhesive on securing the rear case to the phone.

    FixBotに聞いてみる

    コメントを追加

  2. Motorola Droid Turbo Headphone Jack Replacement: 手順 2、 2の画像 1 Motorola Droid Turbo Headphone Jack Replacement: 手順 2、 2の画像 2
    • Use a plastic opening tool to pry the rear case off of the rest of the device.

    • Remove the rear case.

    • The wireless charging coil may try to stick to the rear case, so make sure to remove it from the case before fully separating the rear case from the rest of the device.

    FixBotに聞いてみる

    コメントを追加

  3. Motorola Droid Turbo Headphone Jack Replacement, Midframe: 手順 3、 1の画像 1
    • Remove the midframe bezel.

    FixBotに聞いてみる

    コメントを追加

  4. Motorola Droid Turbo Headphone Jack Replacement: 手順 4、 1の画像 1
    • Remove the four Torx T5 screws securing the midframe plate.

    FixBotに聞いてみる

    コメントを追加

  5. Motorola Droid Turbo Headphone Jack Replacement: 手順 5、 1の画像 1
    • Remove the midframe.

    FixBotに聞いてみる

    コメントを追加

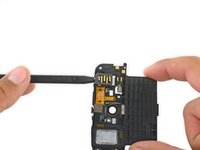
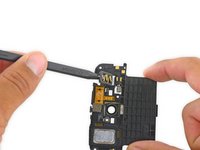
  6. Motorola Droid Turbo Headphone Jack Replacement, Headphone Jack: 手順 6、 2の画像 1 Motorola Droid Turbo Headphone Jack Replacement, Headphone Jack: 手順 6、 2の画像 2
    • Insert the pointed end of a spudger into the headphone jack, and gently pry the jack up and away from the midframe.

    FixBotに聞いてみる

    コメントを追加

終わりに

To reassemble your device, follow these instructions in reverse order.

キャンセル: このガイドを終了できませんでした。

3 の人々がこのガイドを完成させました。

作成者

1人の作成者と共同作成されました。

Geoff Wacker

メンバー登録日: 09/30/13

92,878 ポイント

89のガイドは作成済み

0件のガイドコメント

コメントを追加

統計データ:

過去 24時間: 0

過去 7 日: 4

過去 30 日: 39

今までの合計 3,682