Flip the projector right side up and unscrew the two 12mm screws on the light bulb panel located at the rear of the projector with a Phillips #0 screw head.
The bottom right panel screw does not come completely out the panel door.
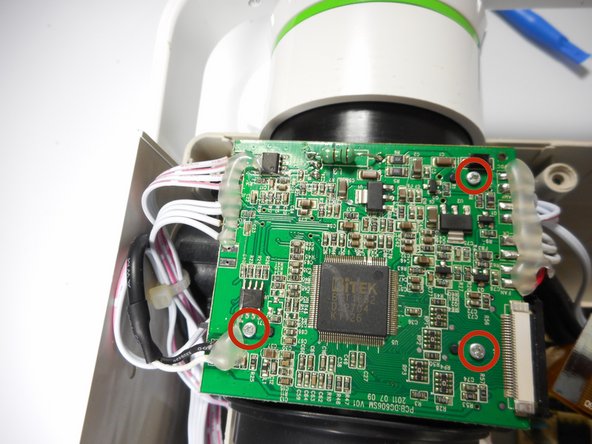
Solder off all of the connections on the motherboard with a soldering iron.
Once connections are soldered off, the motherboard should be detached and ready for replacement.
Need some help? Follow this guide to learn soldering basics.
While soldering the metal connections can get very hot. Never touch the iron with your hand. also make sure that the projector is fully turned off and not plugged in.
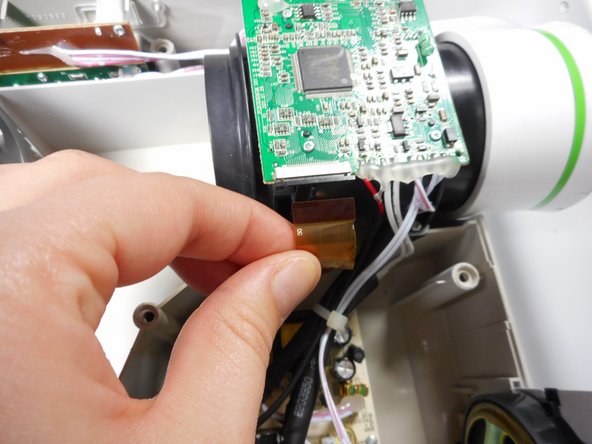
If there is hot glue on top on the connection with the motherboard, you will need to peel it off using your fingers.